Introduction
StudyFetch’s Notes feature instantly generates, well-organized, comprehensive notes directly from your study materials. Simply upload your resources — such as PDFs, PowerPoints, or Lecture Videos — and our AI technology will automatically analyze your content to create structured notes that highlight key concepts and important information, personalized to your learning preferences and academic goals.Accessing the Notes Feature
-
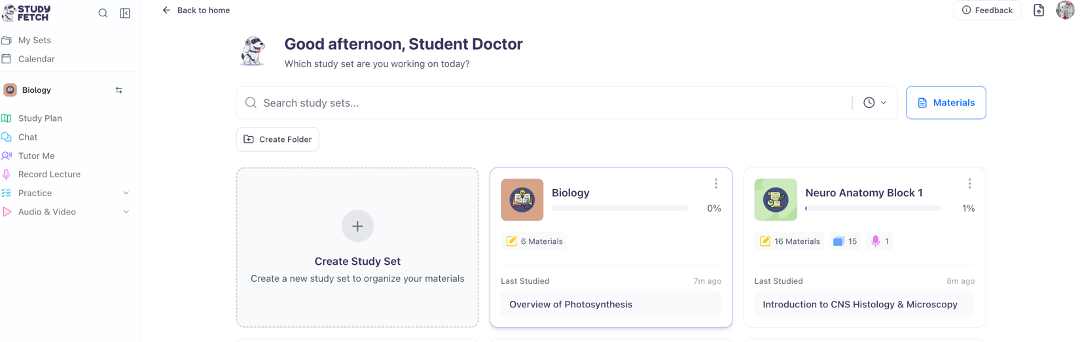
First open your desired Study Set. There are several ways to do this, just pick whichever is best for you:
a. On your main dashboard, you can click the right-pointing triangle button on the lefthand side of the desired Study Set name or…


-
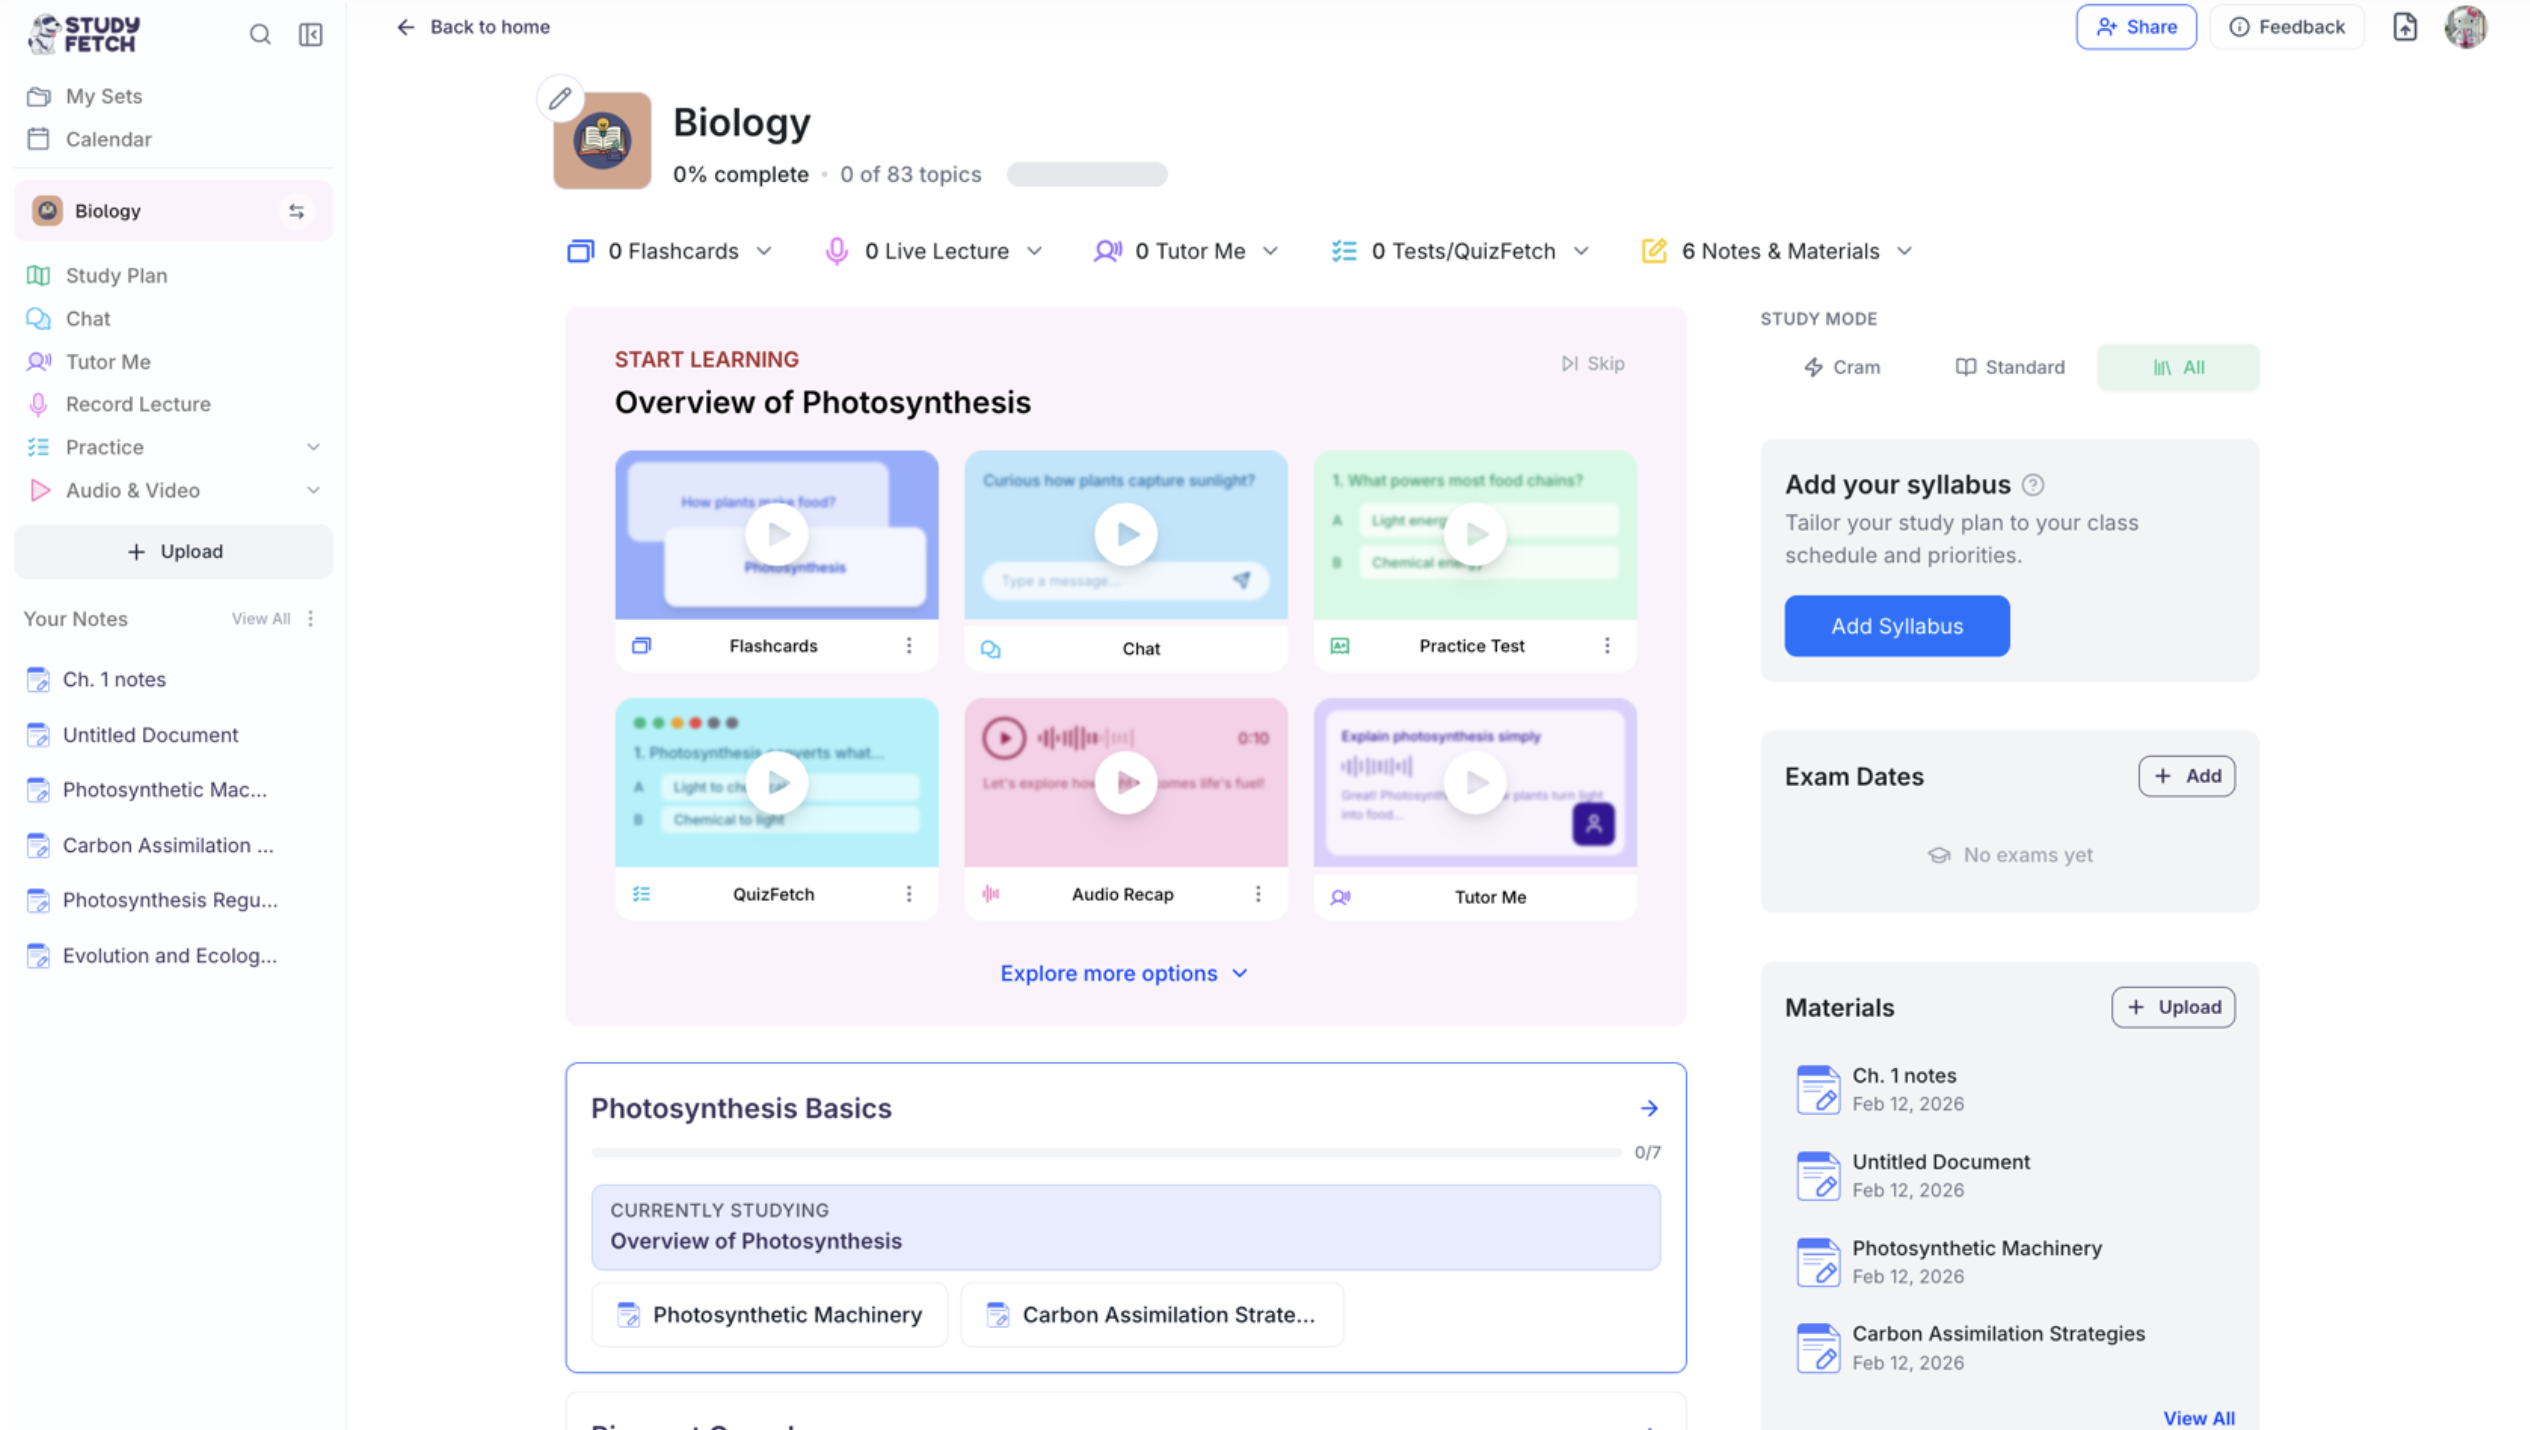
After opening your desired Study Set, you can view all previously created notes listed on the left under Your Notes and within the Materials section on the right side of your Study Set Dashboard. To access a note, simply click on the file name
-
Your AI-generated notes will now appear side-by-side with your uploaded material and the Spark.E chat

-
To expand the view of your notes, simply click Notes from the bottom toolbar

Creating New Notes
During Material Upload
-
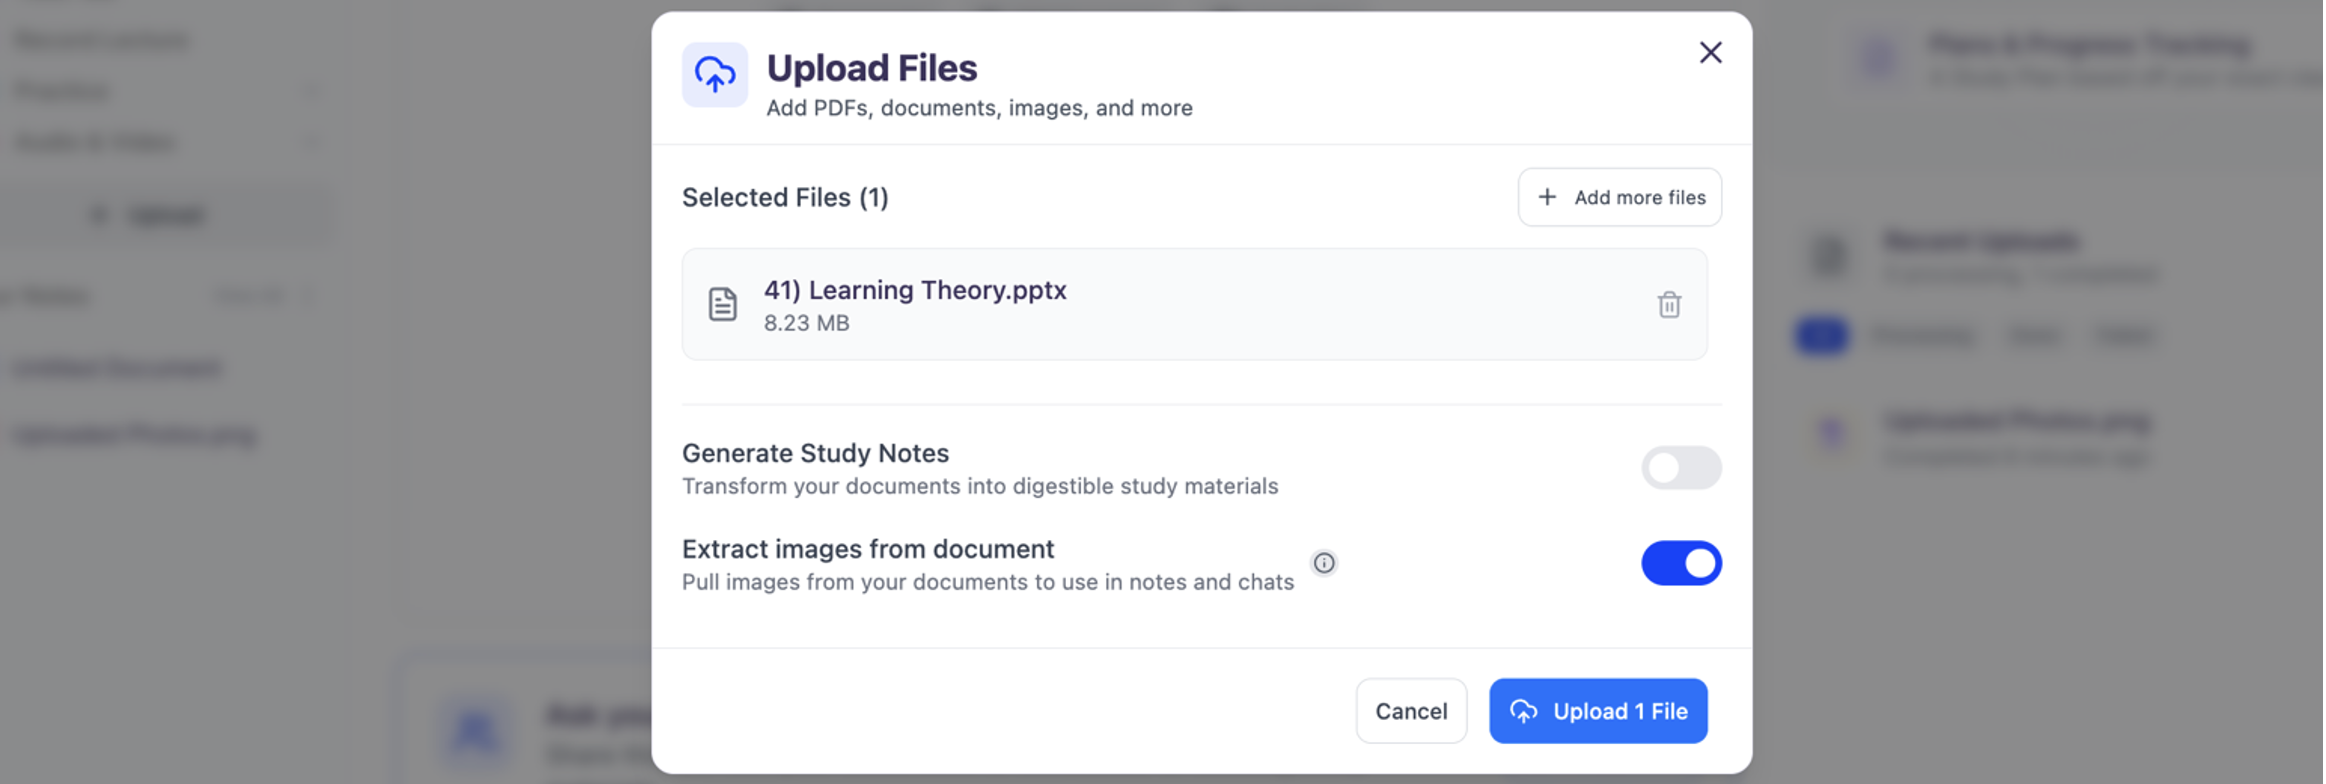
Add your materials by selecting + Upload from the lefthand side or selecting + Upload in the box labeled Materials on the righthand side of your Study Set Dashboard. Just pick the option that works best for you!

-
Select the type of material you want to upload from the listedmaterial upload options in the box labeled Upload any files from Class, or simply drag and drop your desired file

-
After selecting your file(s), toggle Extract images from document to allow AI to pull and interpret images for use in notes and chat, this is optional however highly recommended if you want your AI tutor to analyze any images from your upload
-
Toggle the Generate Study Notes button and select your preferred note format from the options below:
Summarized Notes: highlights key points and main concepts, perfect for a quick review In-Depth Notes: generates expanded, detailed notes with important context and explanations designed to help you fully understand complex topics Comprehensive Notes: retains every detail, perfect for subjects where missing information isn’t an option -
Under Advanced, you can choose to split your material based on chapters by selecting one of the options under Chapter Splitting

-
Then select Upload file from the bottom right corner, and our AI will start analyzing your content and create personalized notes based on your material

From Existing Materials
If you previously uploaded material and did not select Generate Study Notes when uploading your files, do not worry, you can still generate AI notes!-
Open the material you want to generate notes from by selecting the file name from the list on the left under Your Notes or from the Materials section on the right side of the dashboard

-
After opening your material, select Generate Notes from the top left corner of the notes page

-
Select your preferred note format from the options below:
-Summarized: highlights key points and main concepts, perfect for a quick review
-Detailed (In-Depth): detailed coverage with important context and explanations
-Comprehensive: retains every detail, perfect for subjects where missing information isn’t an option

- To ensure your notes are tailored to your current level of understanding, specify your current skill level on the topic in the box under Skill Level (optional), however this is optional
-
Select Generate Notes, and our AI will start analyzing your content and create personalized notes based on your material

Using Your Generated Notes
Editing and Customizing
- Notes are fully editable, allowing you to customize content directly within the document. Simply click into the note to add or delete text and images as desired
- You can resize images by selecting the image and dragging the corner to make it larger or smaller
-
You can also use the editing tools on the top of the Notes to further format your notes

Restoring Previous Note
-
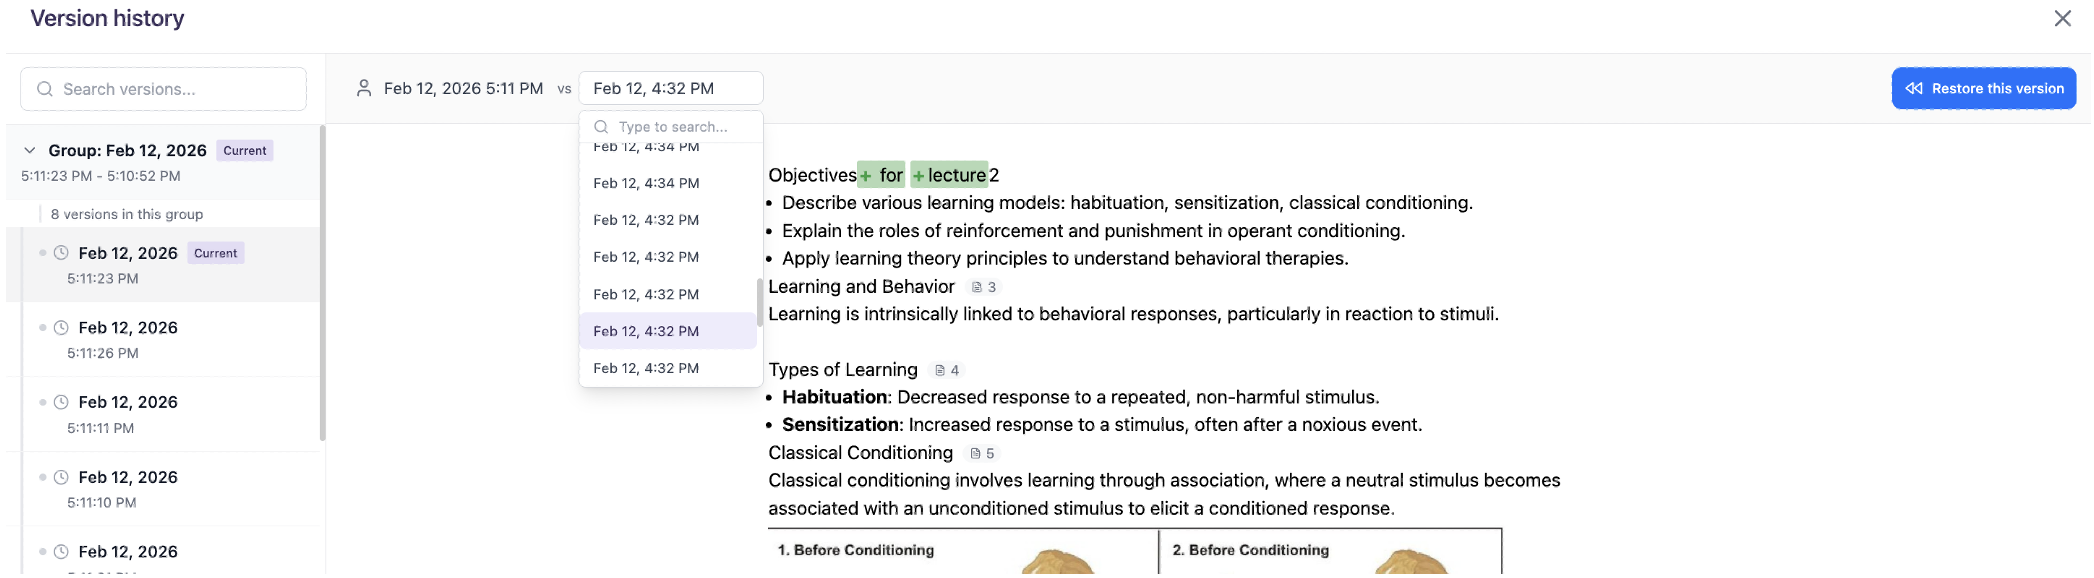
Select the Version History button from the right side of the toolbar above your note

-
Click any timestamped version from the list on the left to locate the note you want to restore
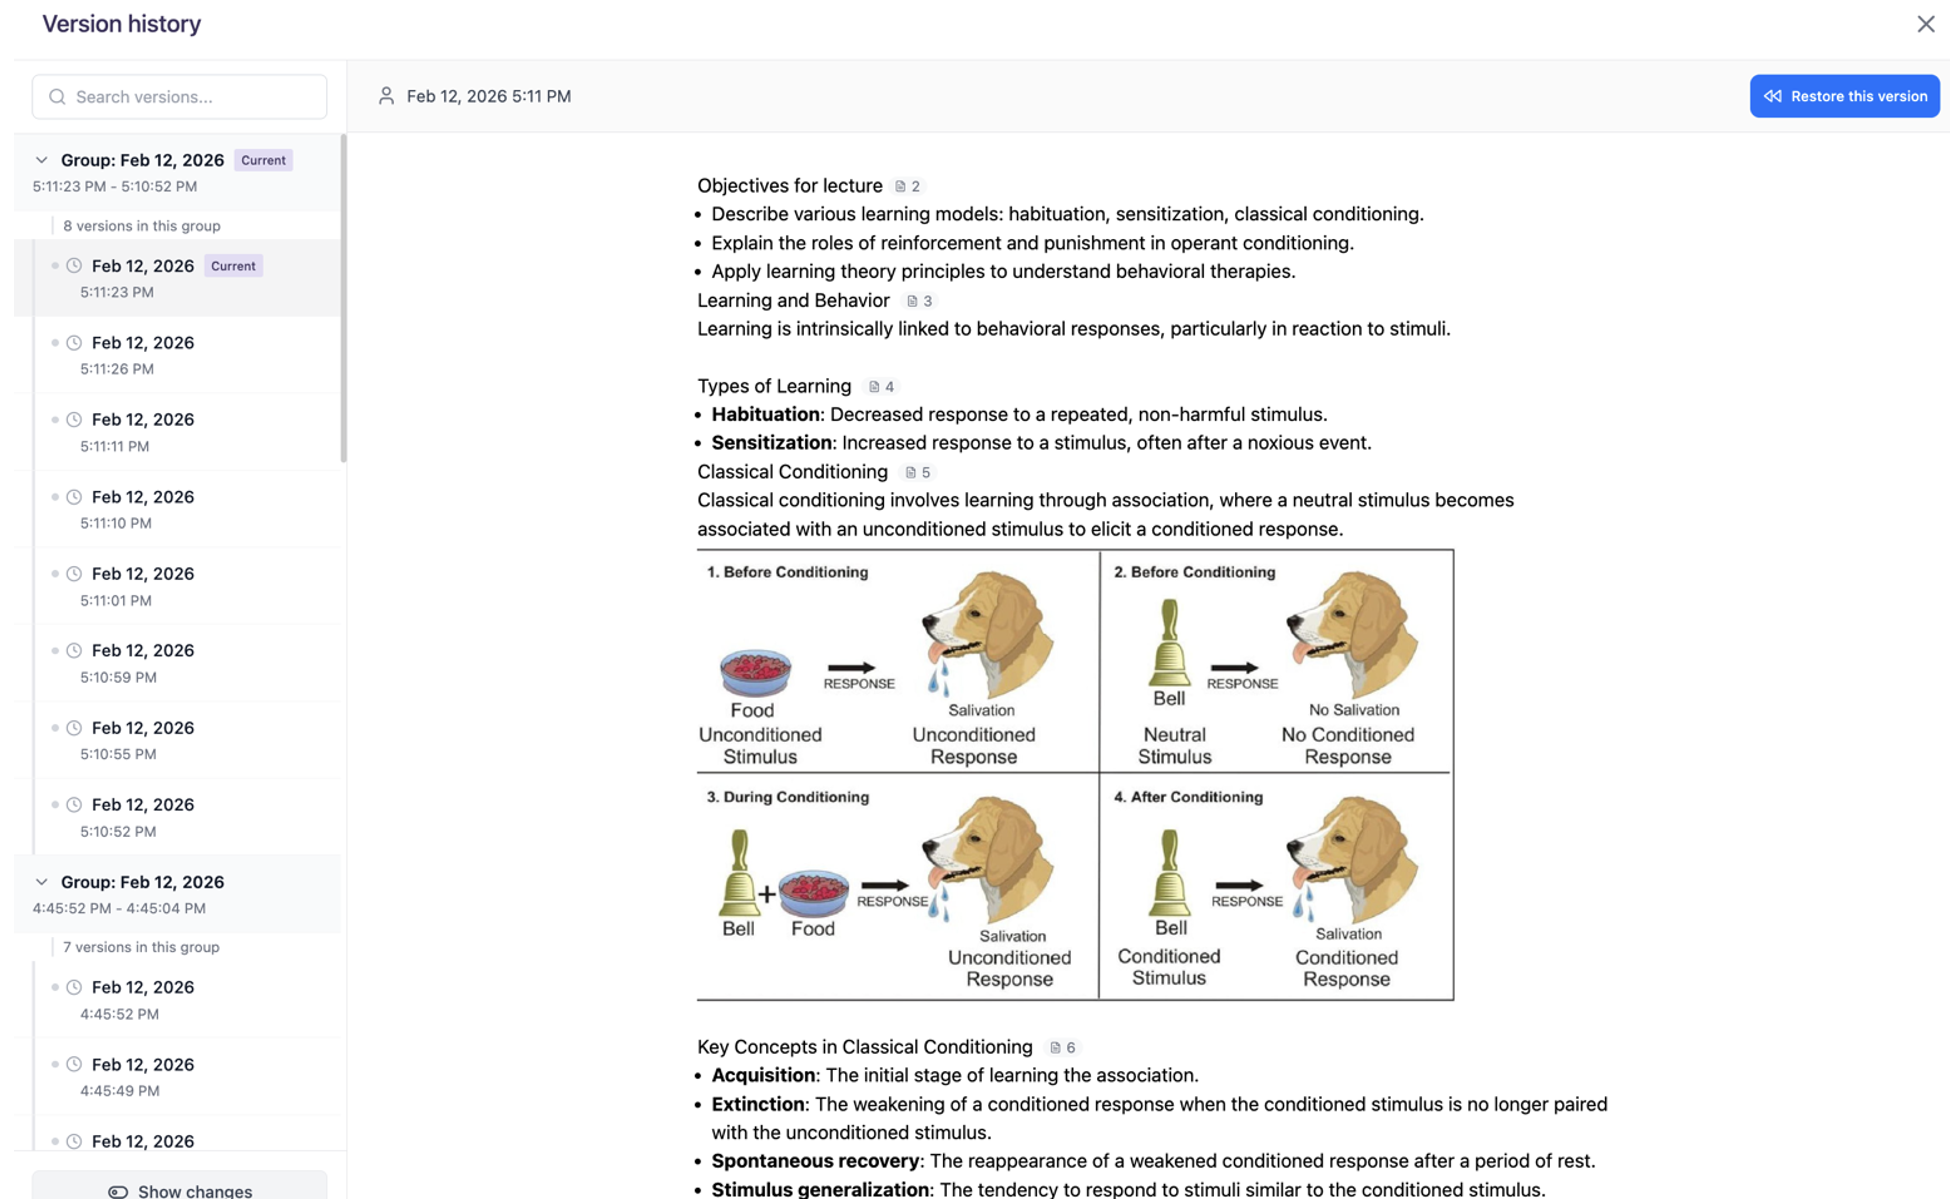
- To compare versions, toggle the Show Changes button in the bottom-left corner
- Next click the box to the right of vs and choose the version you want to compare against, differences between versions will appear highlighted directly within the note
-
After locating the desired note version, select Restore this version from the top-right corner
-
If you are sure you want to restore this note version, select OK

-
Your previous note version is now restored!

Printing Your Notes
-
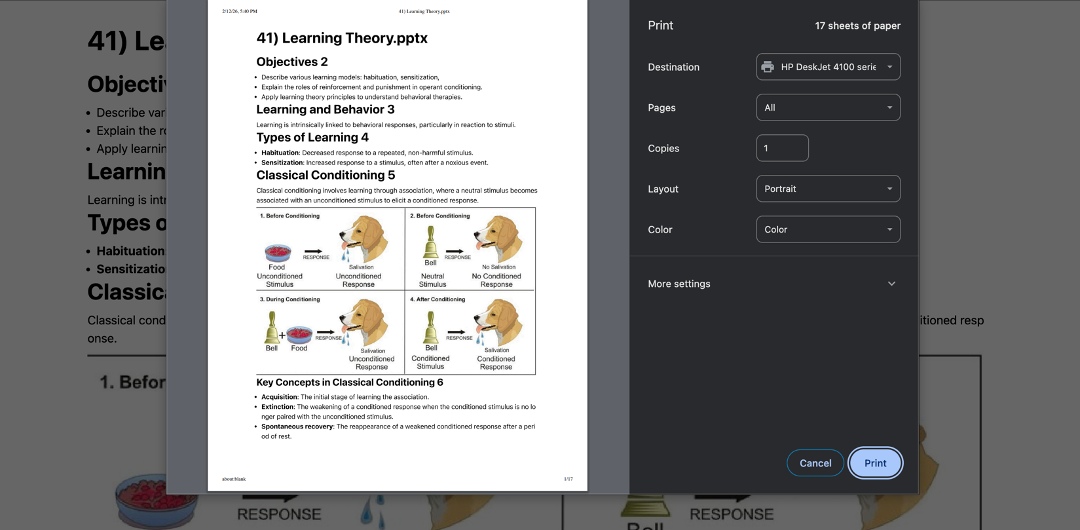
Select the Print button from the toolbar above your note

-
The note will open in a new tab displaying the print settings. Review and adjust your print options as needed, then select Print
Clarify and Explore Your Notes with Spark.E
Have questions or need help clarifying something from your notes? Use the Spark.E chat to get personalized support instantly!-
Ask questions directly in the chat on the right by typing your question and pressing Enter or select the blue button with the arrow to send or…

-
Highlight a section of your note, click Ask/Edit with Spark.E, then type your question in the chat box and press Enter or select the blue button with the arrow to send

Features and Capabilities
The Notes feature offers several advantages:- Smart Formatting: Notes are automatically organized with headings, bullet points, and other formatting to improve readability
- Key Concept Highlighting: AI will automatically bold any key terms and important concepts that are emphasized in your material
- Full Editability: You can modify, add to, or rearrange the generated notes
-
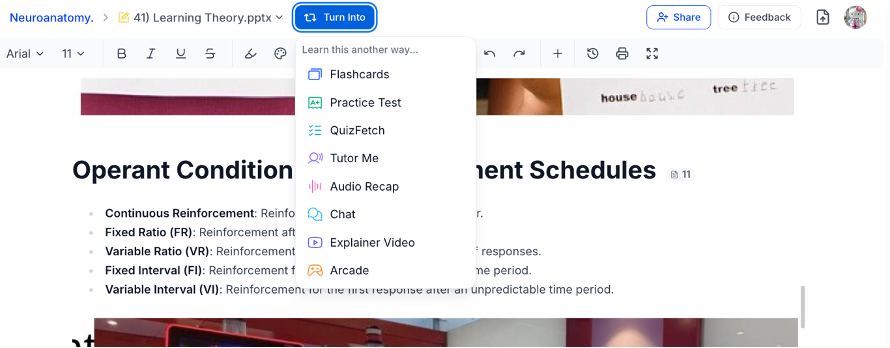
Integration with Other Tools: Your notes can be used to generate flashcards, quizzes, and other study materials. You can generate study materials from within each feature section or directly from your notes by selecting Turn Into above the note and choosing your desired study tool
Next Steps
After creating your notes, you can:- Generate flashcards from your notes
- Create a practice test based on the material
- Record a live lecture to automatically generate notes
- Use Audio Recap to listen to your notes