Introduction
If you’re a visual learner then Explainers is for you! Here, you can create engaging, topic-specific videos to enhance your learning experience.Accessing Explainers
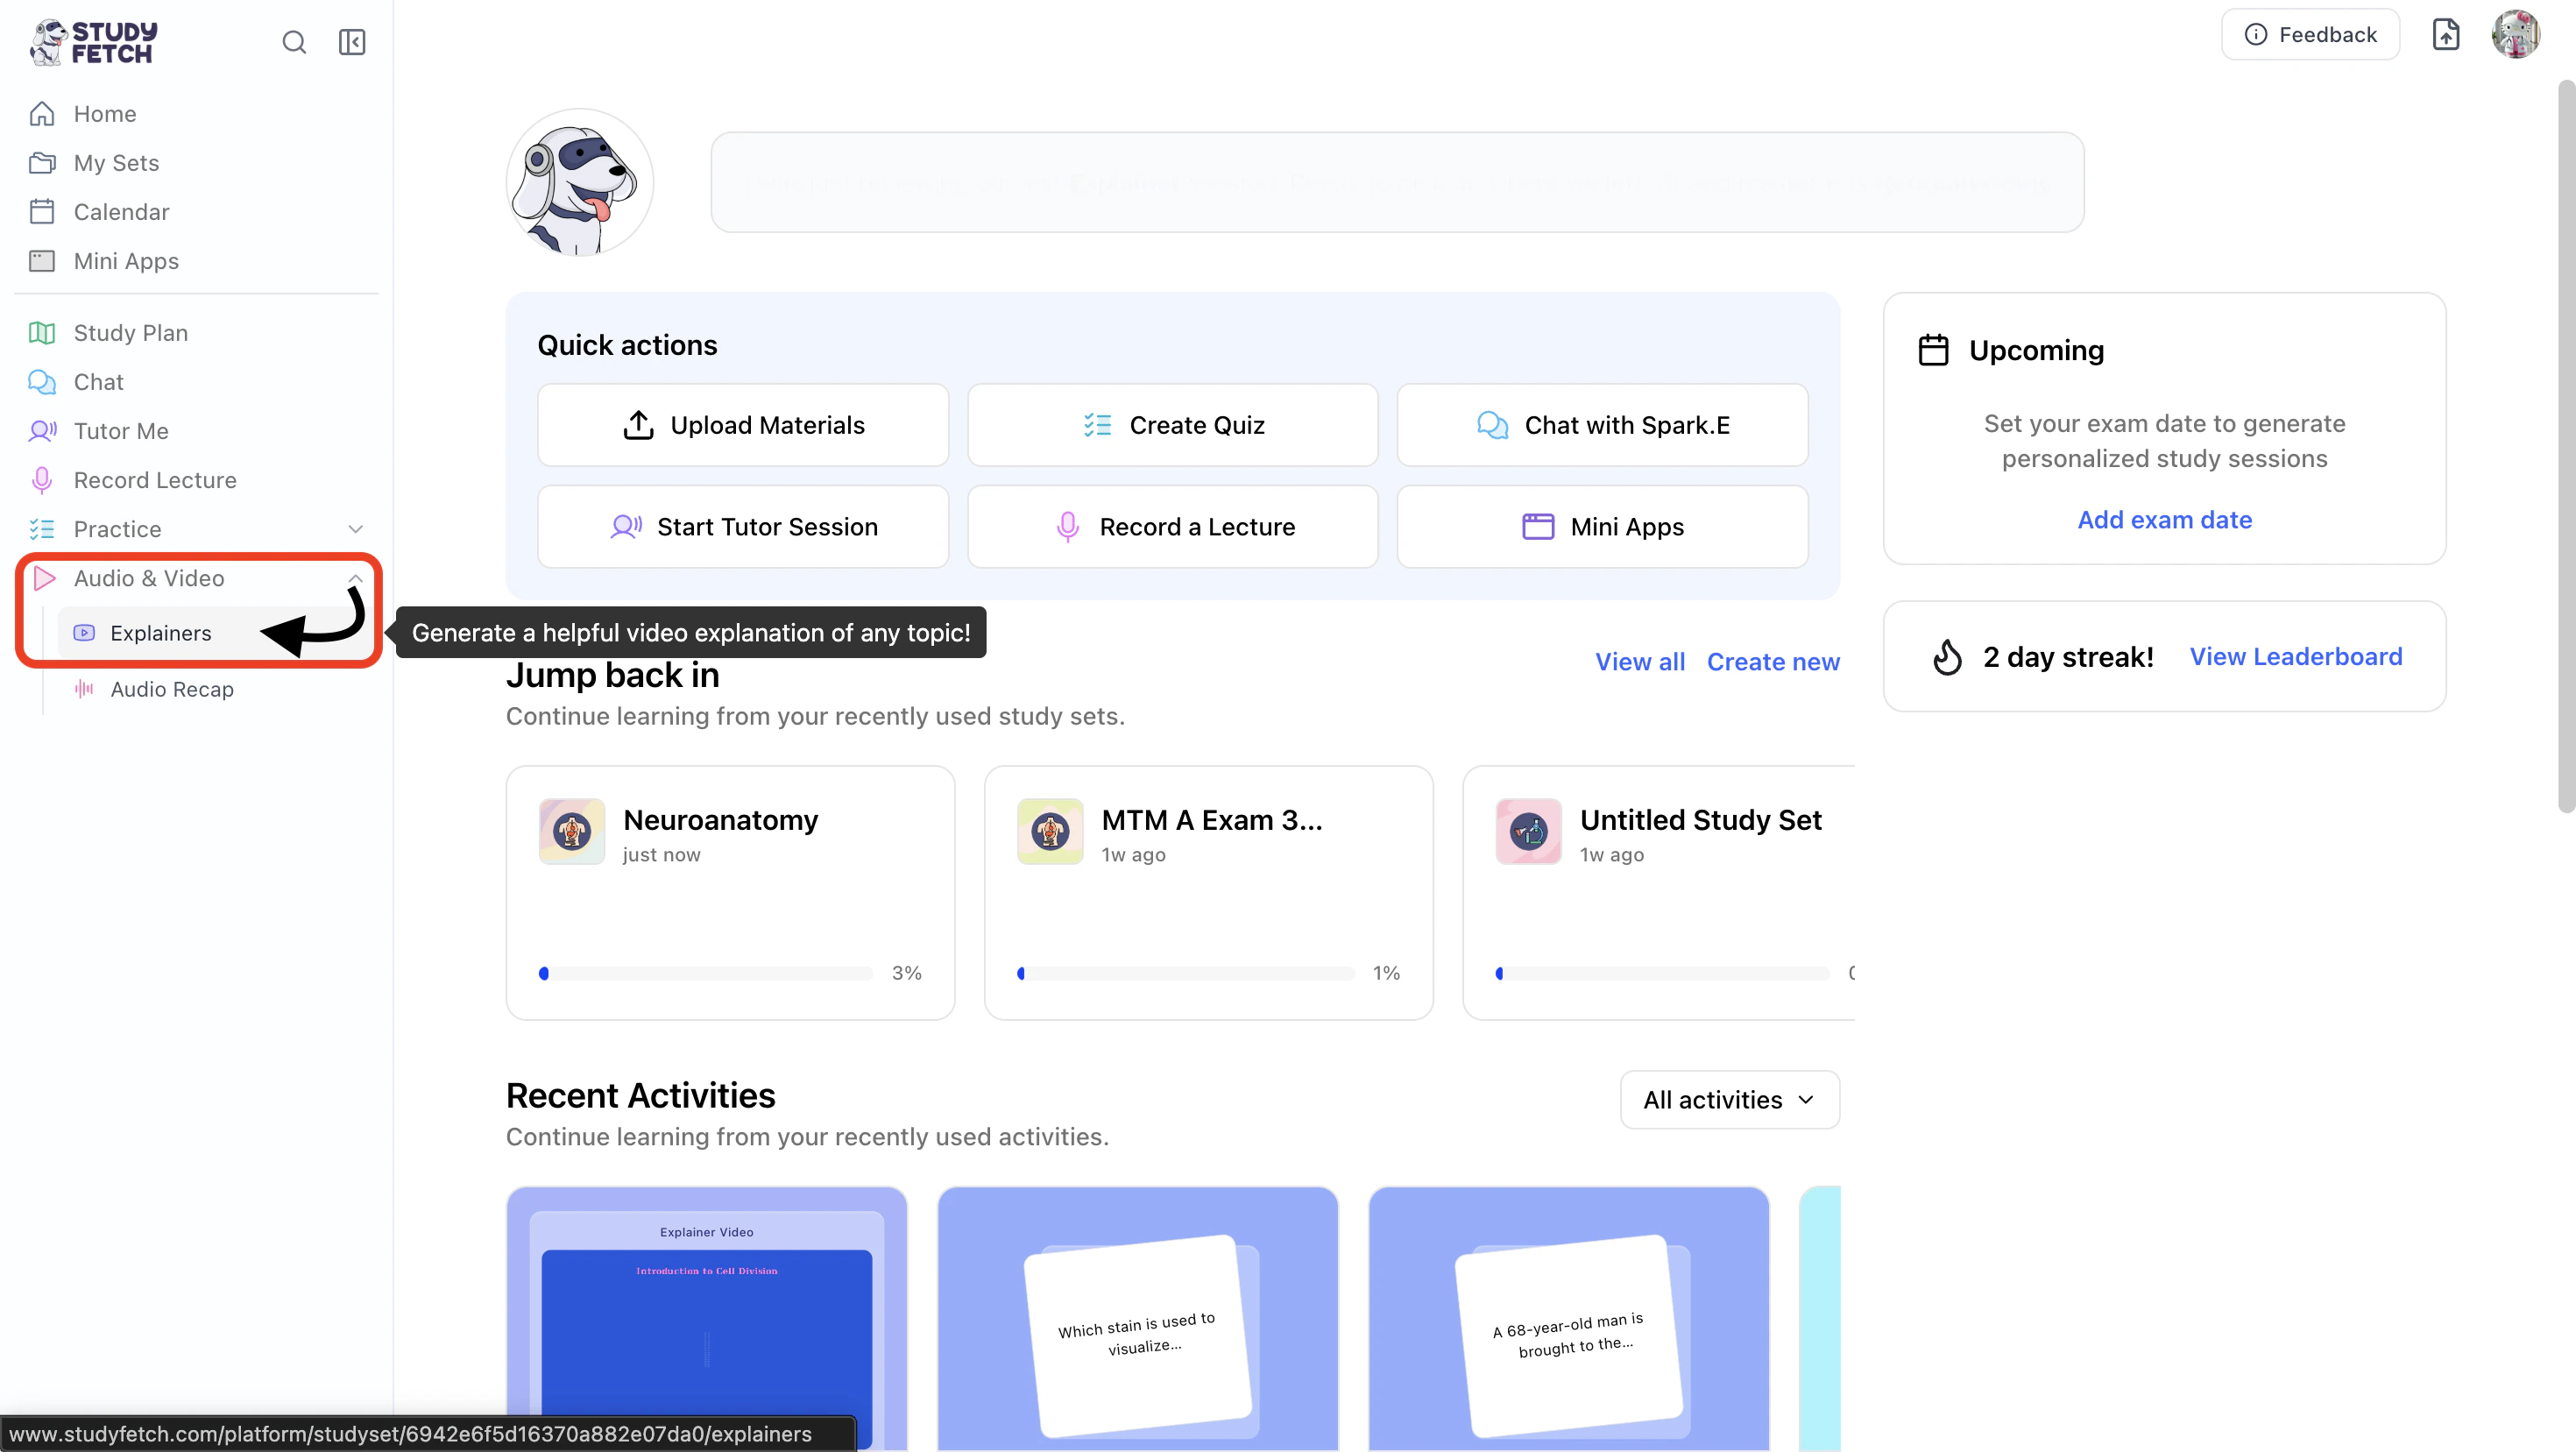
- On the left-hand side of your Dashboard click Audio & Video and then select Explainers.
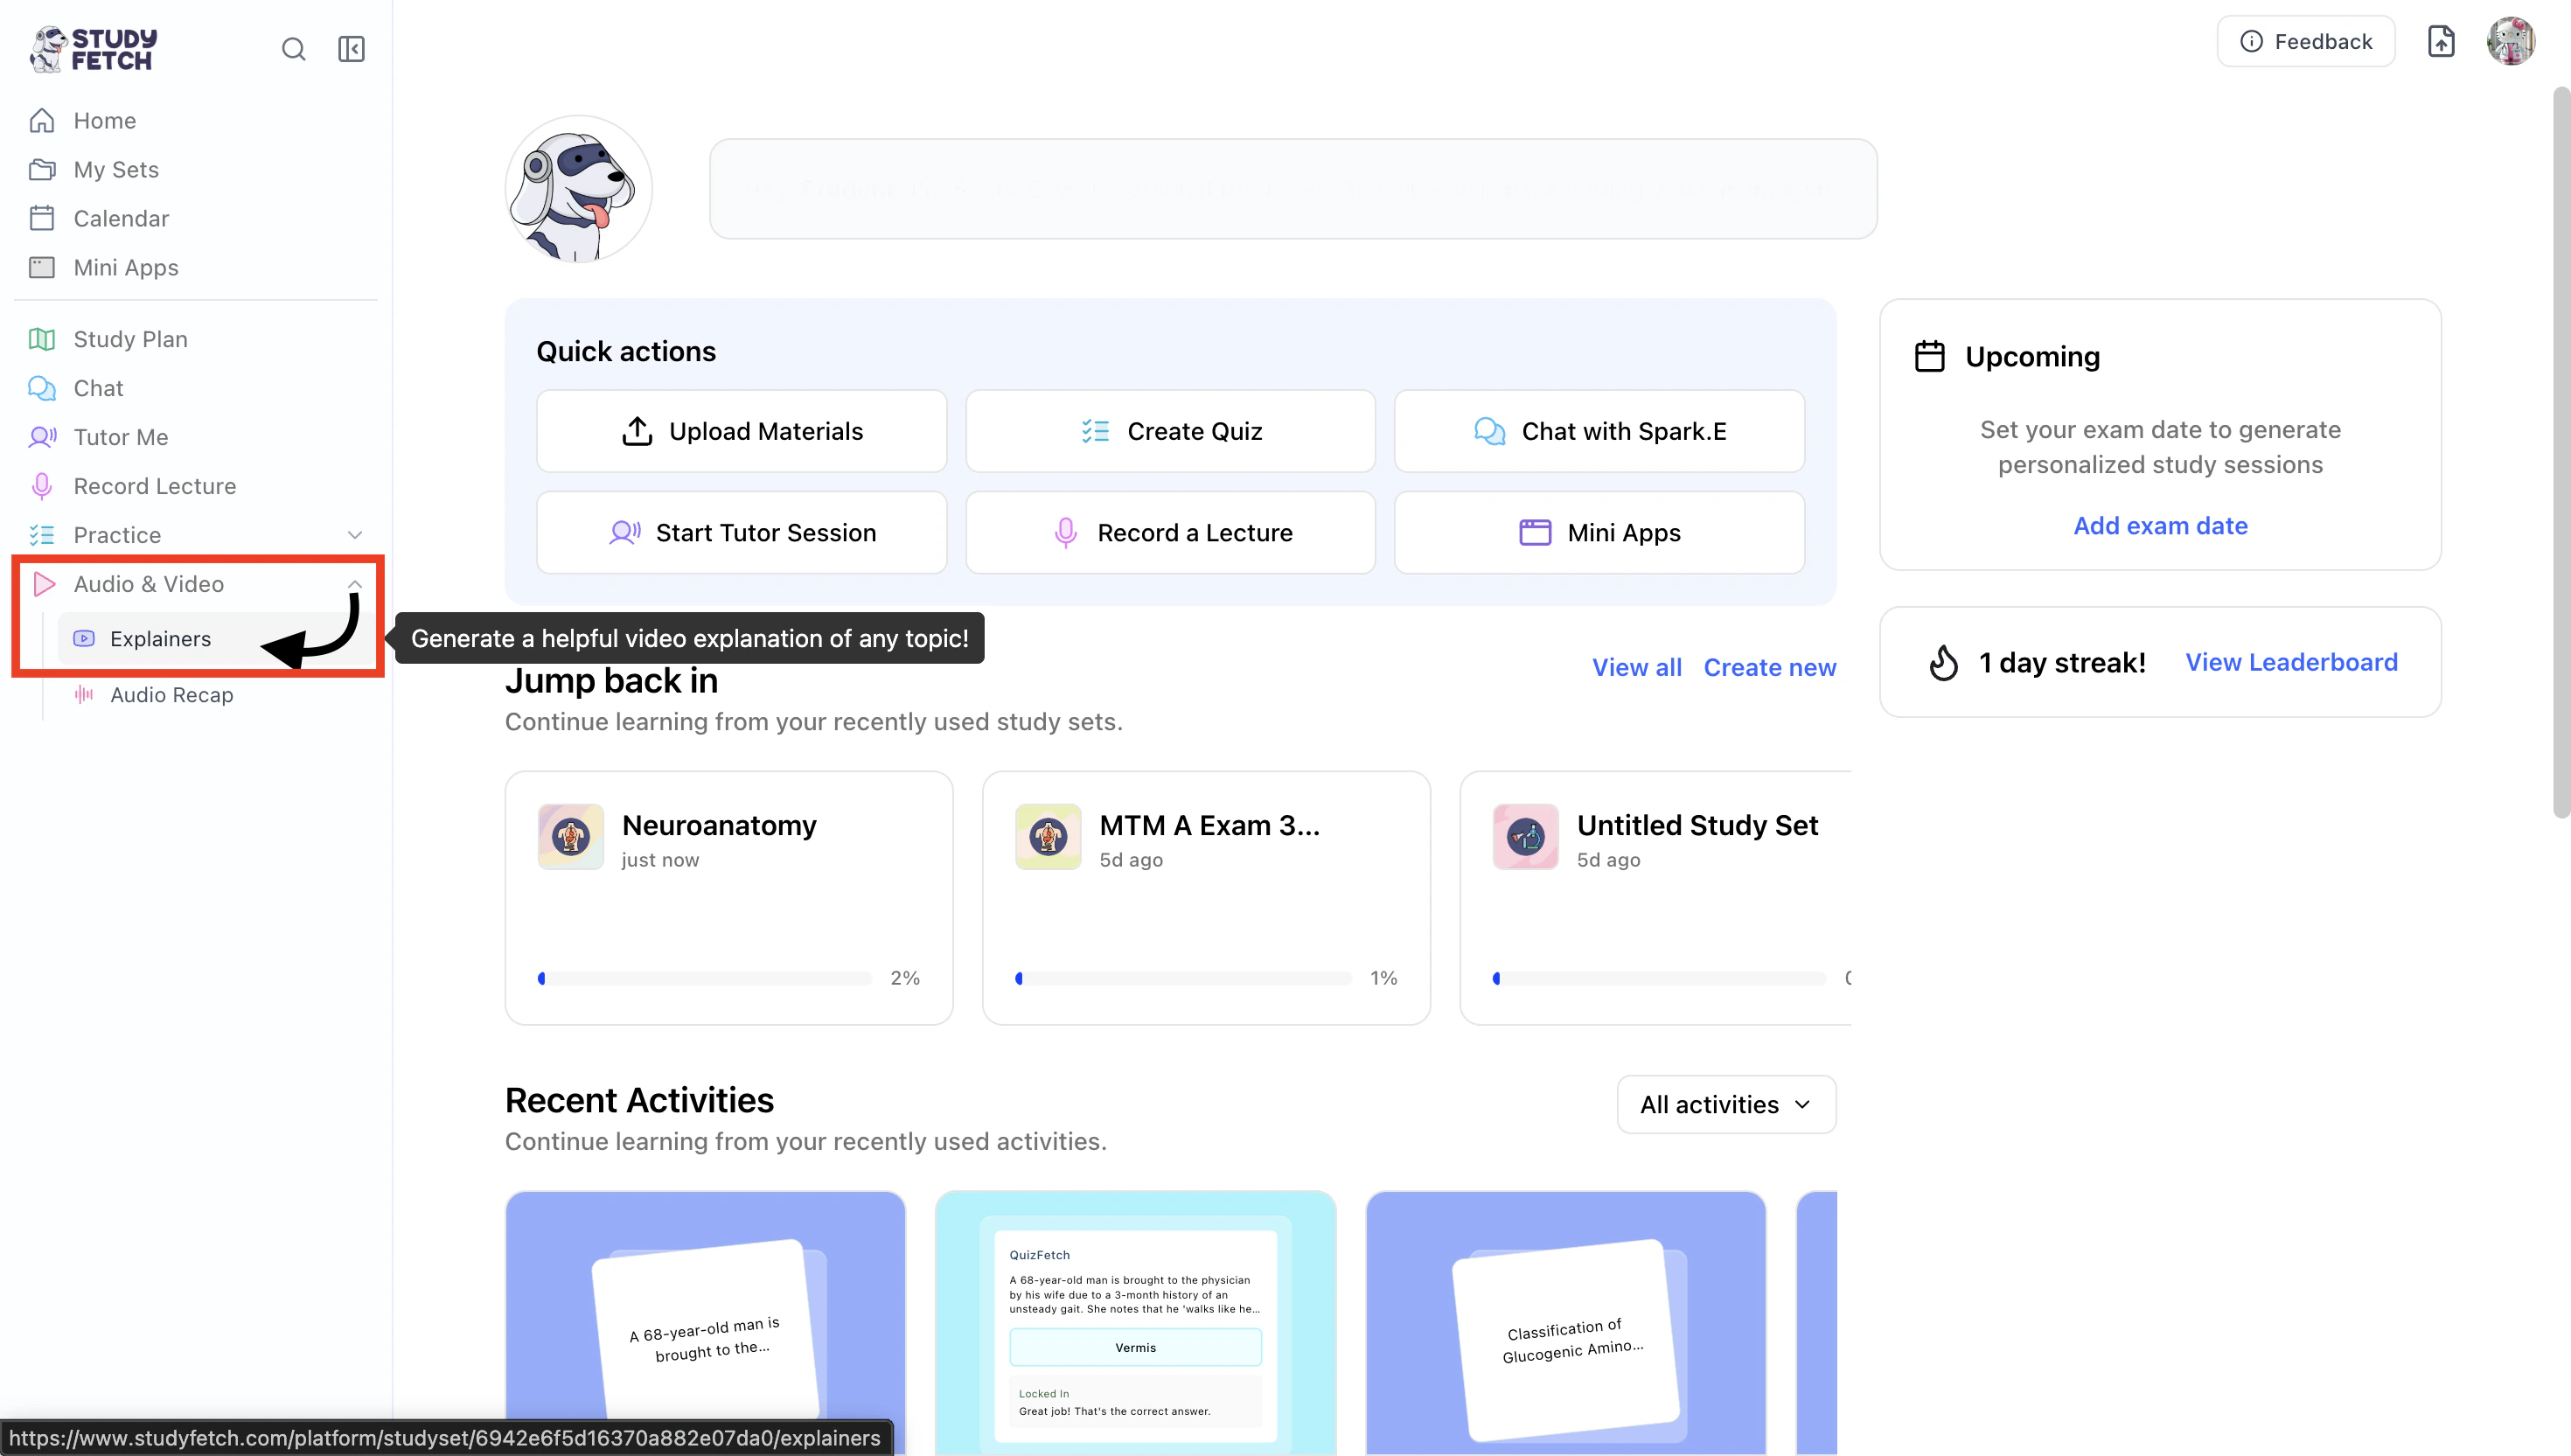
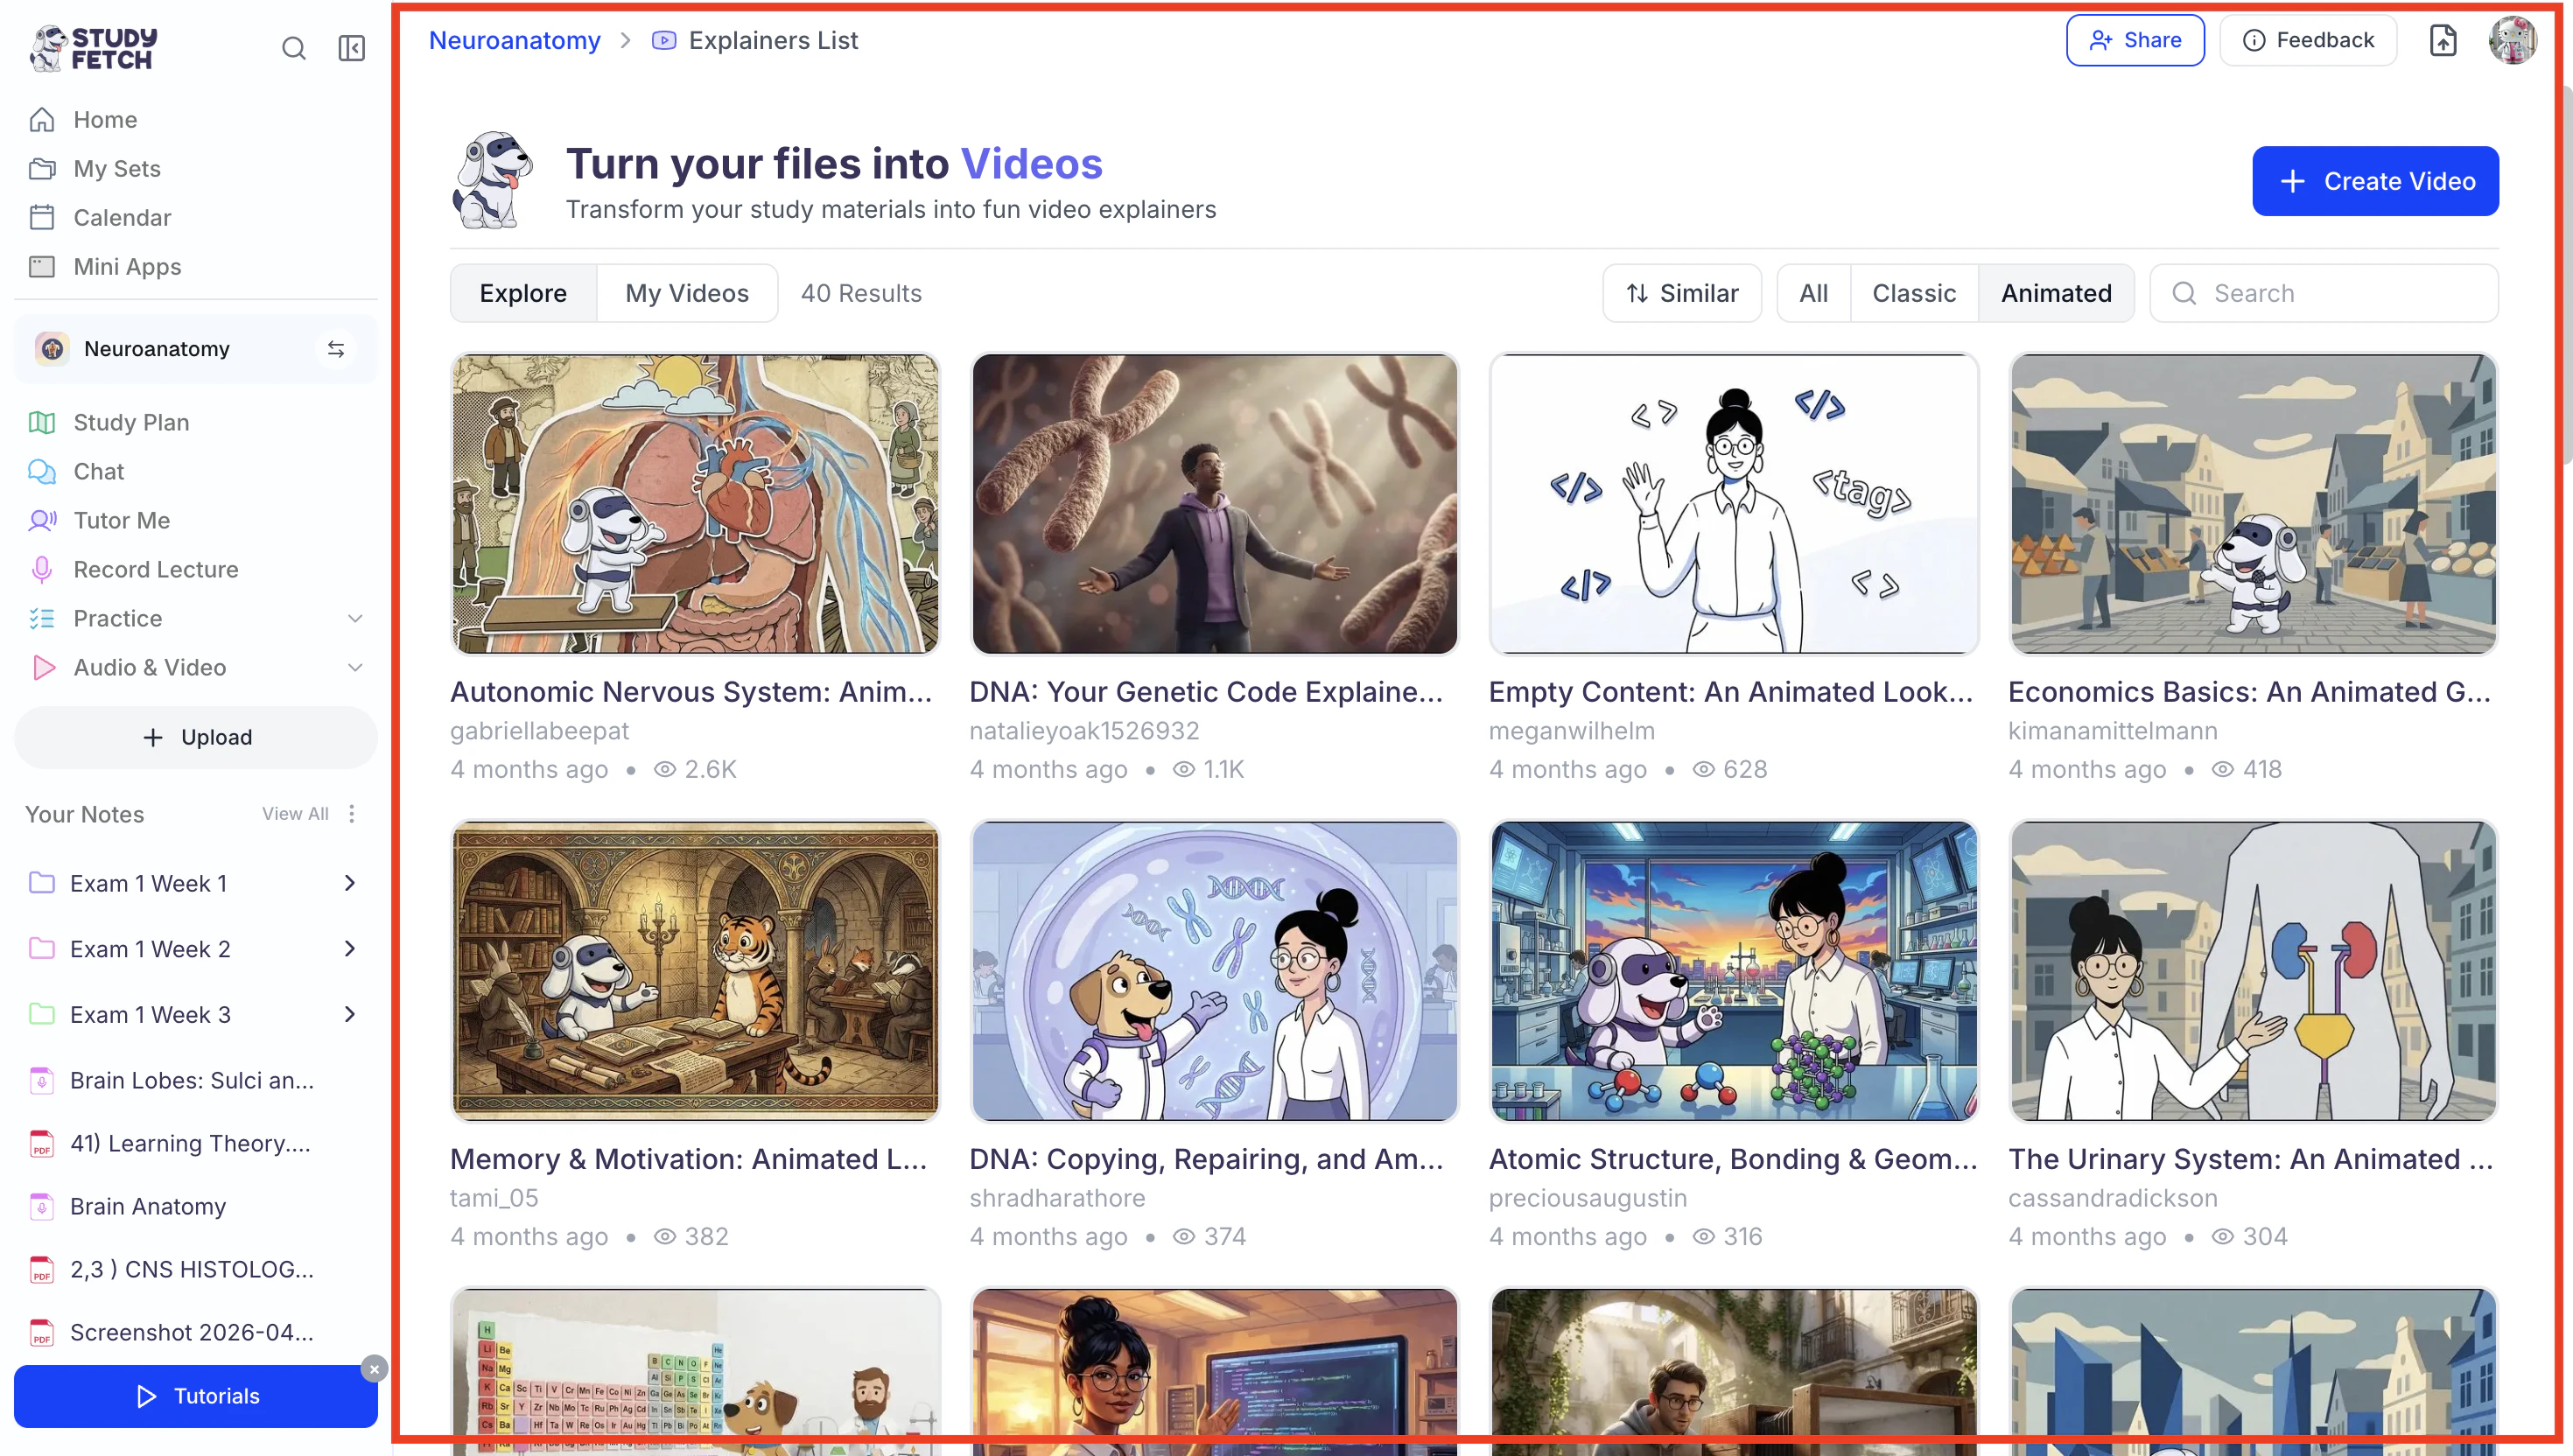
- The Explainers List will load.
Here you can find all the StudyFetch community explainers.
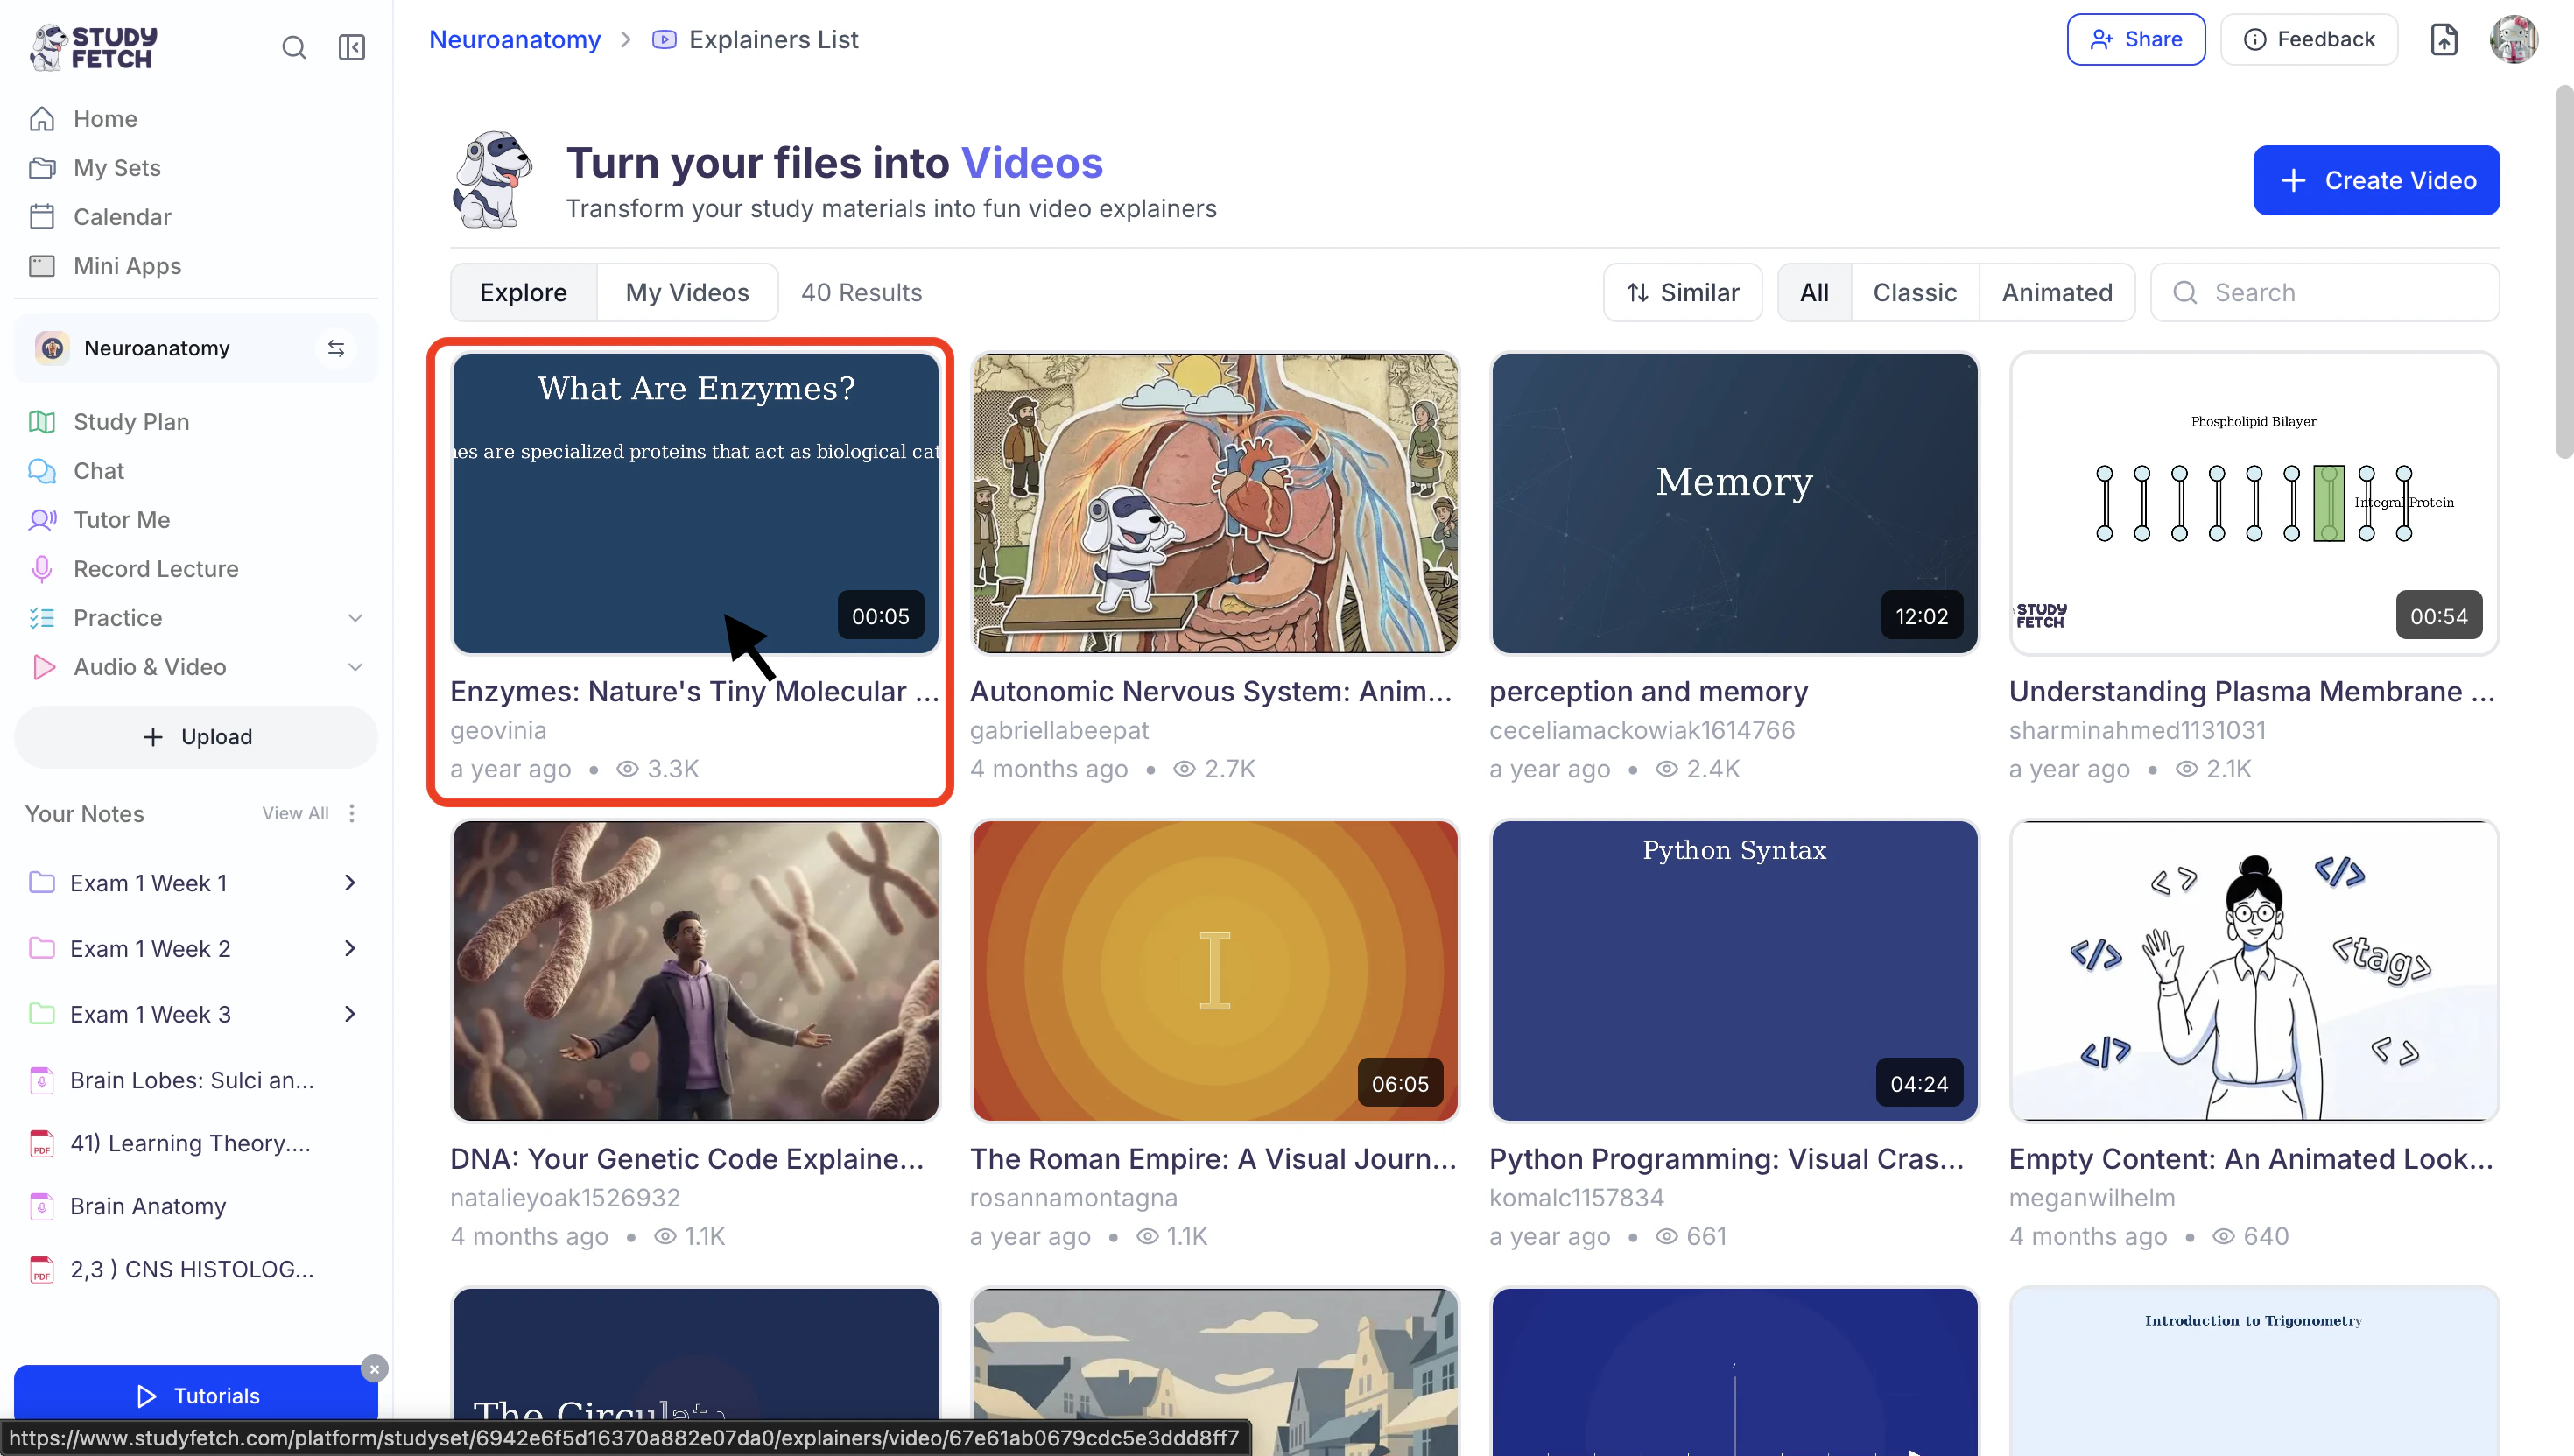
- When you find an explainer video you want to watch, click on it to start watching.
- To generate a new Explainer, follow the steps outlined below.
Creating Explainers
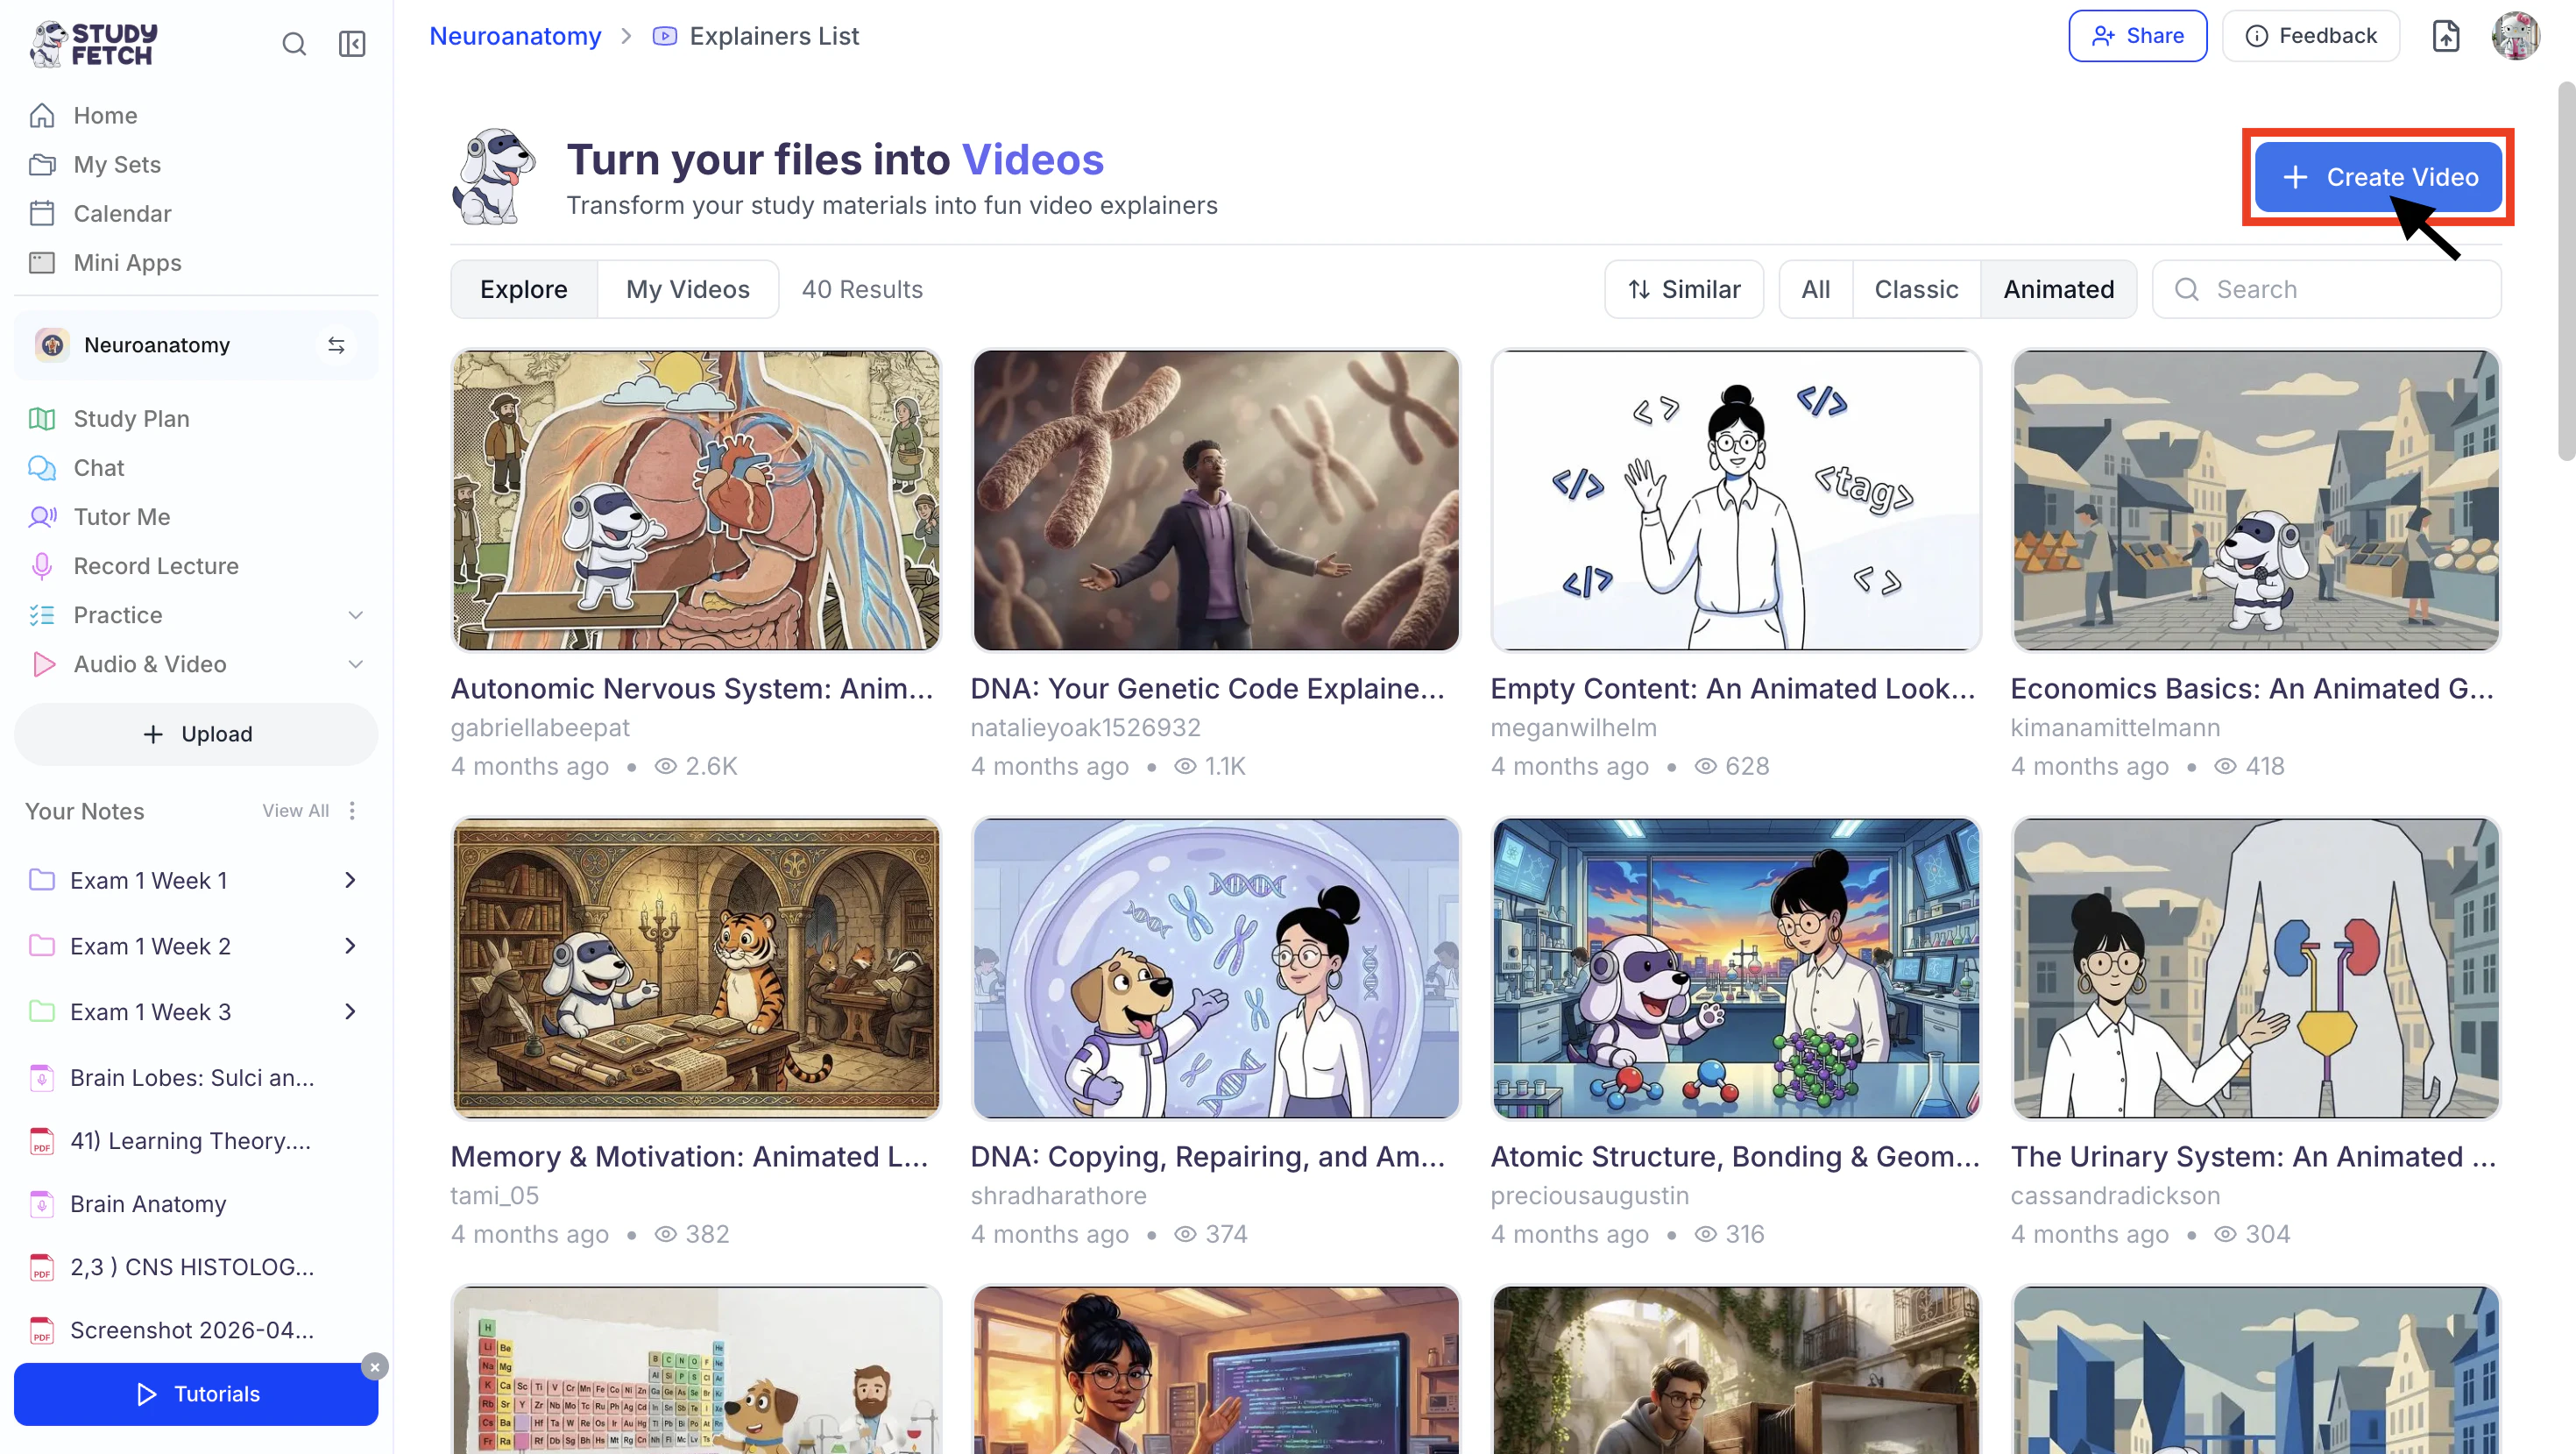
Step 1: Create a New Explainer
- After clicking on Explainers, select + Create Video.
Step 2: Choose Your Source
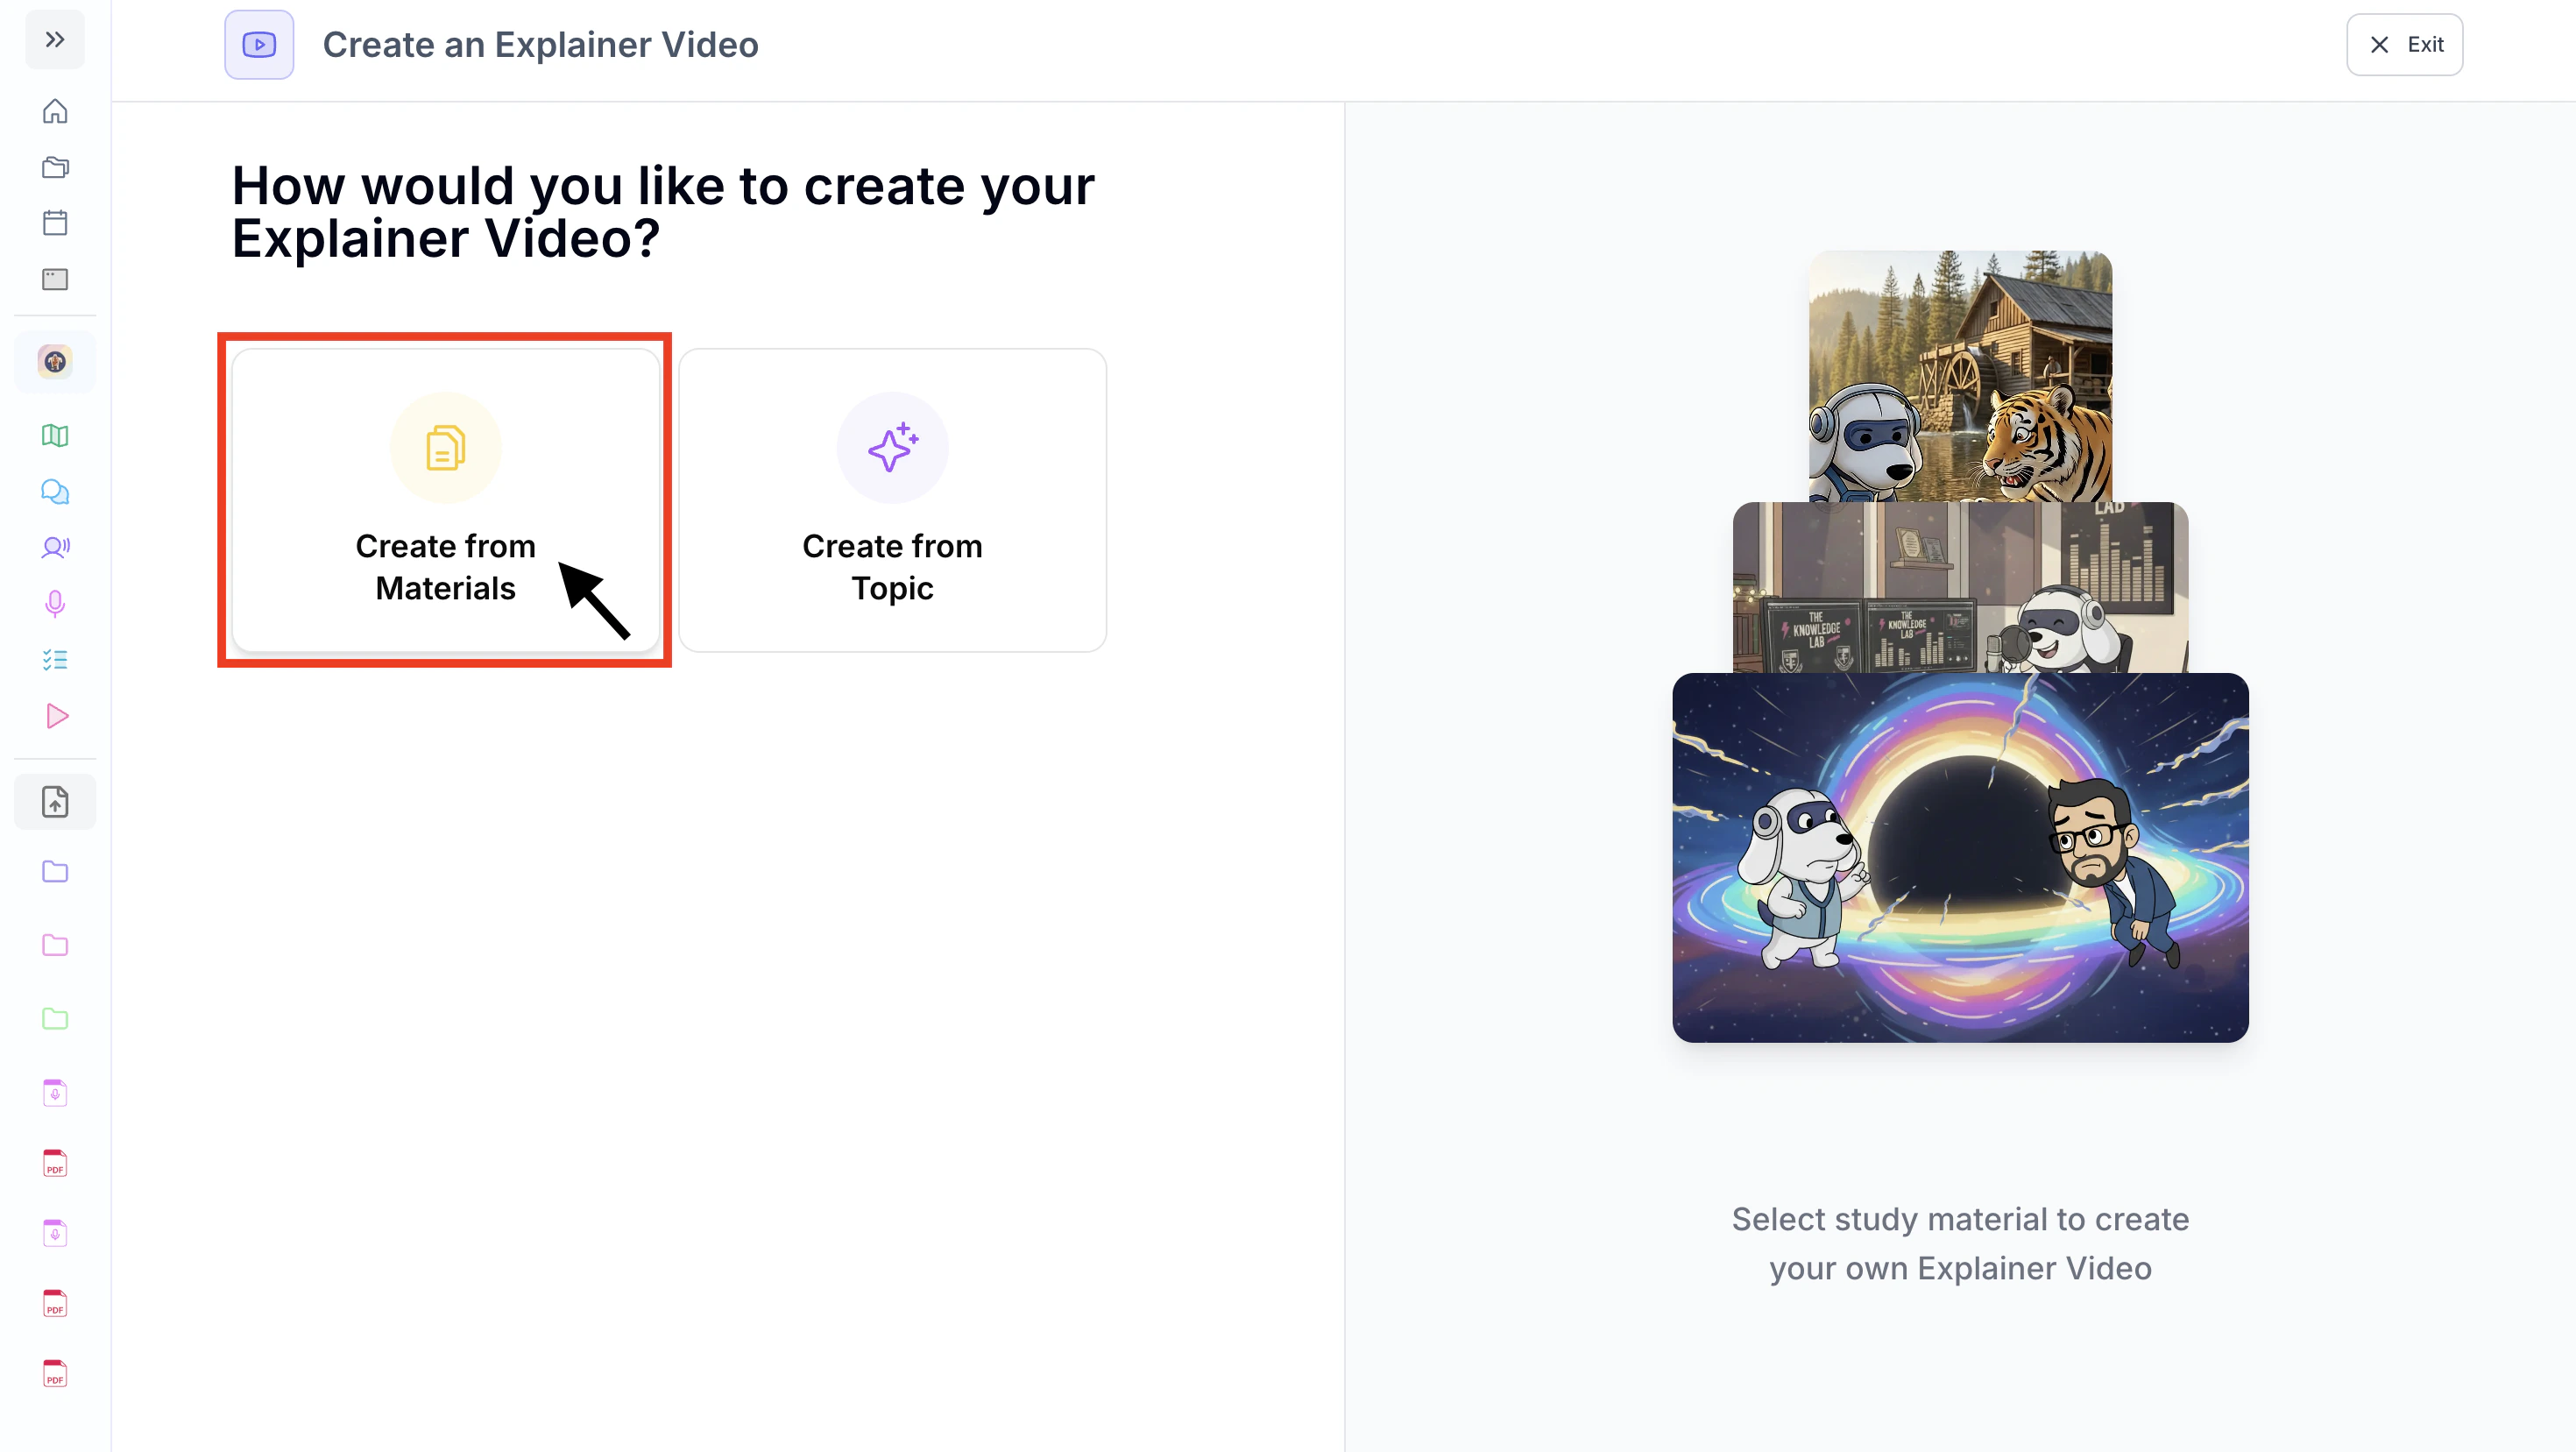
Next, choose how you would like to generate your explainer video from the two options—Method 1: Create from Materials or Method 2: Create from Topic—and follow the instructions listed under the corresponding subheading for your selected method.Method 1: Create from Materials
- Select Create from Materials to build an Explainer Video from your study materials.
- Next, choose which previously uploaded materials you would like to generate an explainer from or select + Upload New Material to import material you haven’t uploaded. For step-by-step instructions on uploading new material, refer to the Uploading Study Materials section.
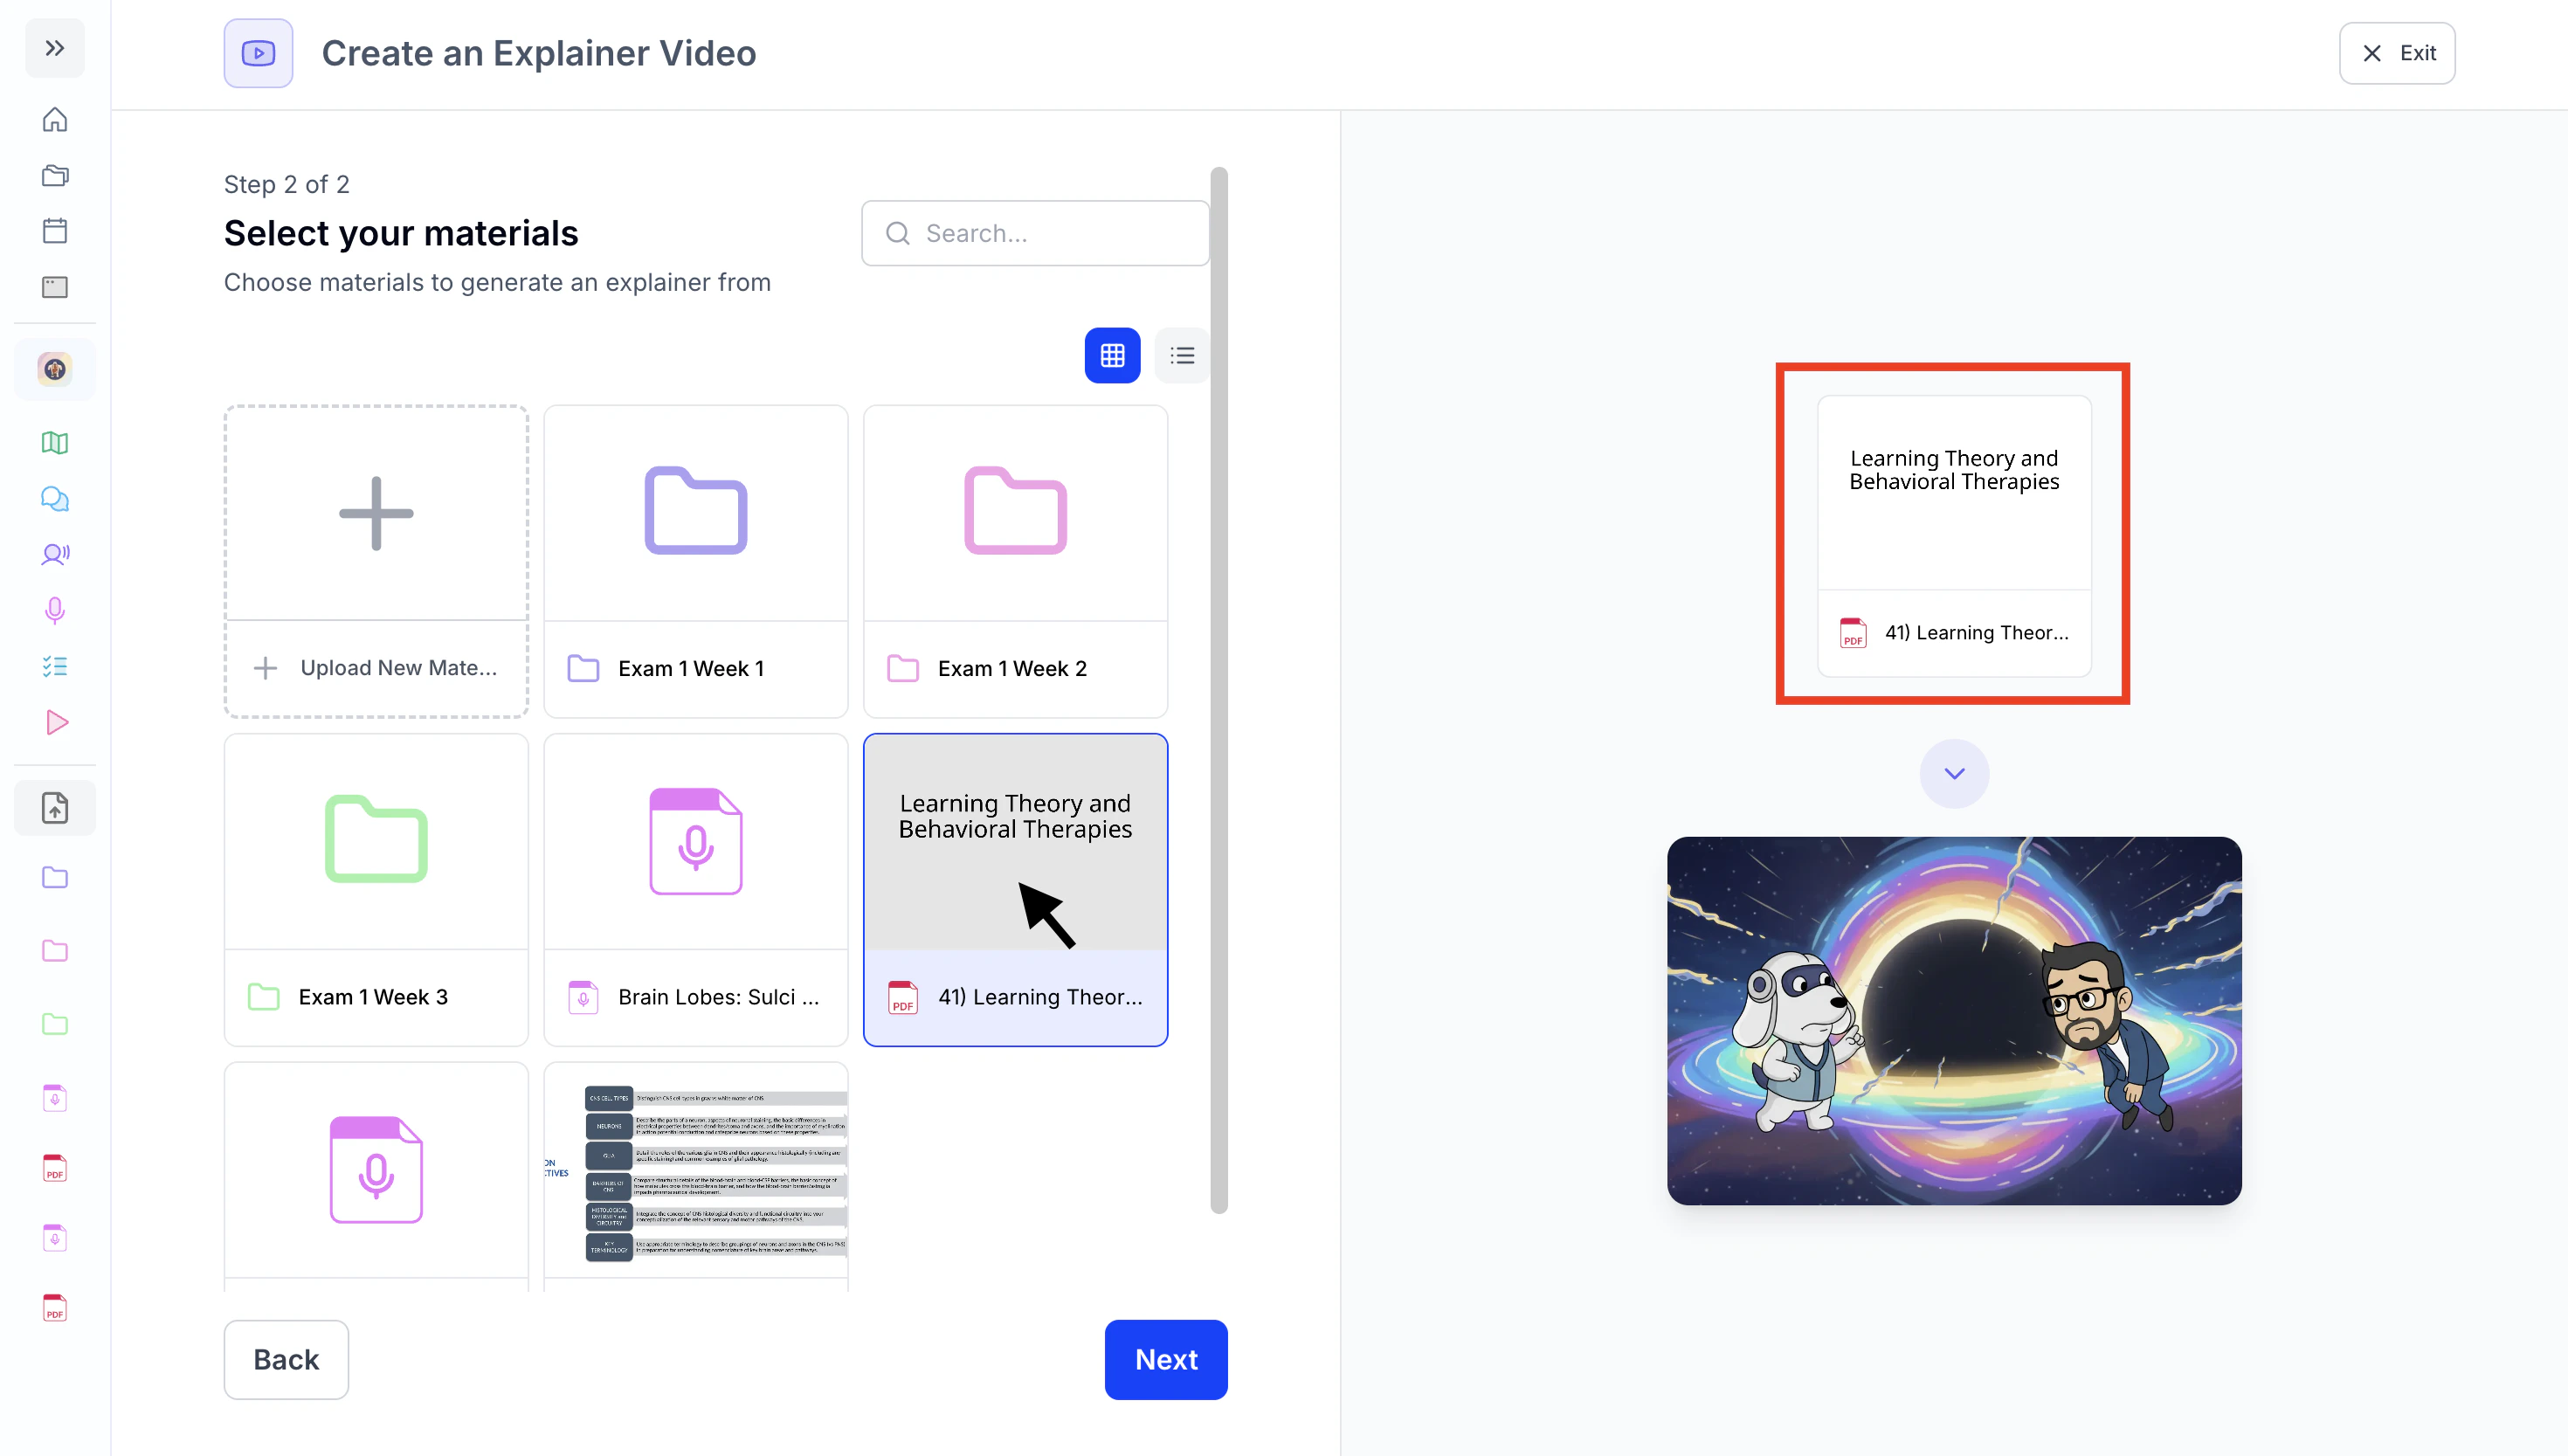
- After selecting your materials, they will appear in the right-side panel (outlined in red above). When finished, click Next.
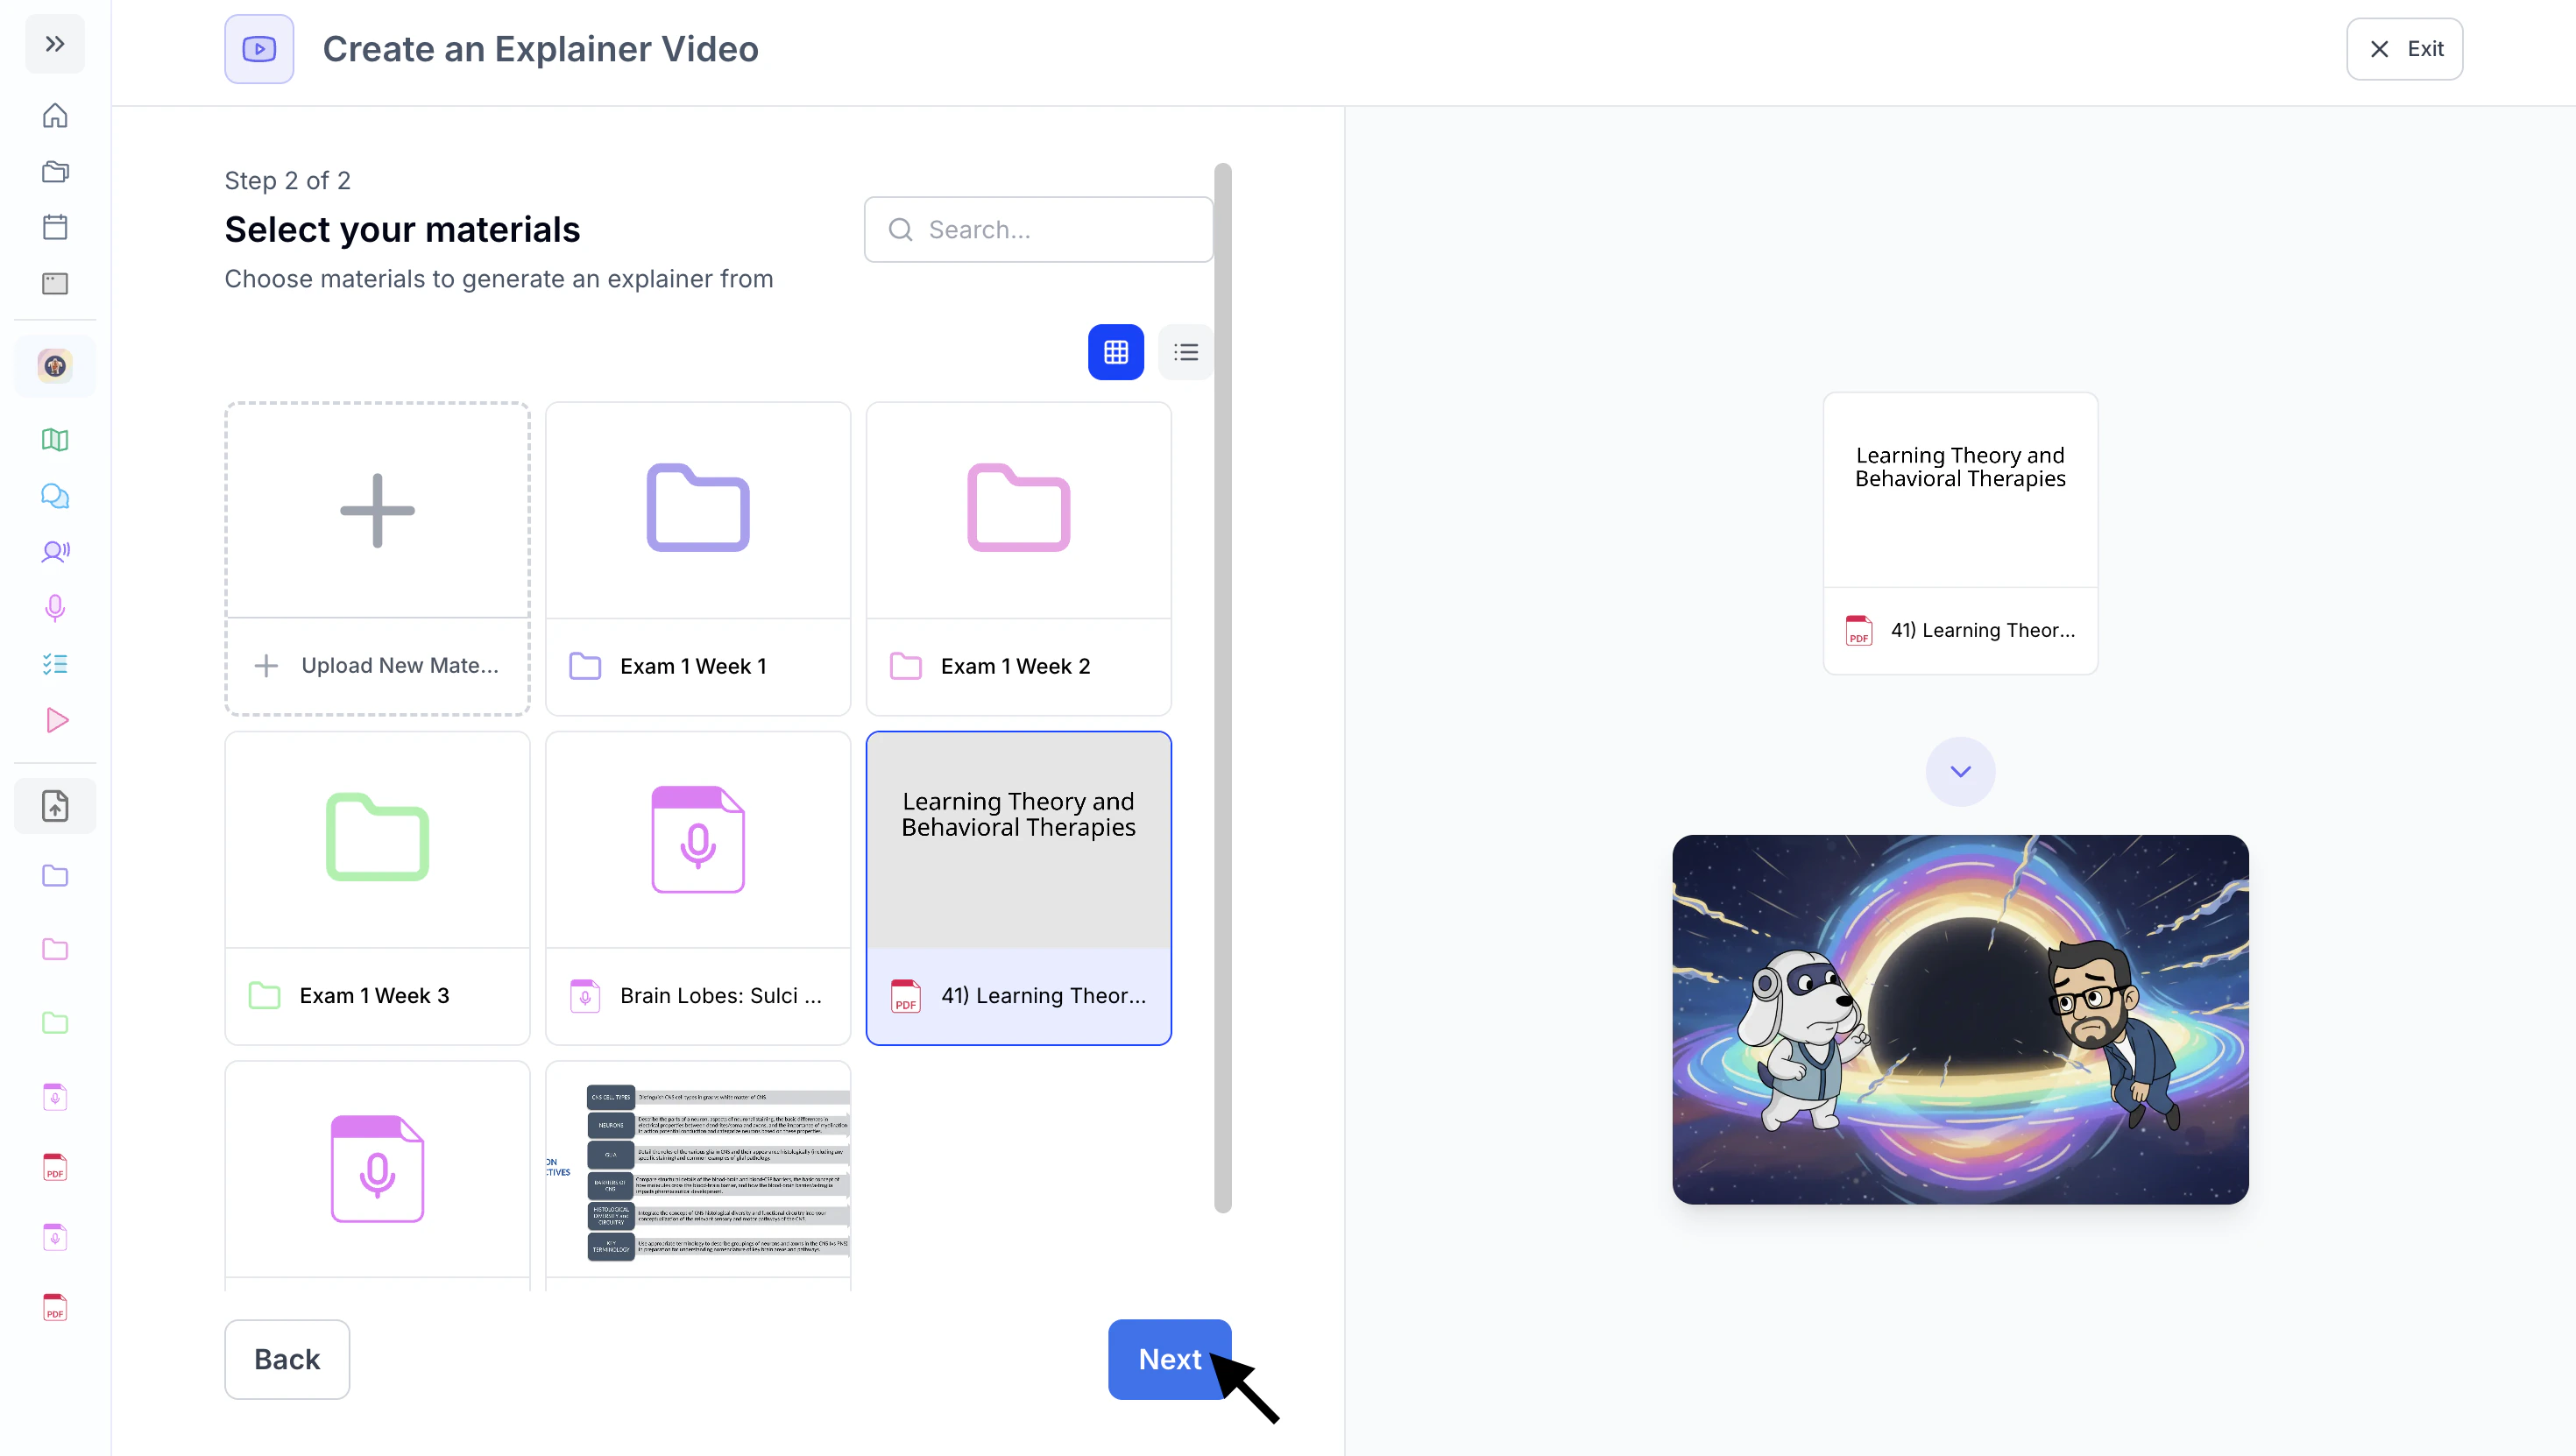
- Proceed to Step 3: Choose an Explainer Video Type.
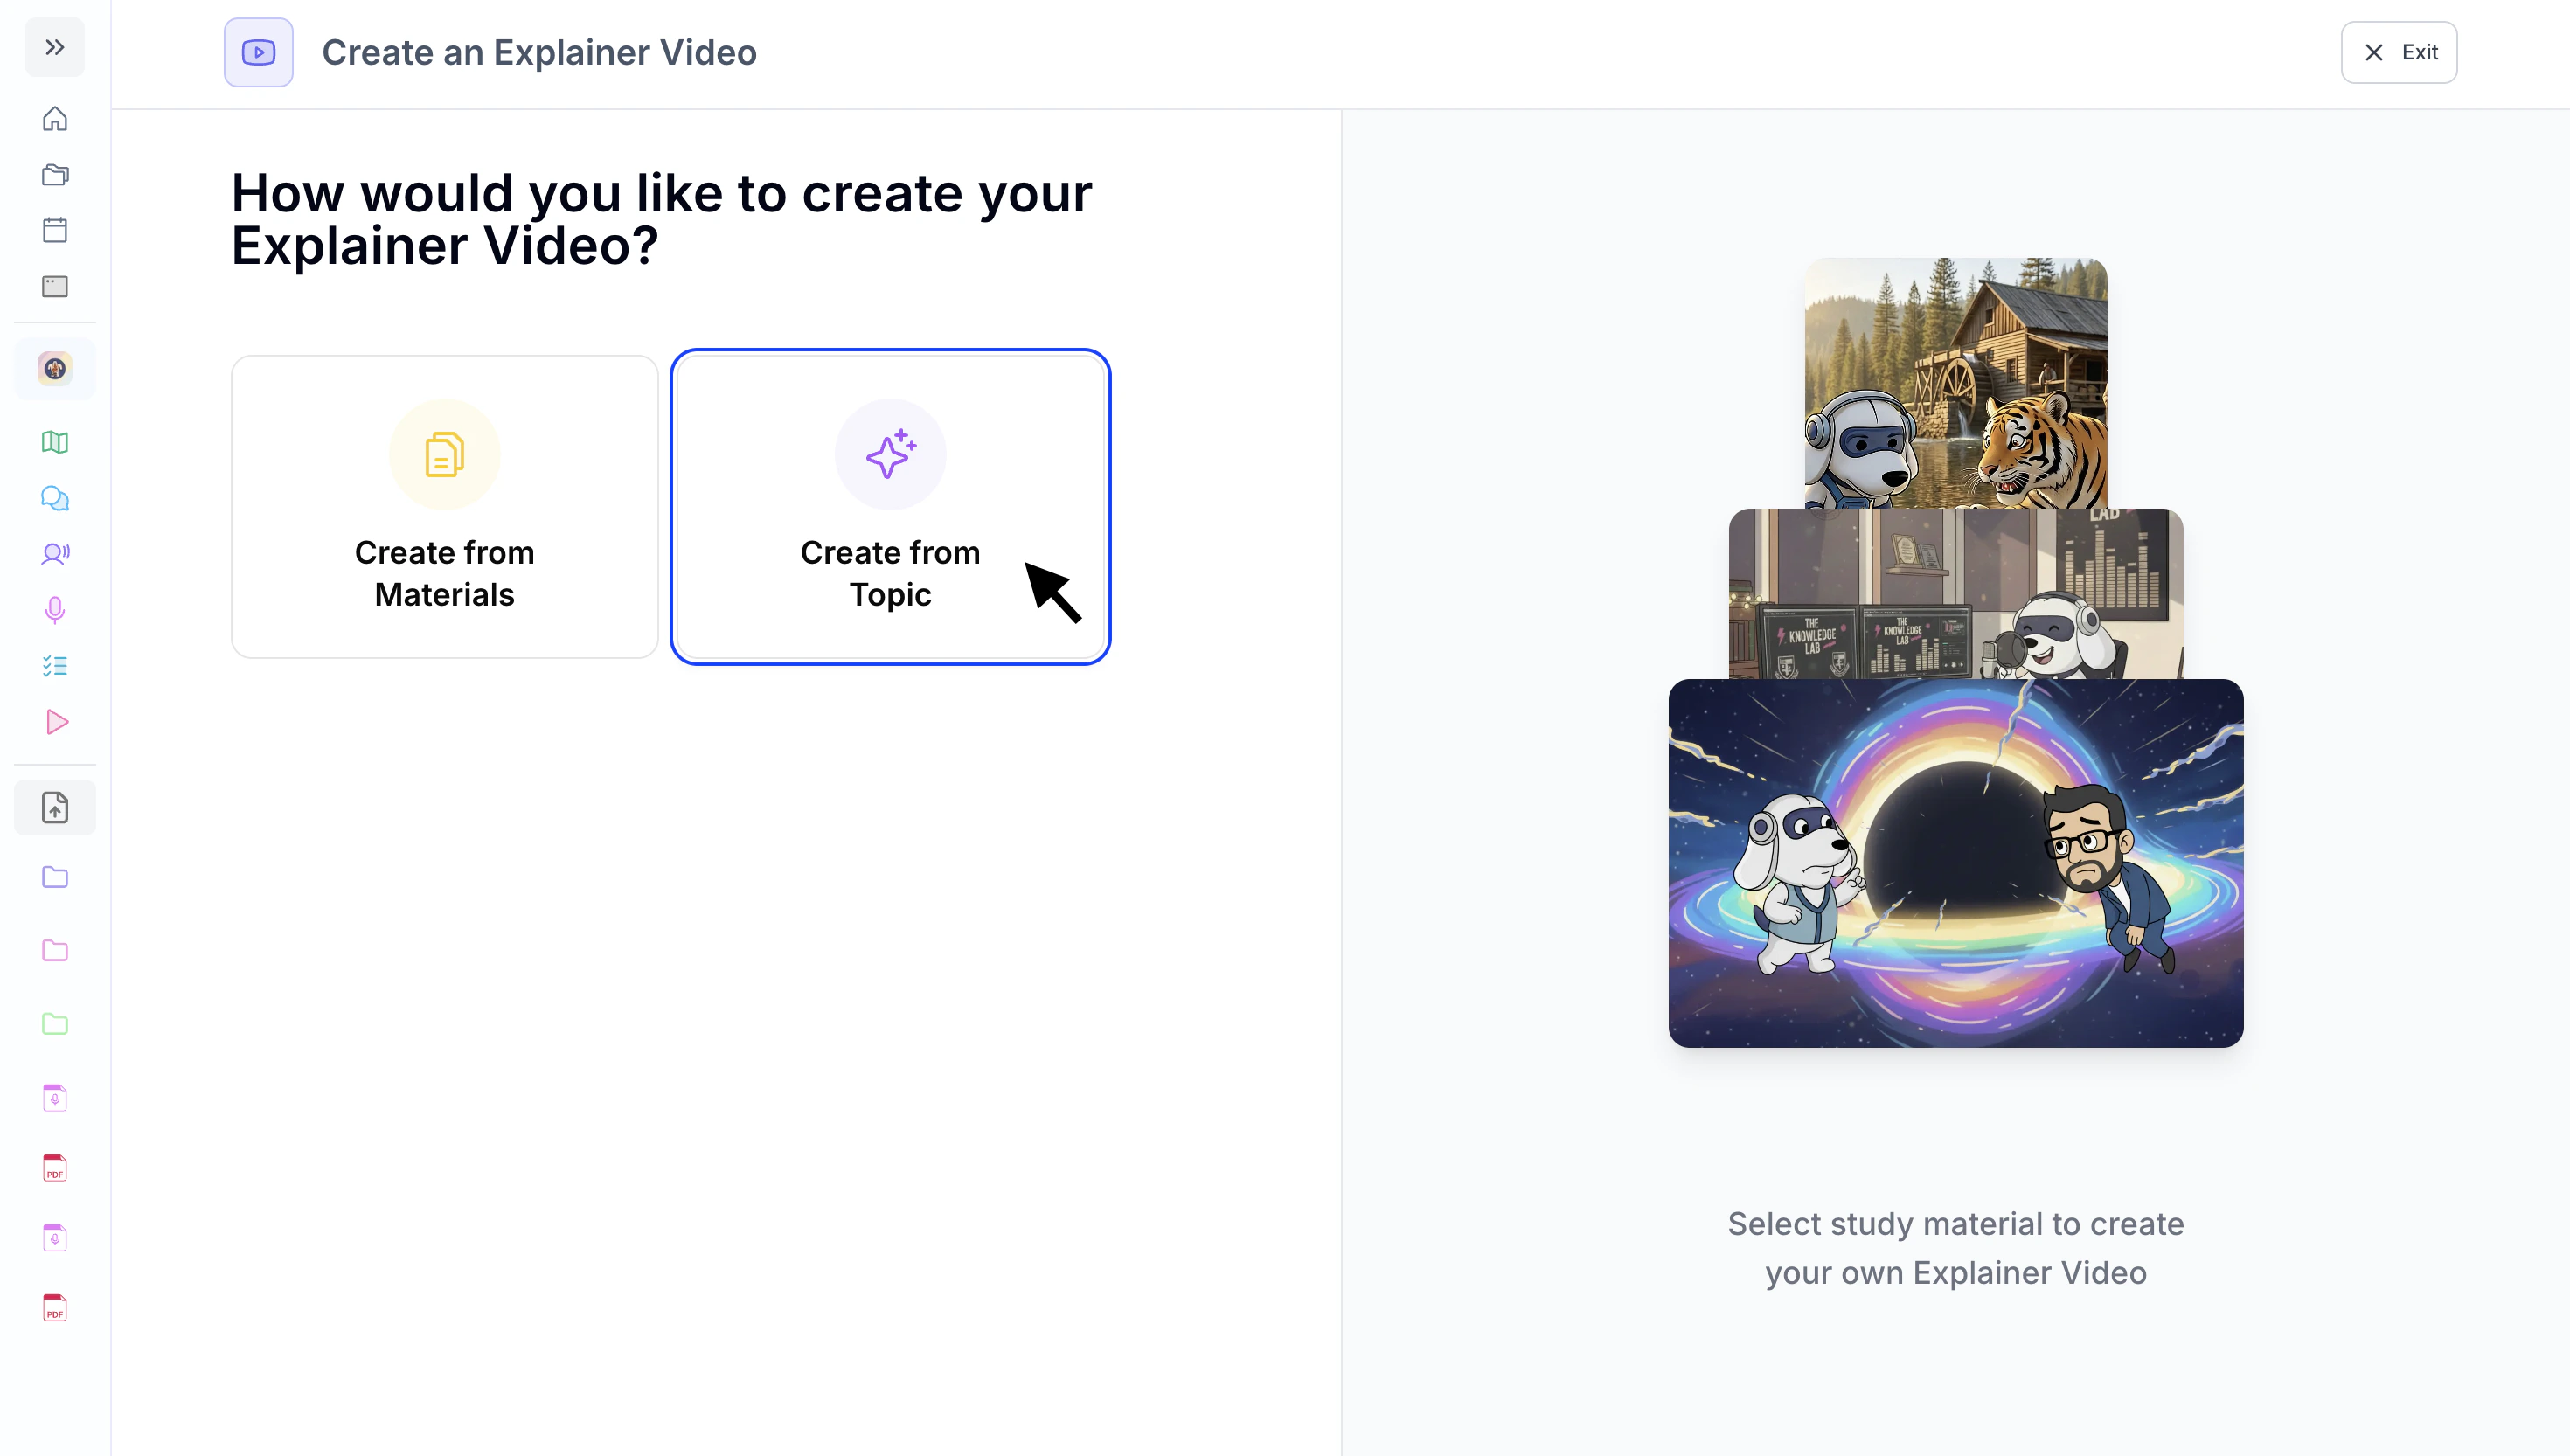
Method 2: Create from Topic
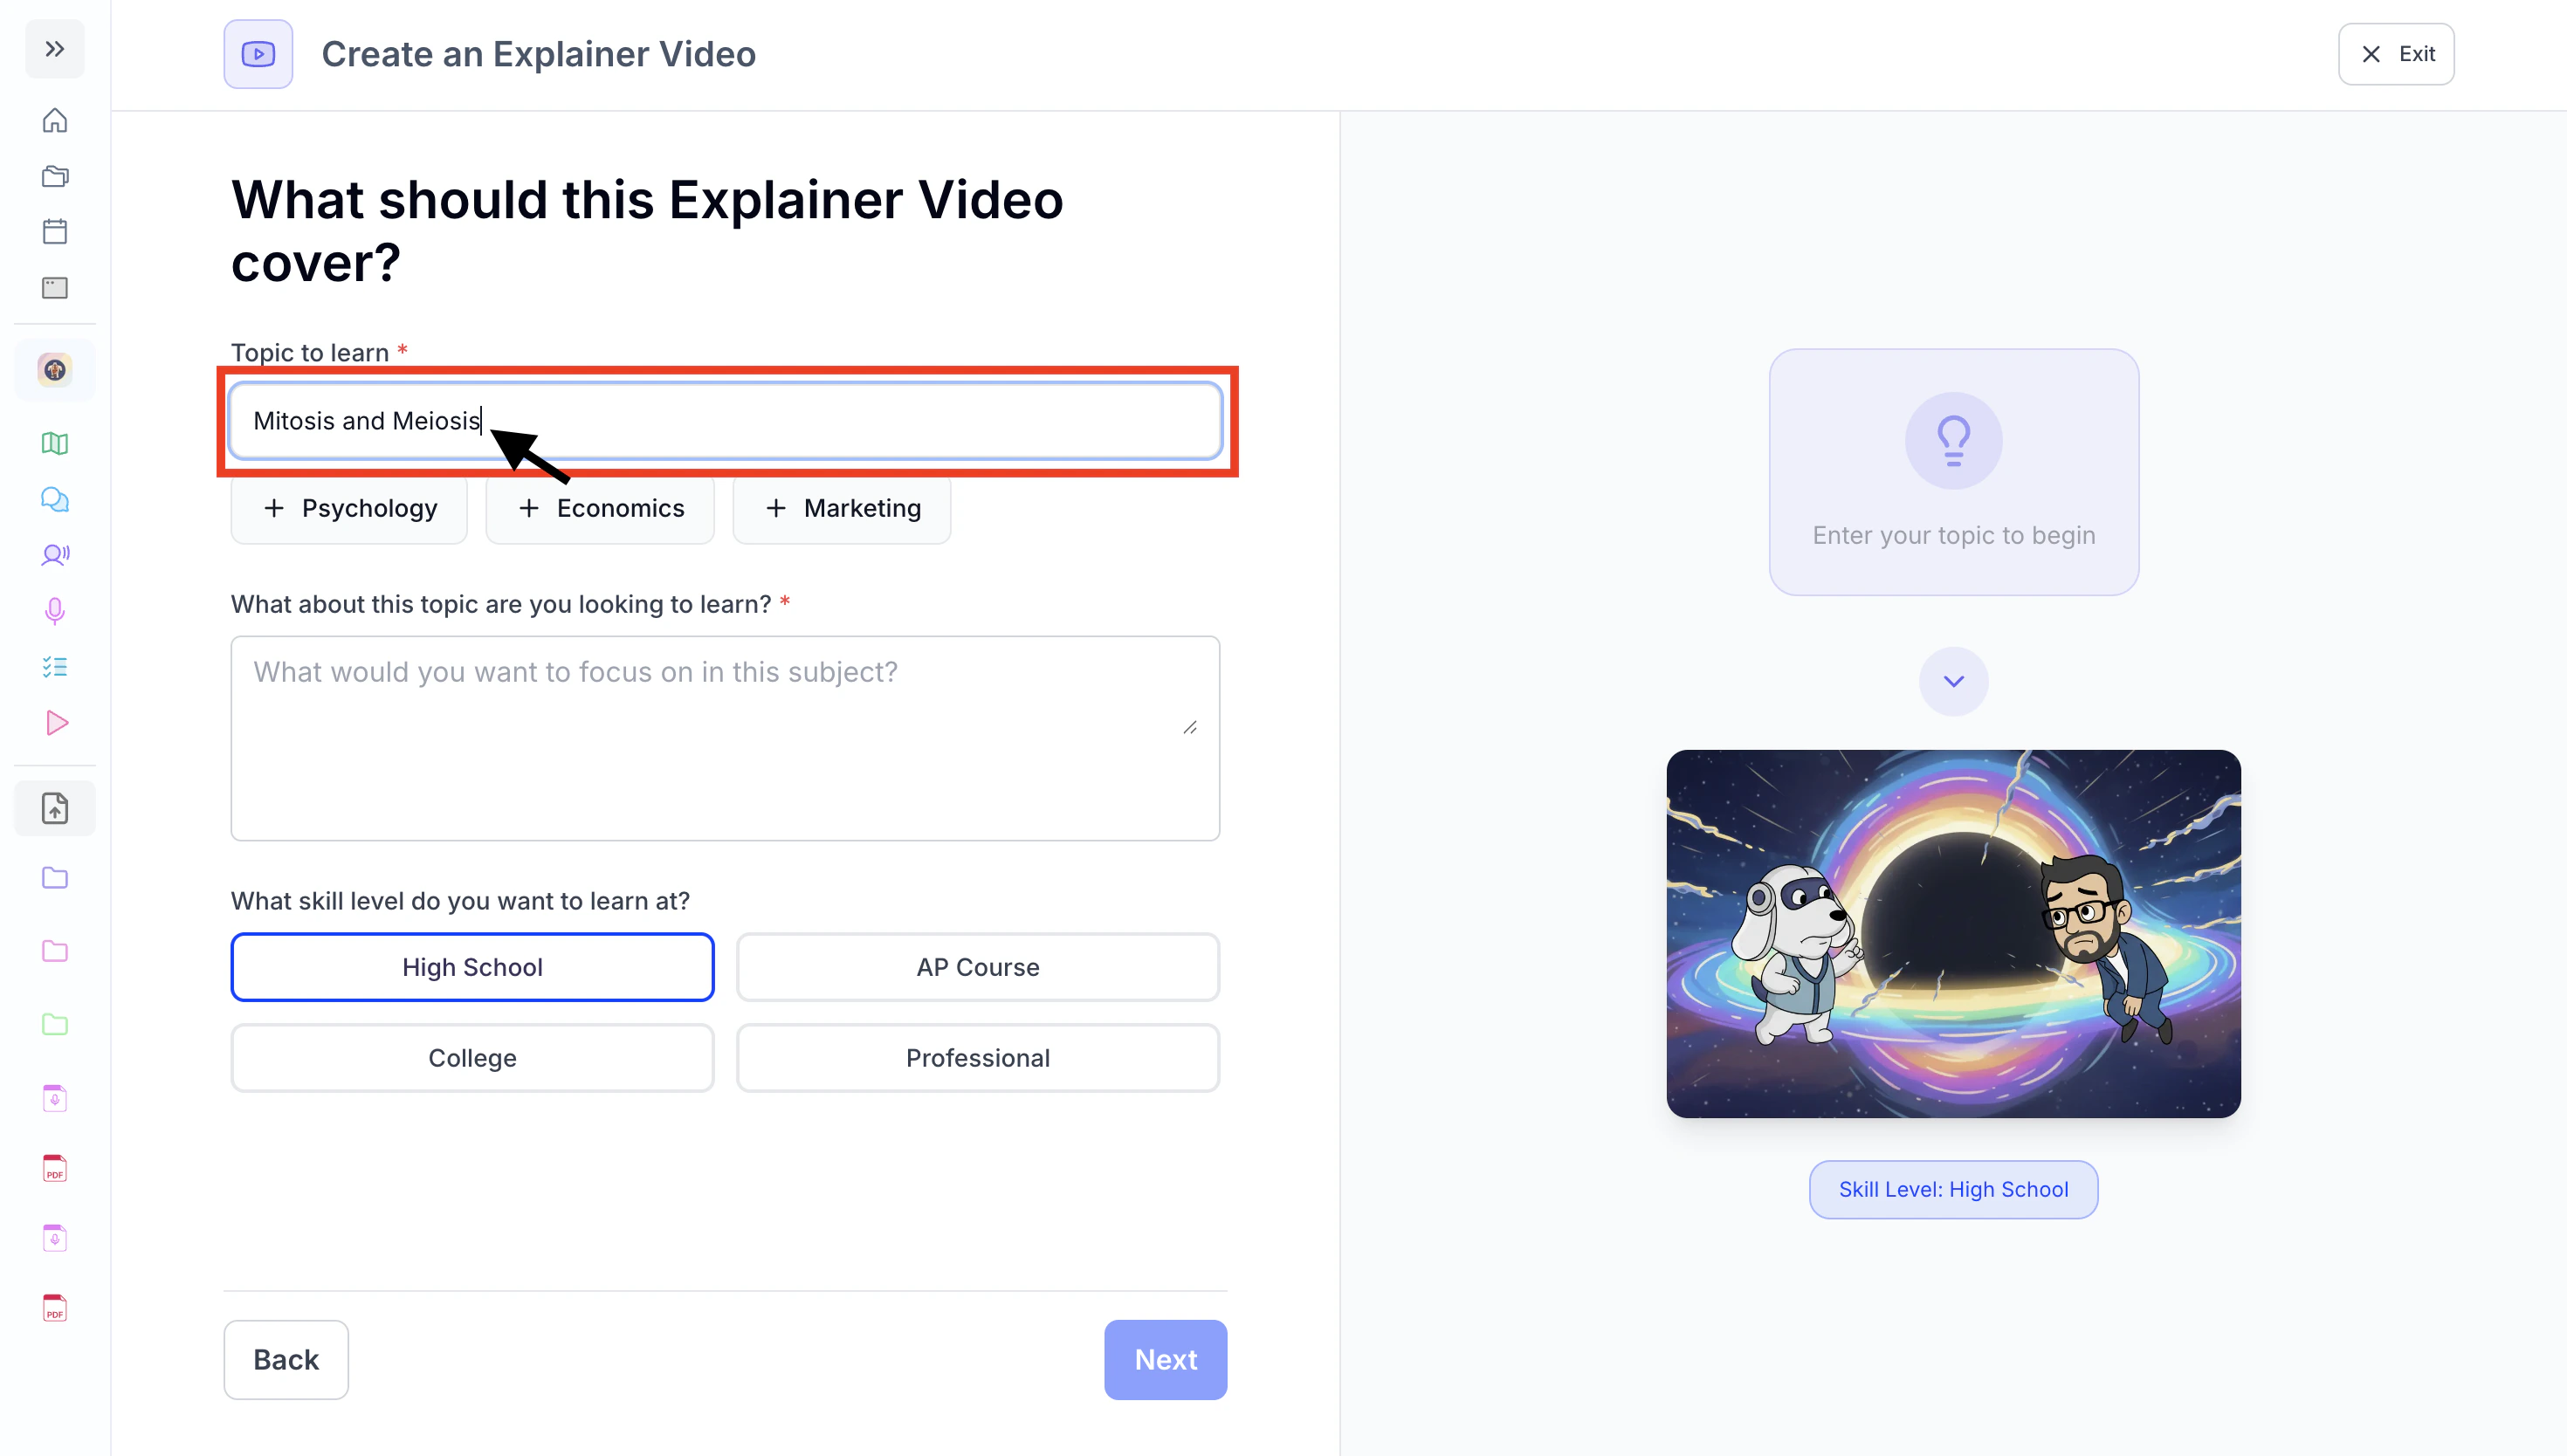
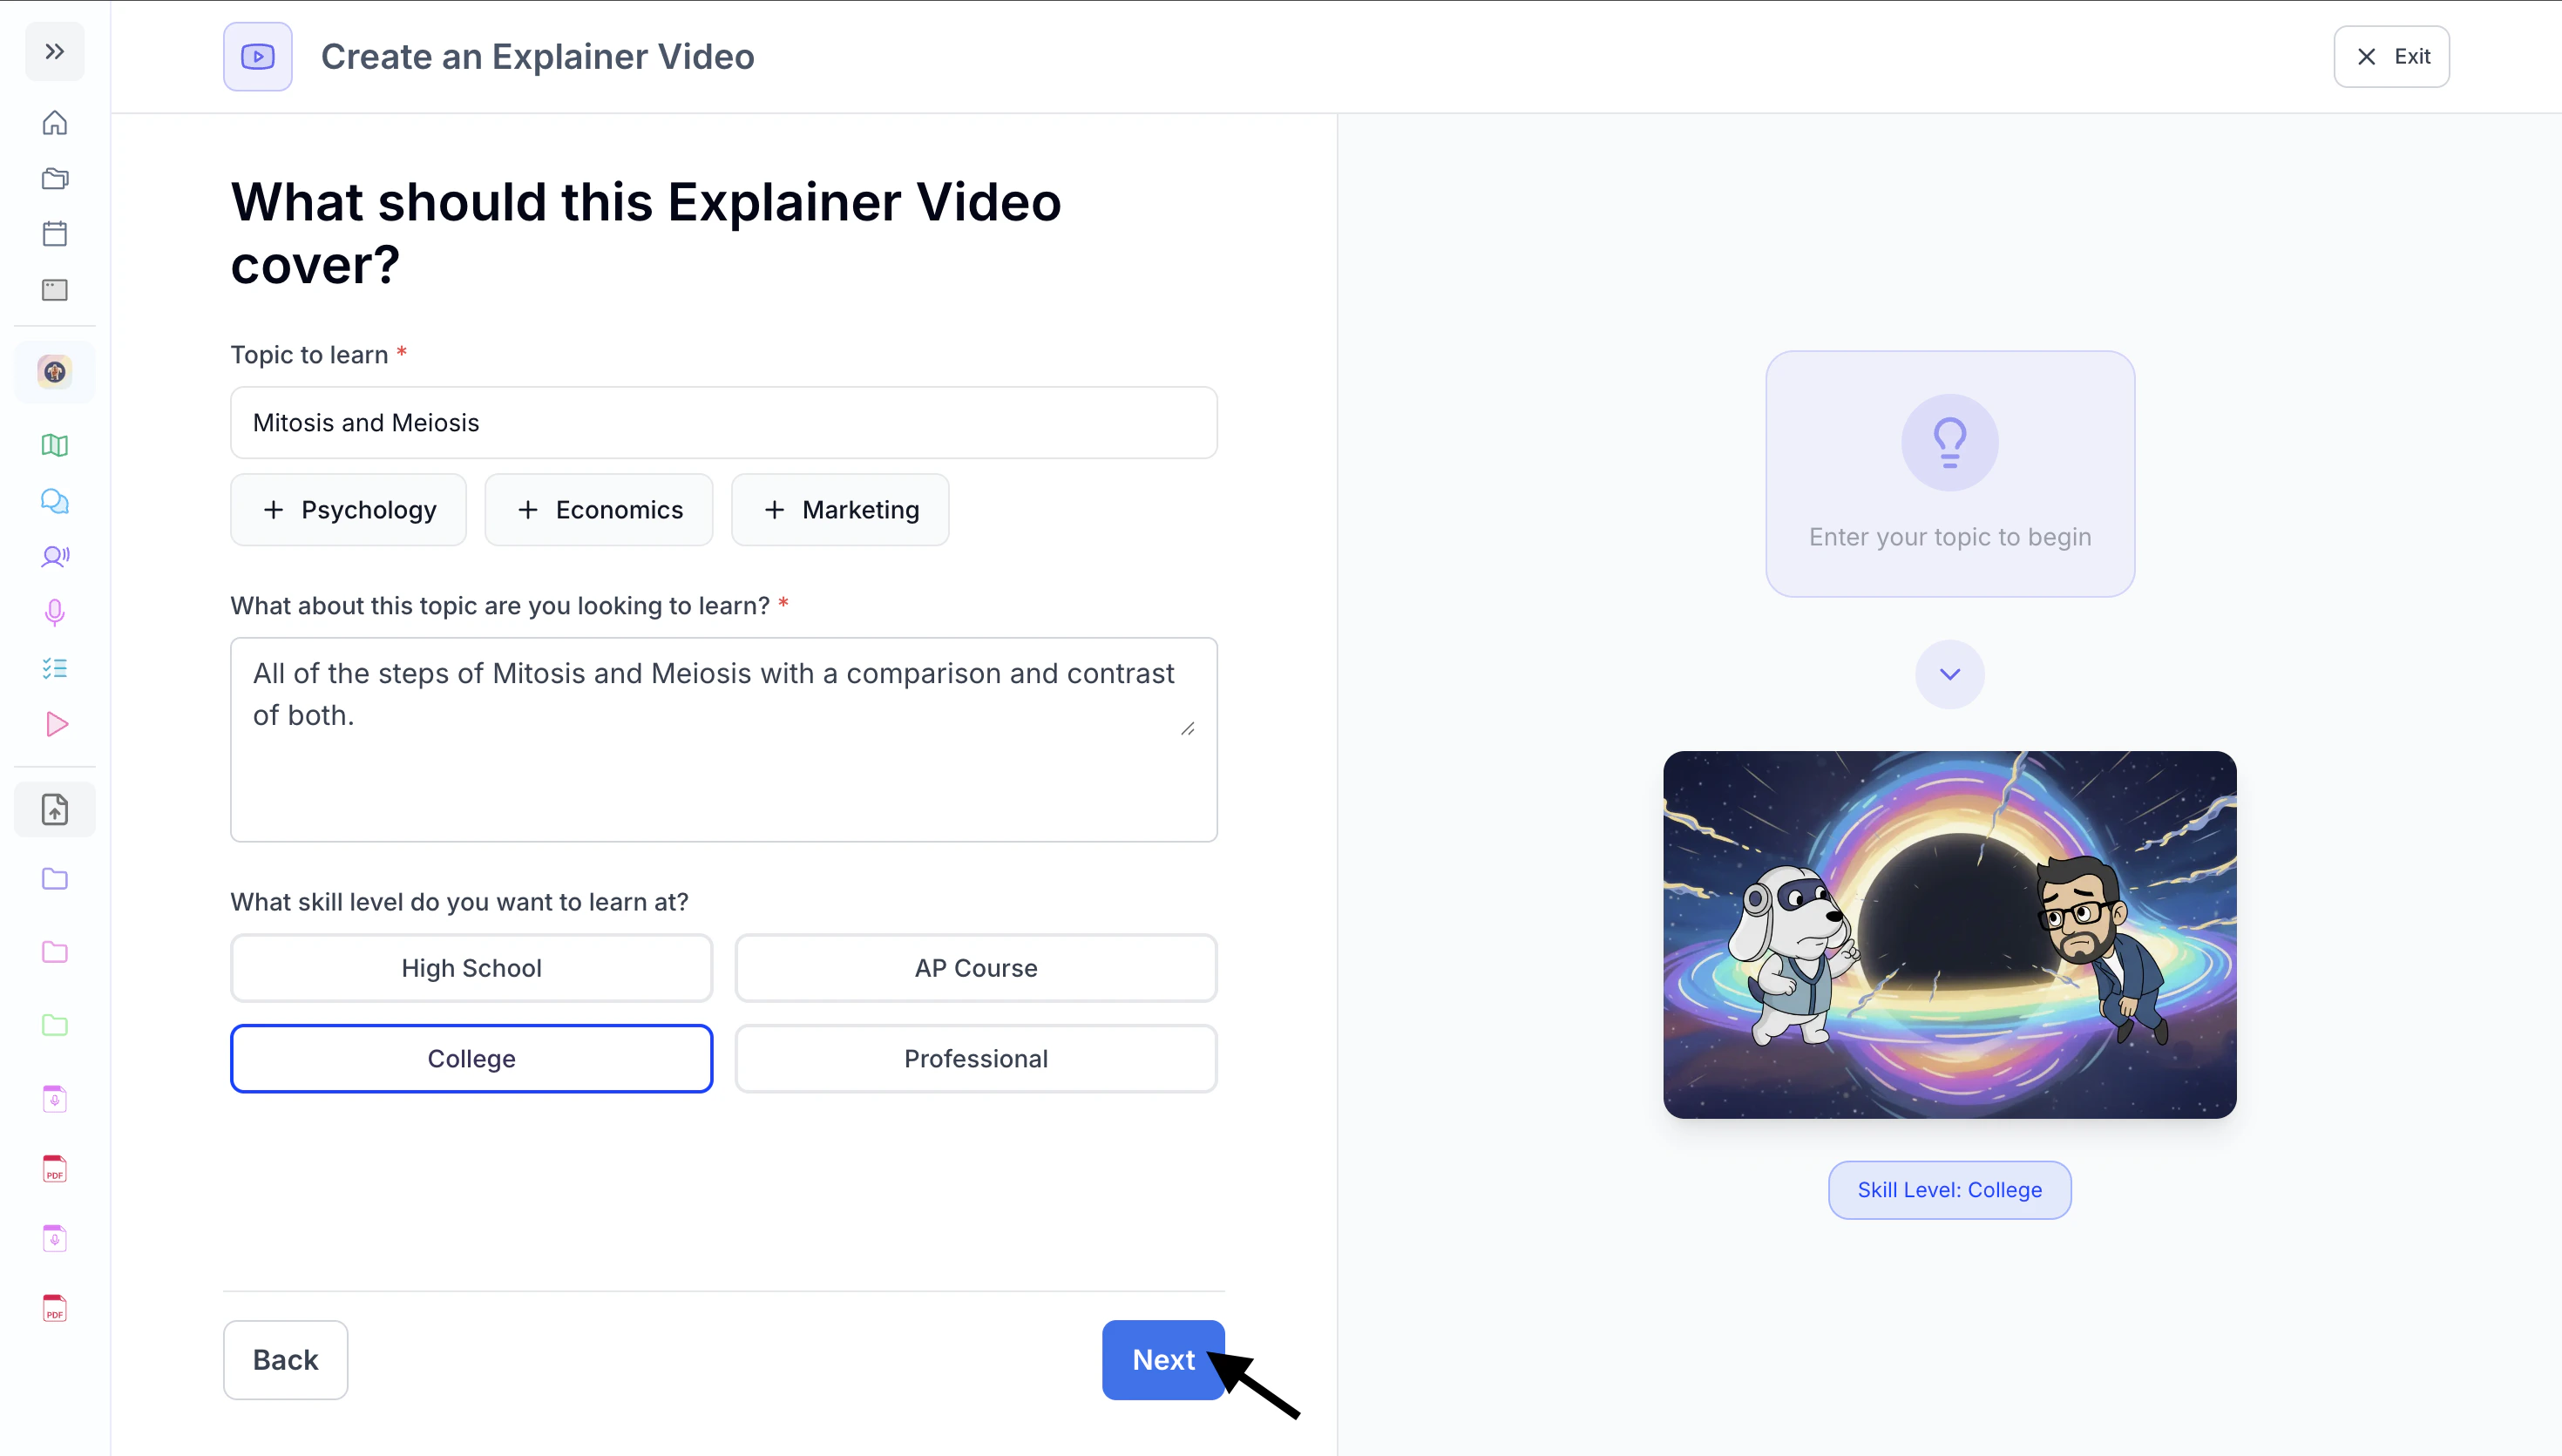
- Select Create from Topic to generate an Explainer Video from any topic you want to learn about.
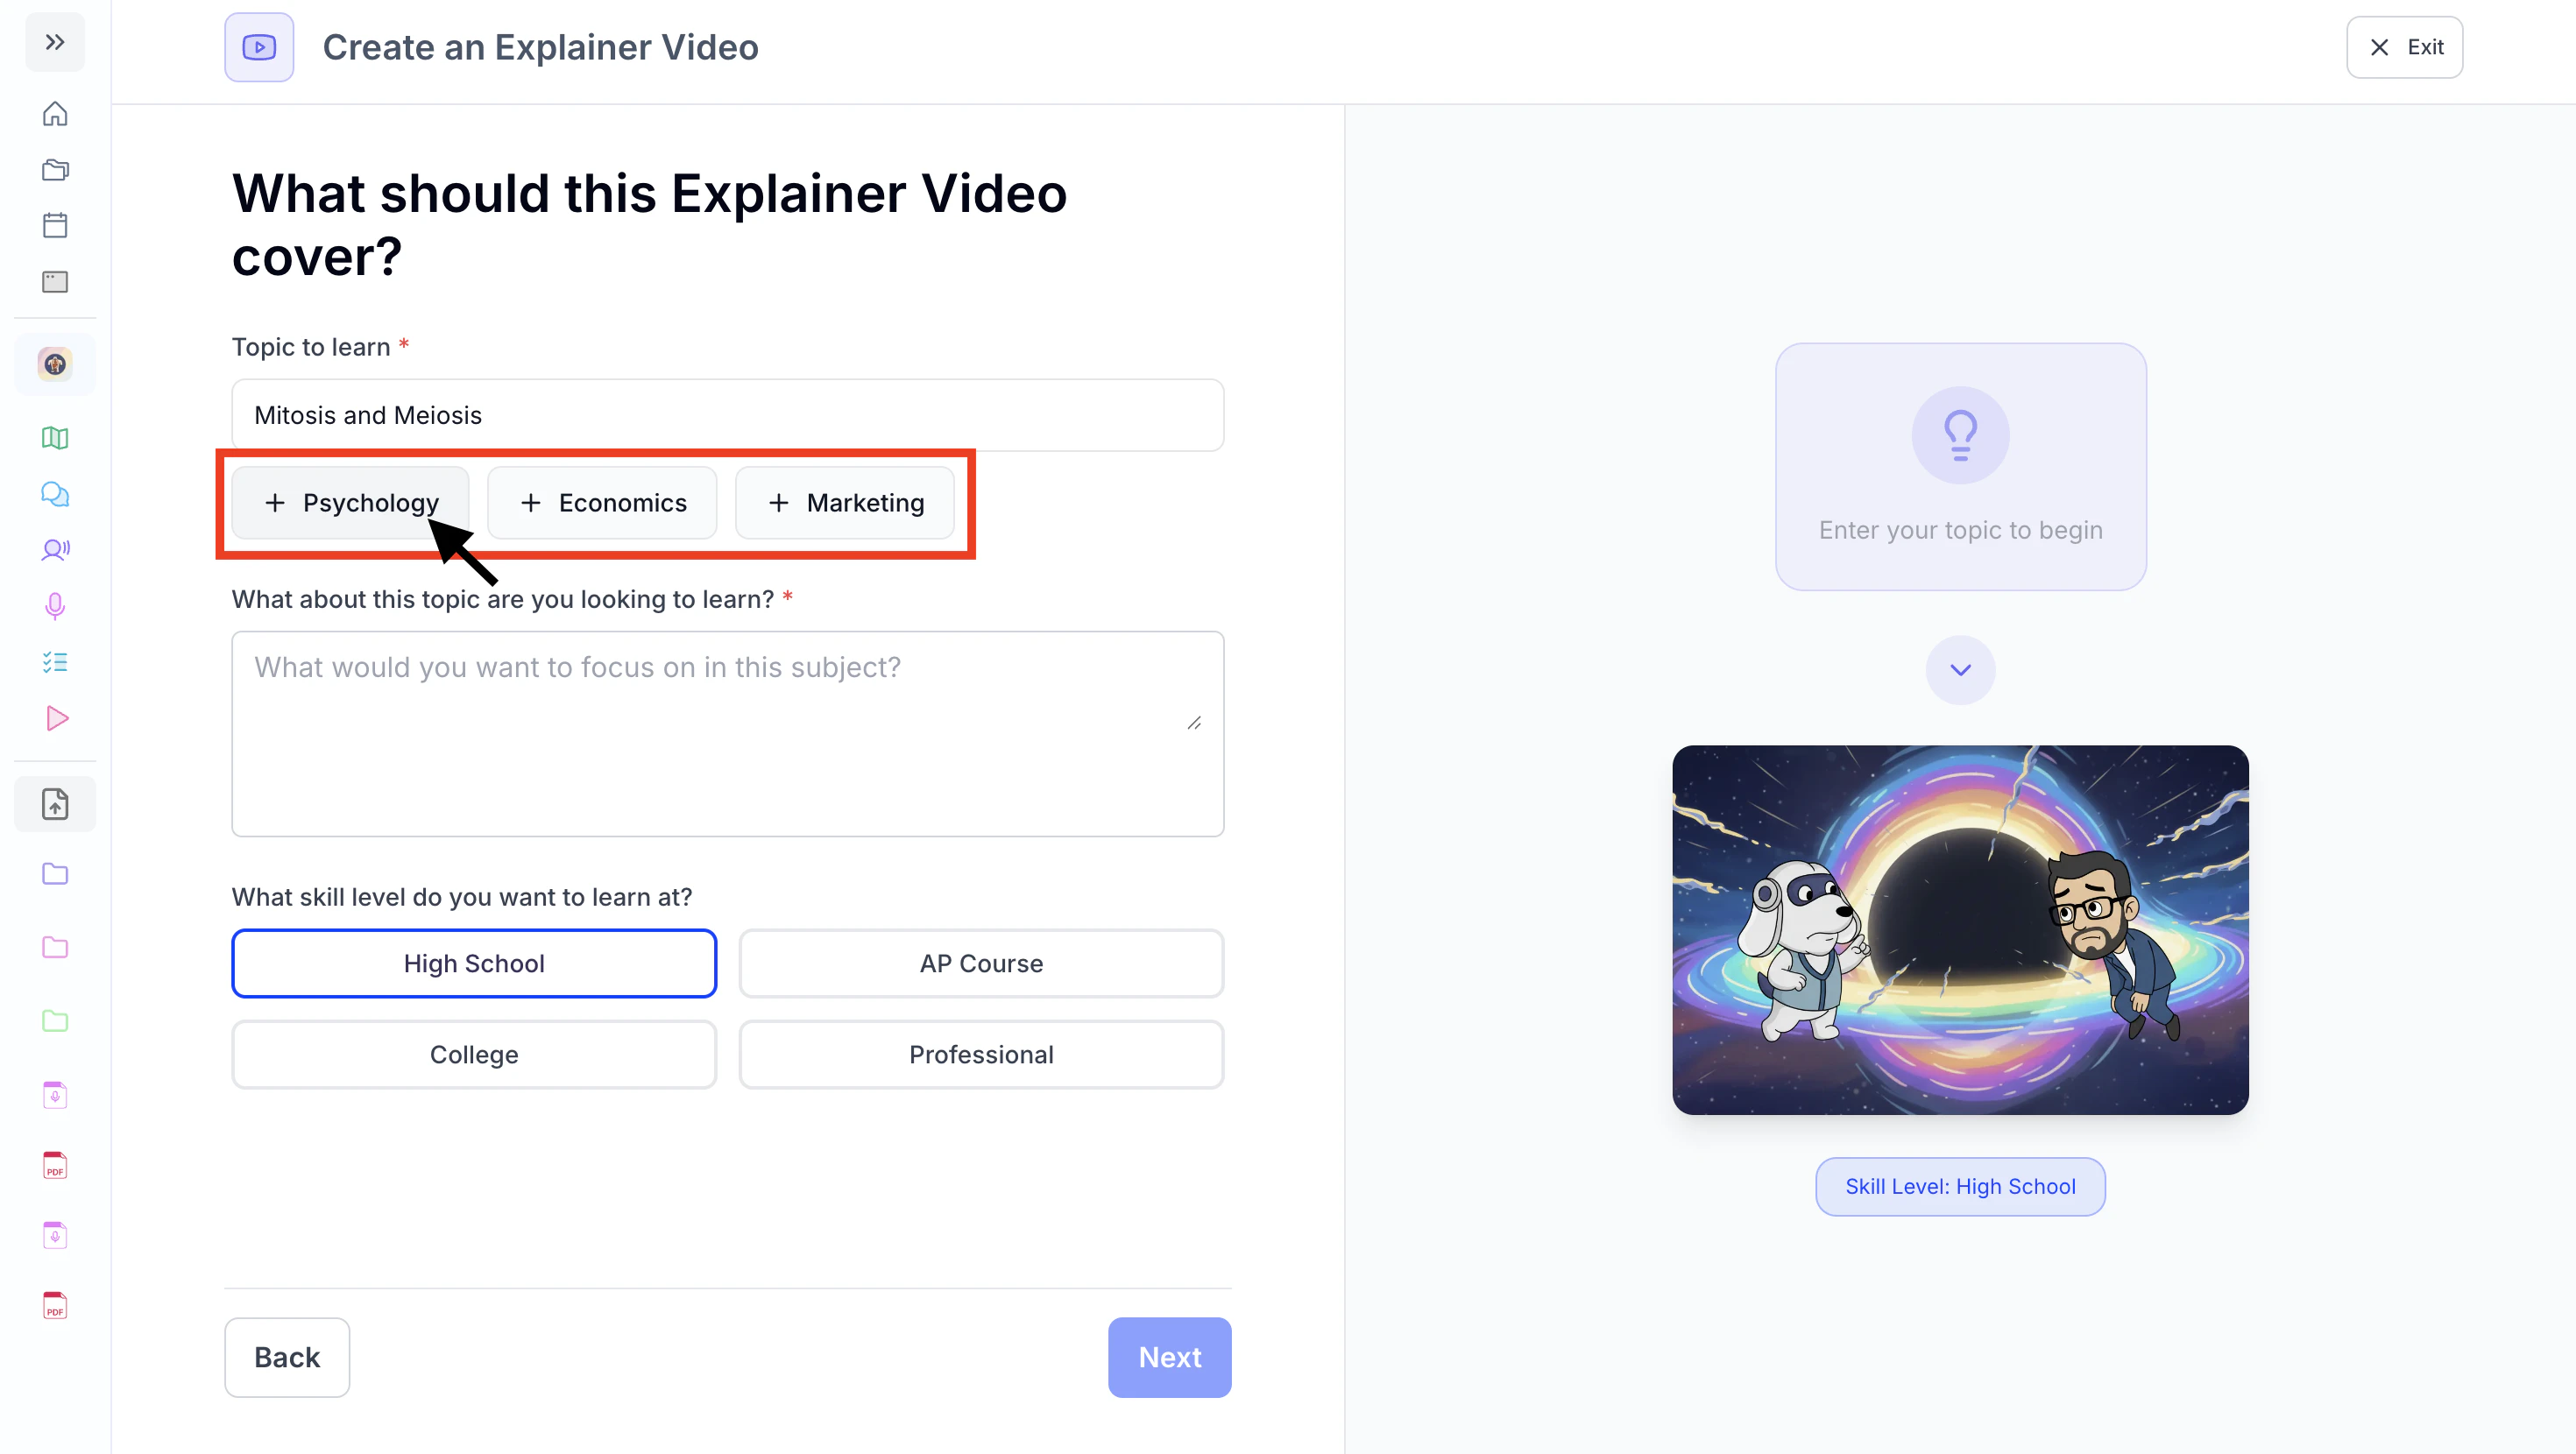
- Type the topic you want to learn about in the box under Topic to learn,
or select from the suggested prompts listed under the Topic to learn field.
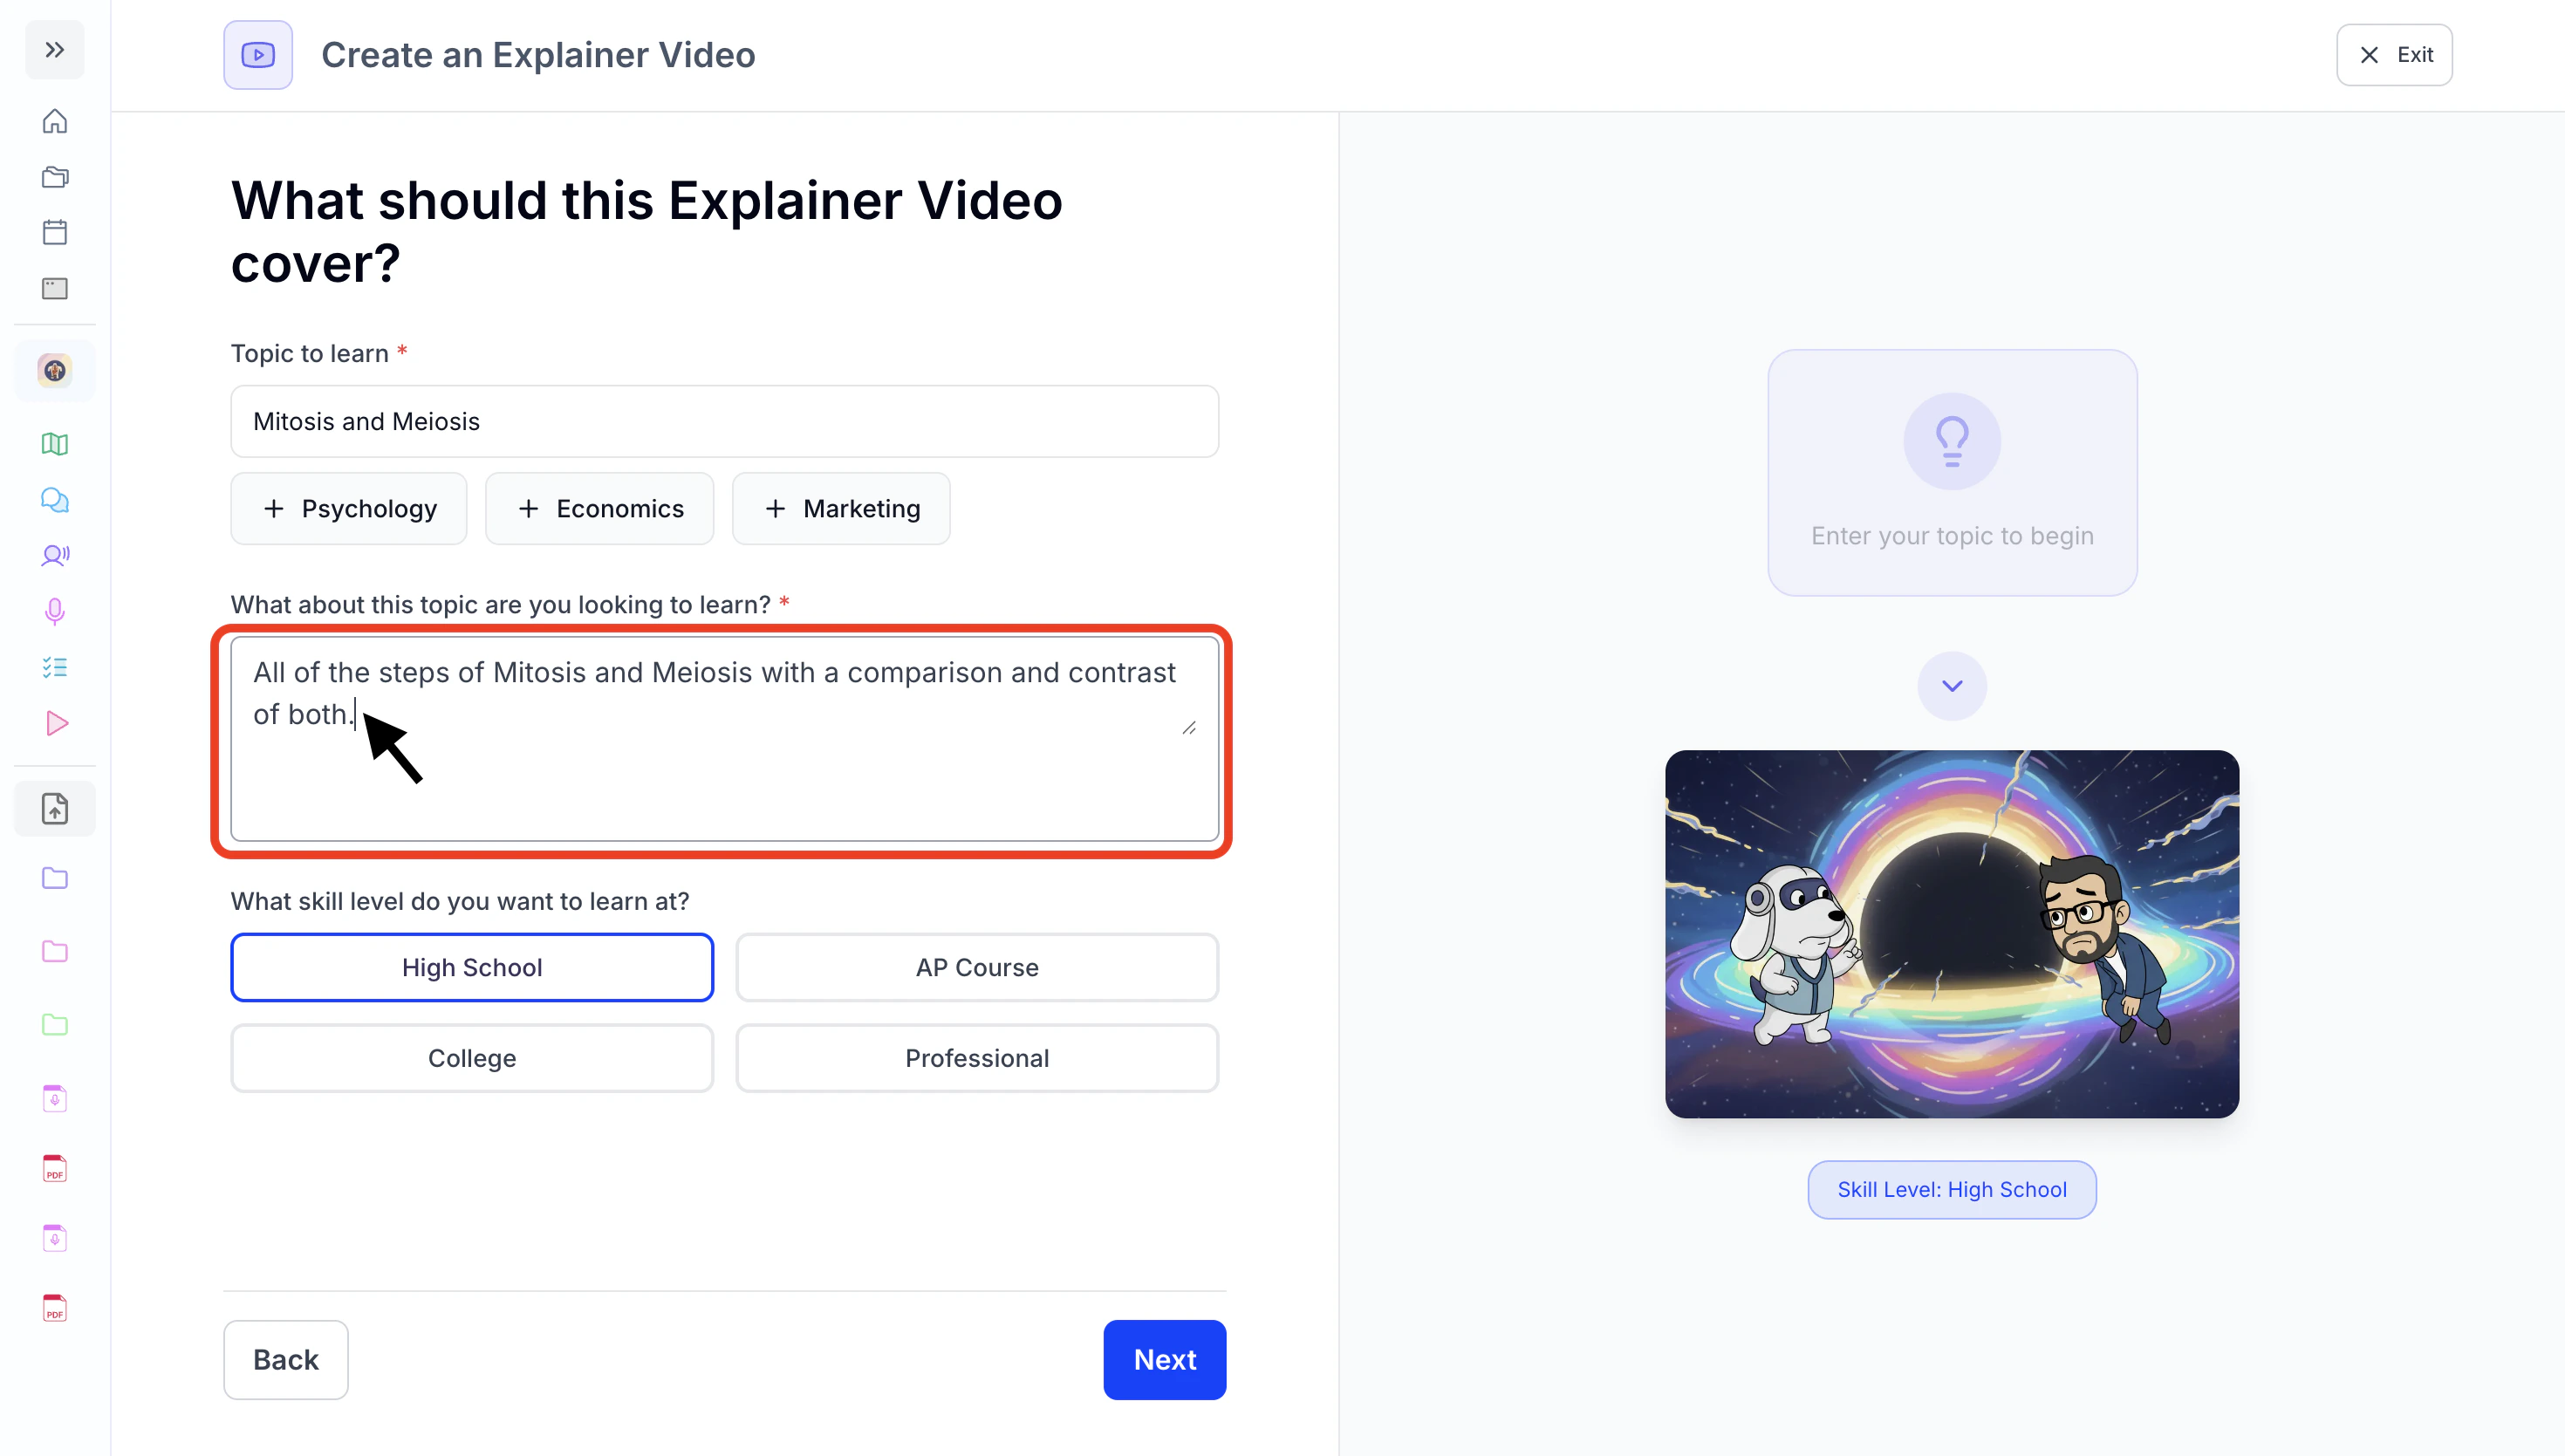
- Next, type what you want the explainer video to focus on for this subject in the textbox under the What about this topic are you looking to learn? header.
- Then, choose your Skill Level from High School, AP, College and Professional.
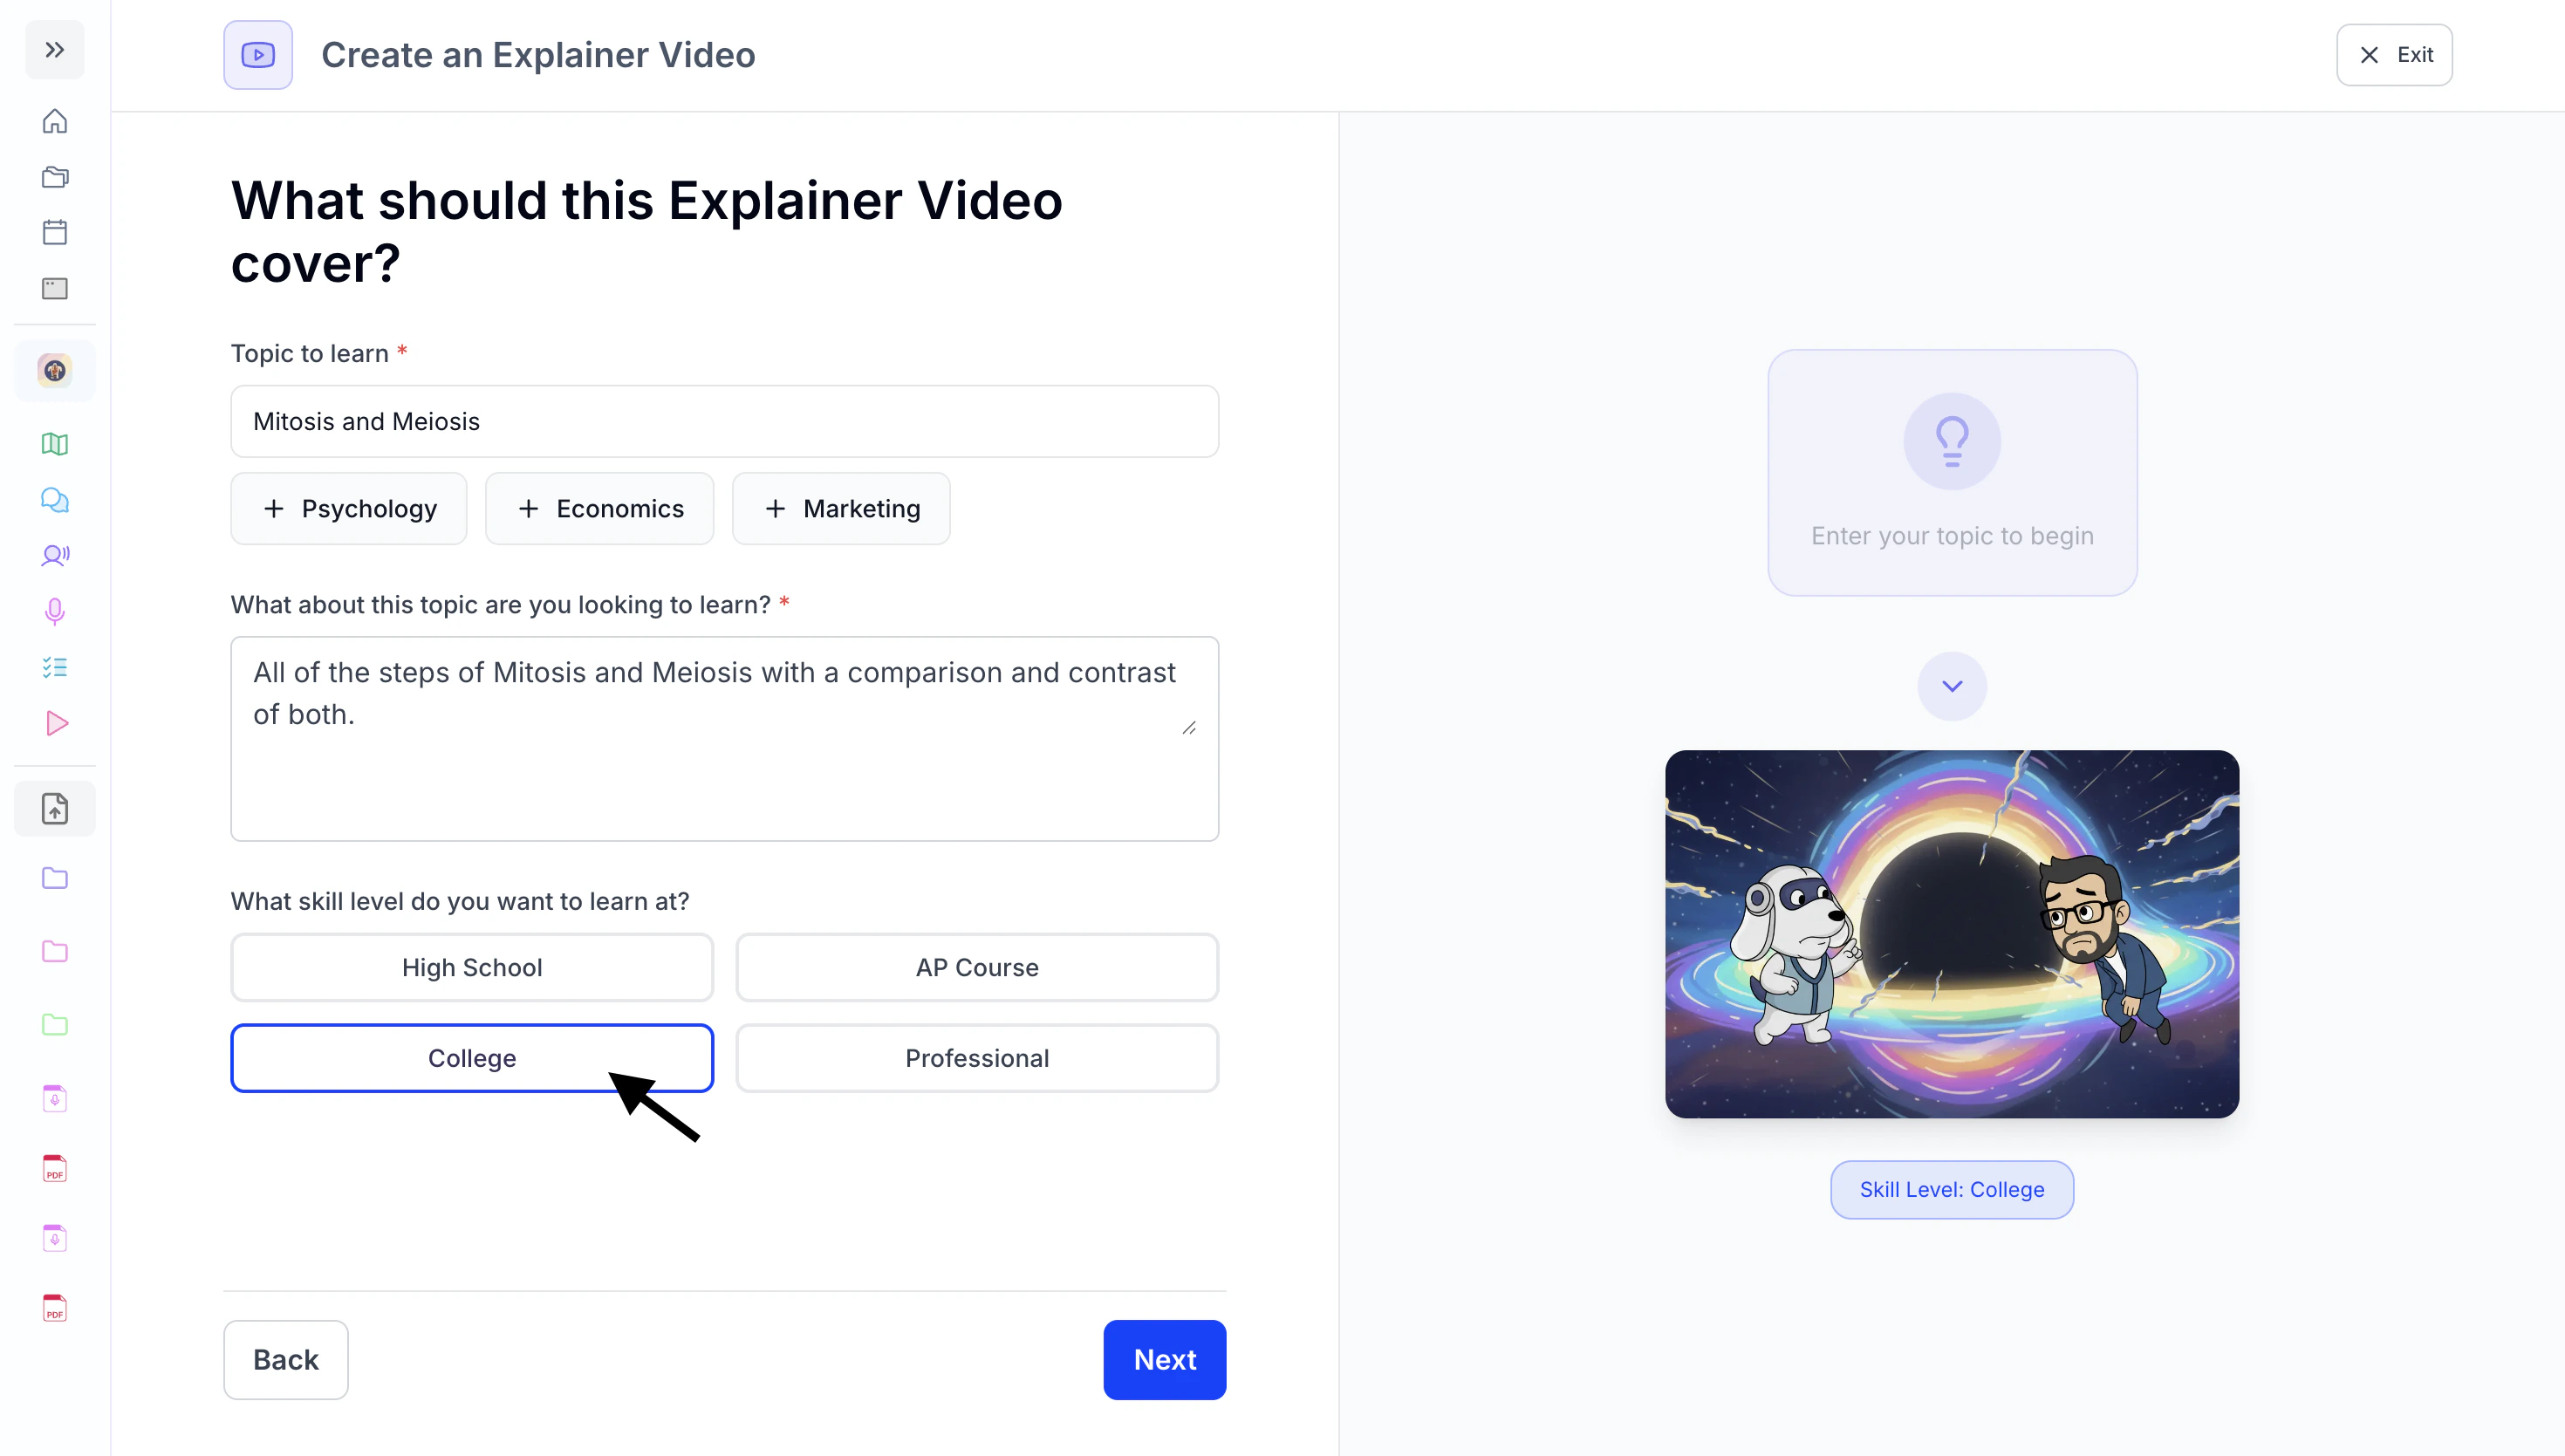
- When done making your selections, click Next and proceed to Step 3: Choose an Explainer Video Type.
Step 3: Choose an Explainer Video Type
Now it’s time to select the style of explainer video you would like to generate—Type 1: Classic Explainer, Type 2: Animated Explainer, or Type 3: Animated Conversation—then follow the instructions under the corresponding subheading for your selected type.Type 1: Classic Explainer
- Select Classic Explainer if your topic is more advanced or technical. This format is best for subjects that involve detailed explanations, complex concepts, or equations (e.g., chemistry, physiology, or data-heavy topics).
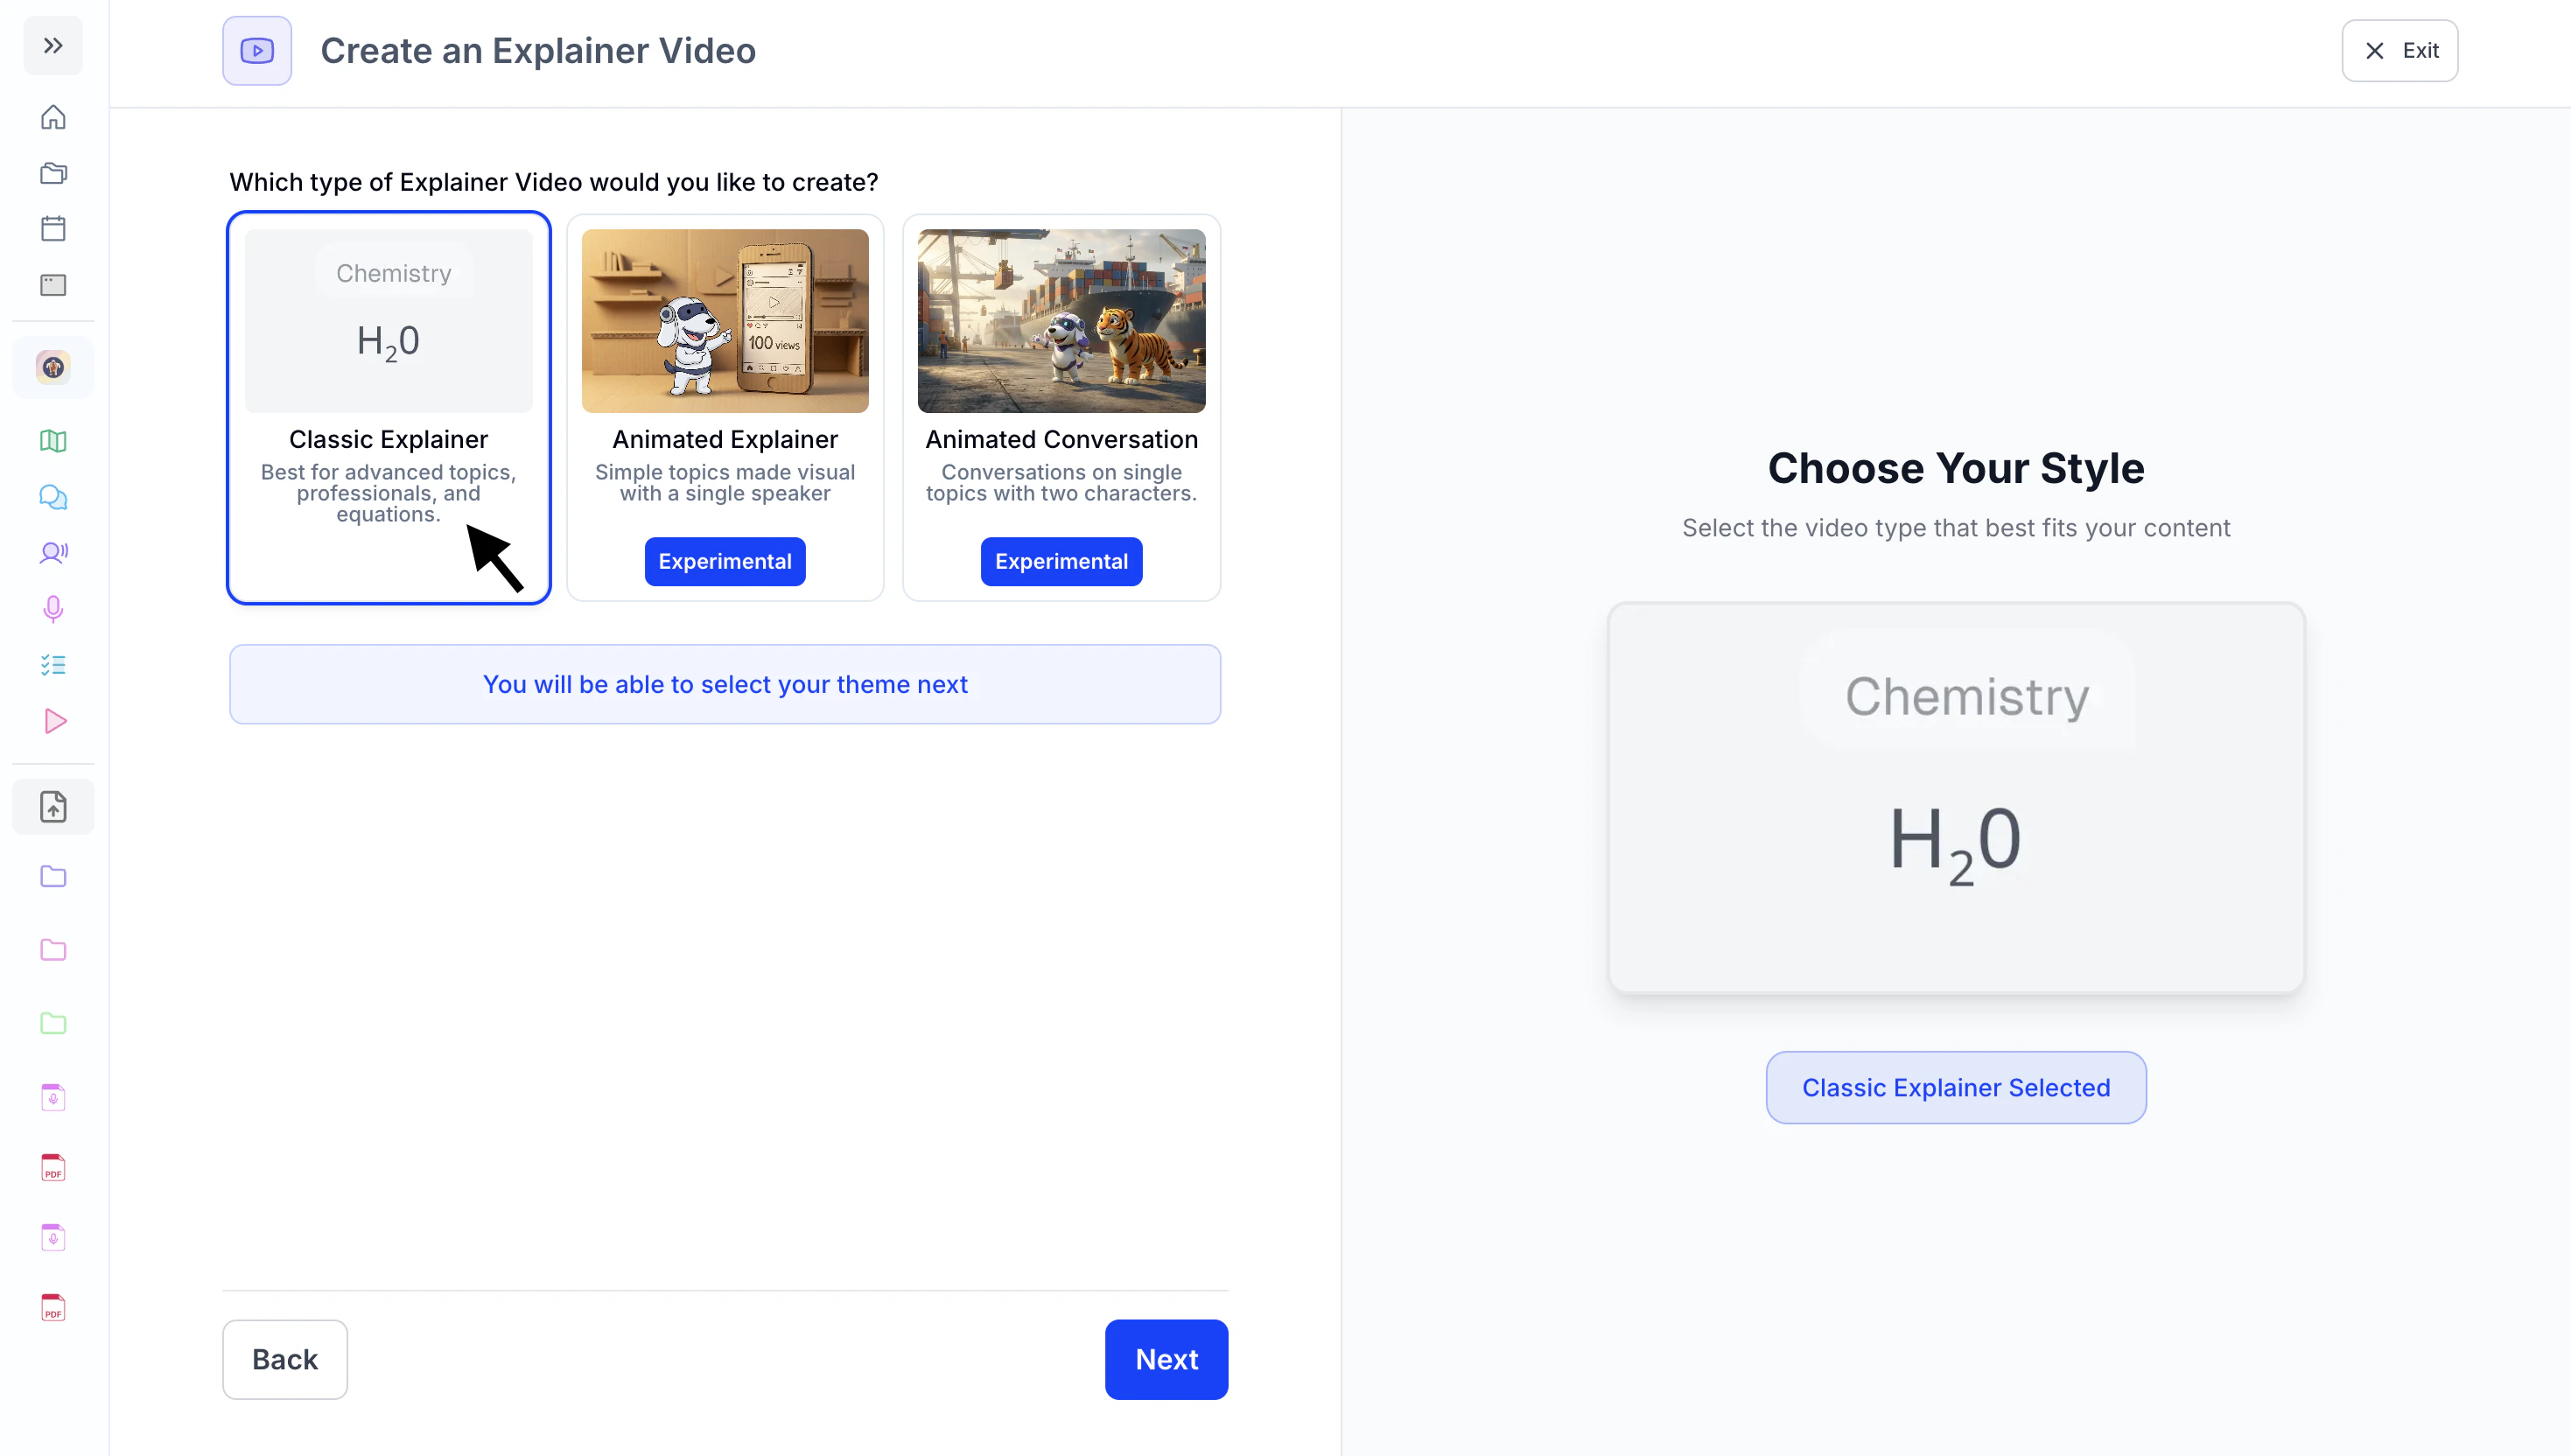
- Click Next and proceed to Step 4: Customize your Explainer Video.
Type 2: Animated Explainer
- Select Animated Explainer if you want a simple, animated, engaging breakdown of a topic. This works best for easier concepts or when you prefer a visual, story-like explanation with a single speaker.
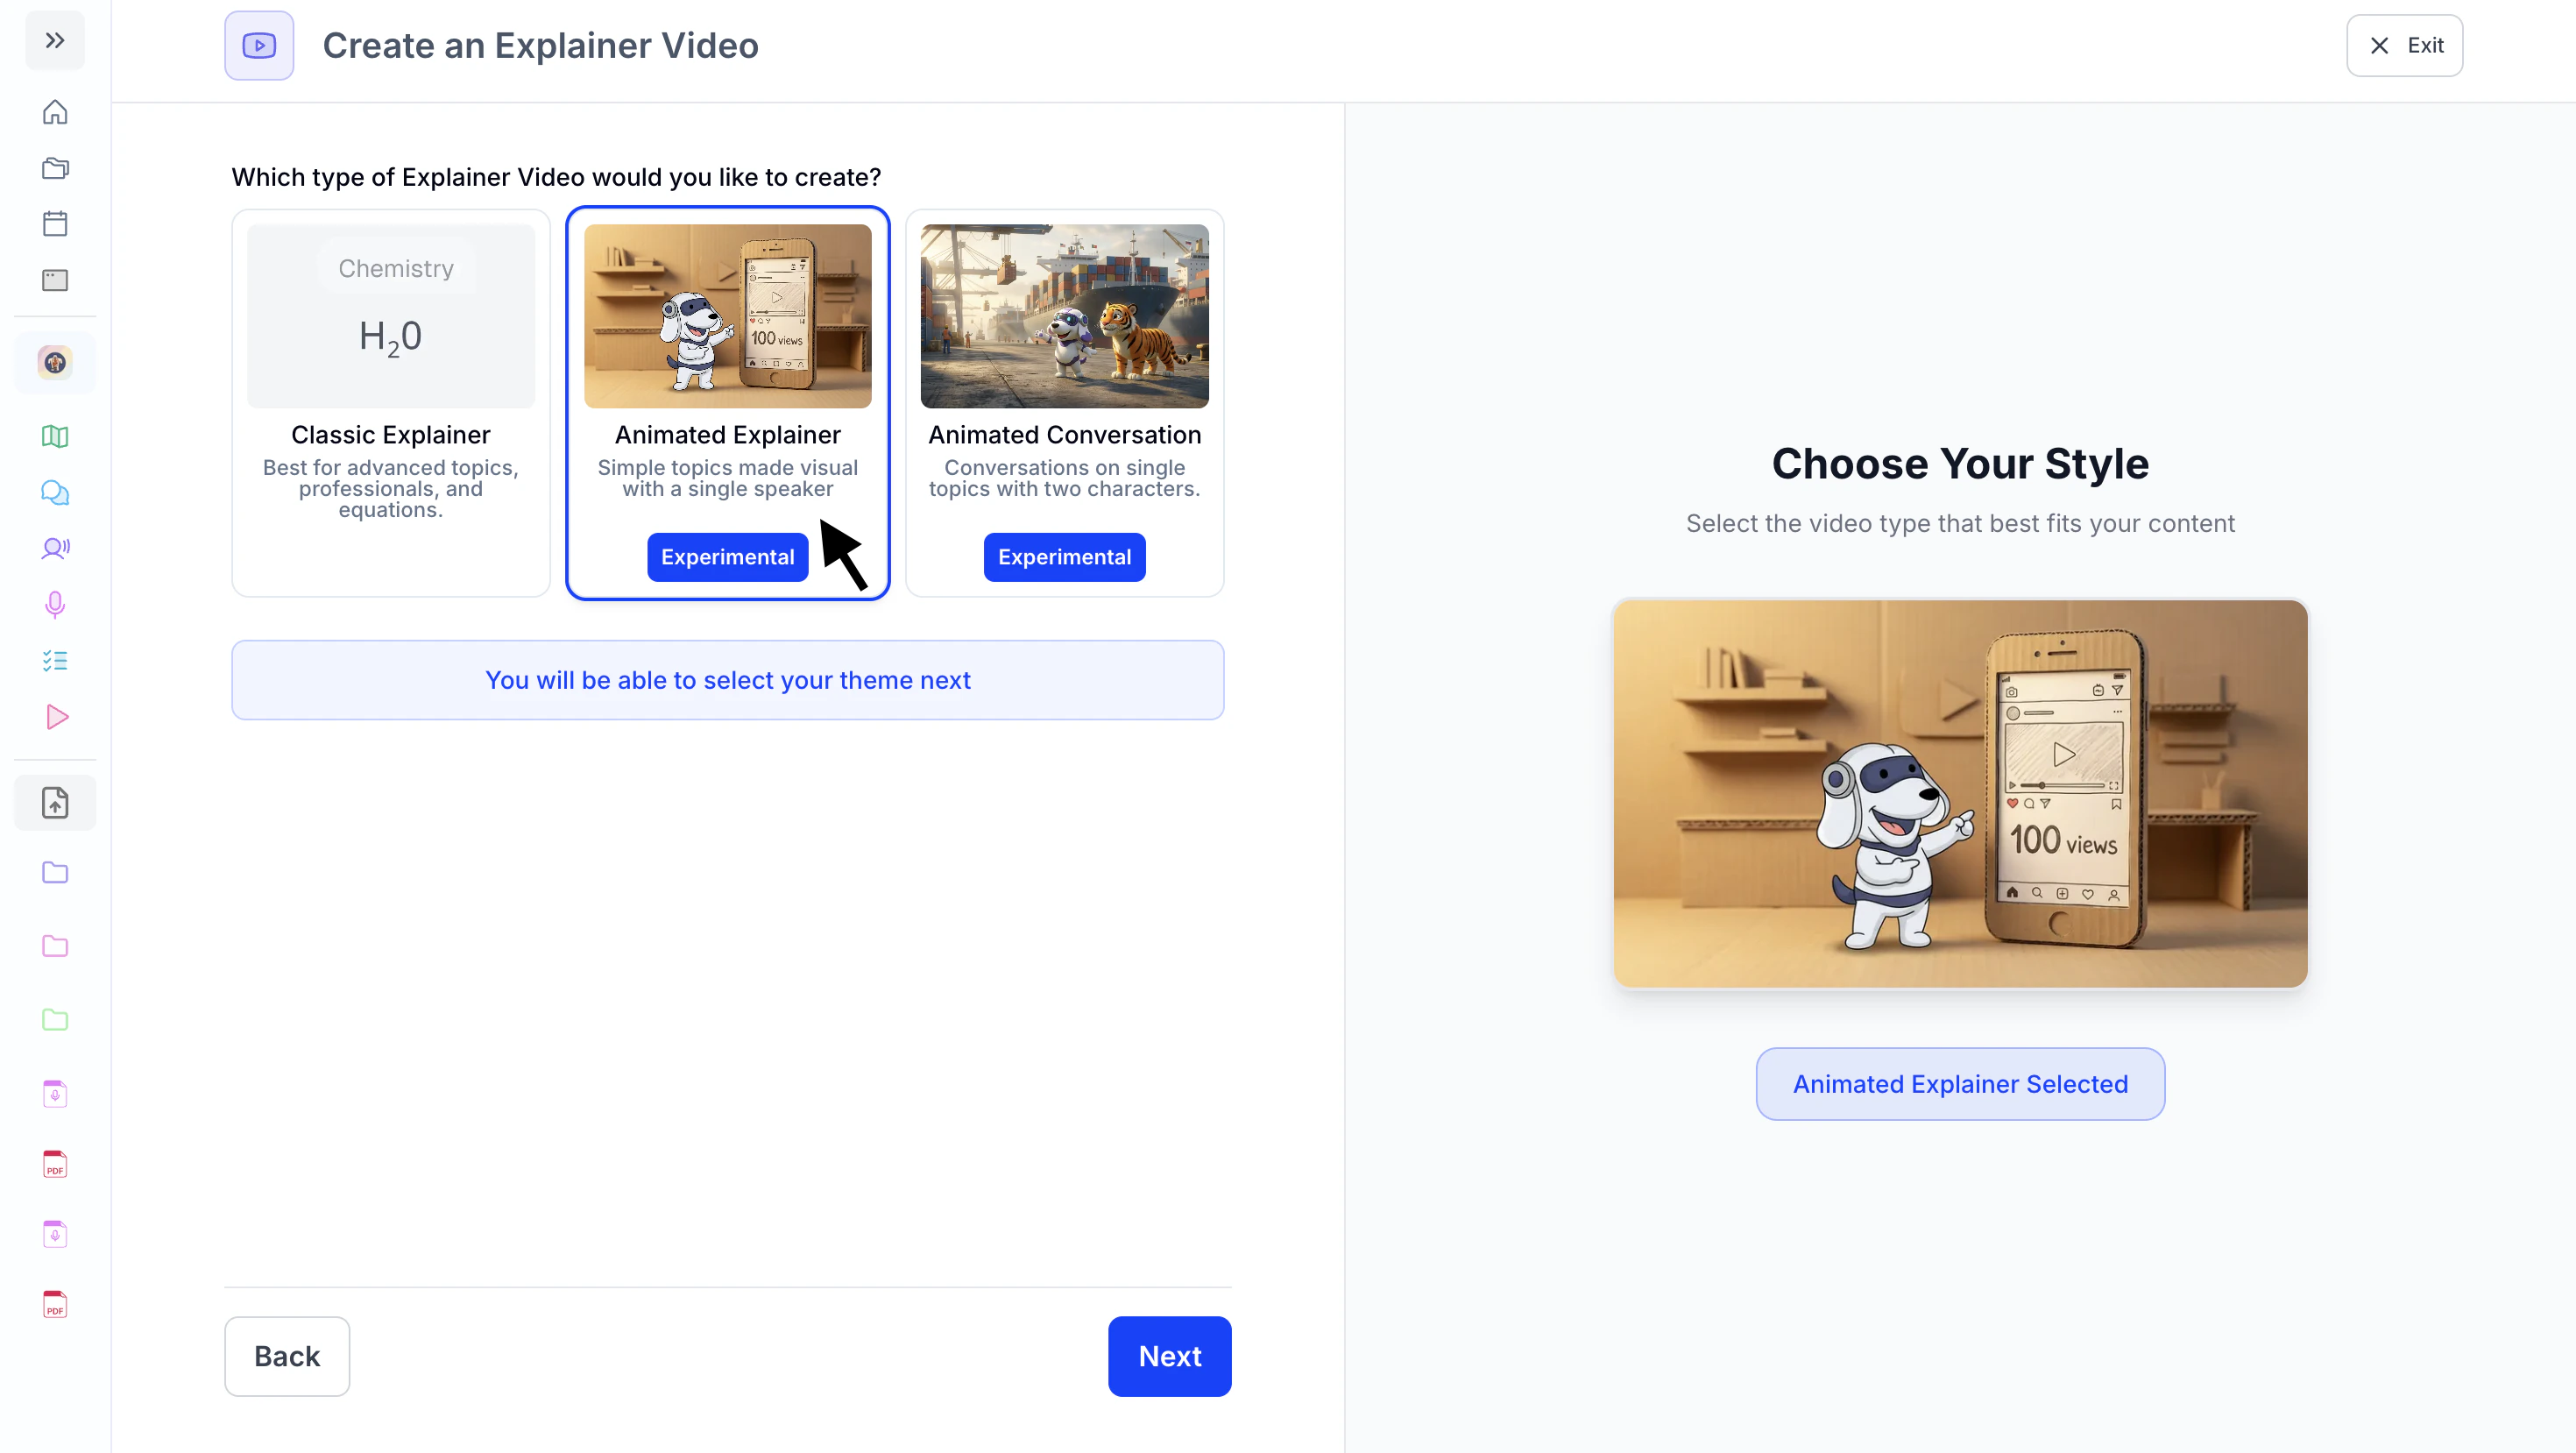
- After making your selection, click Next.
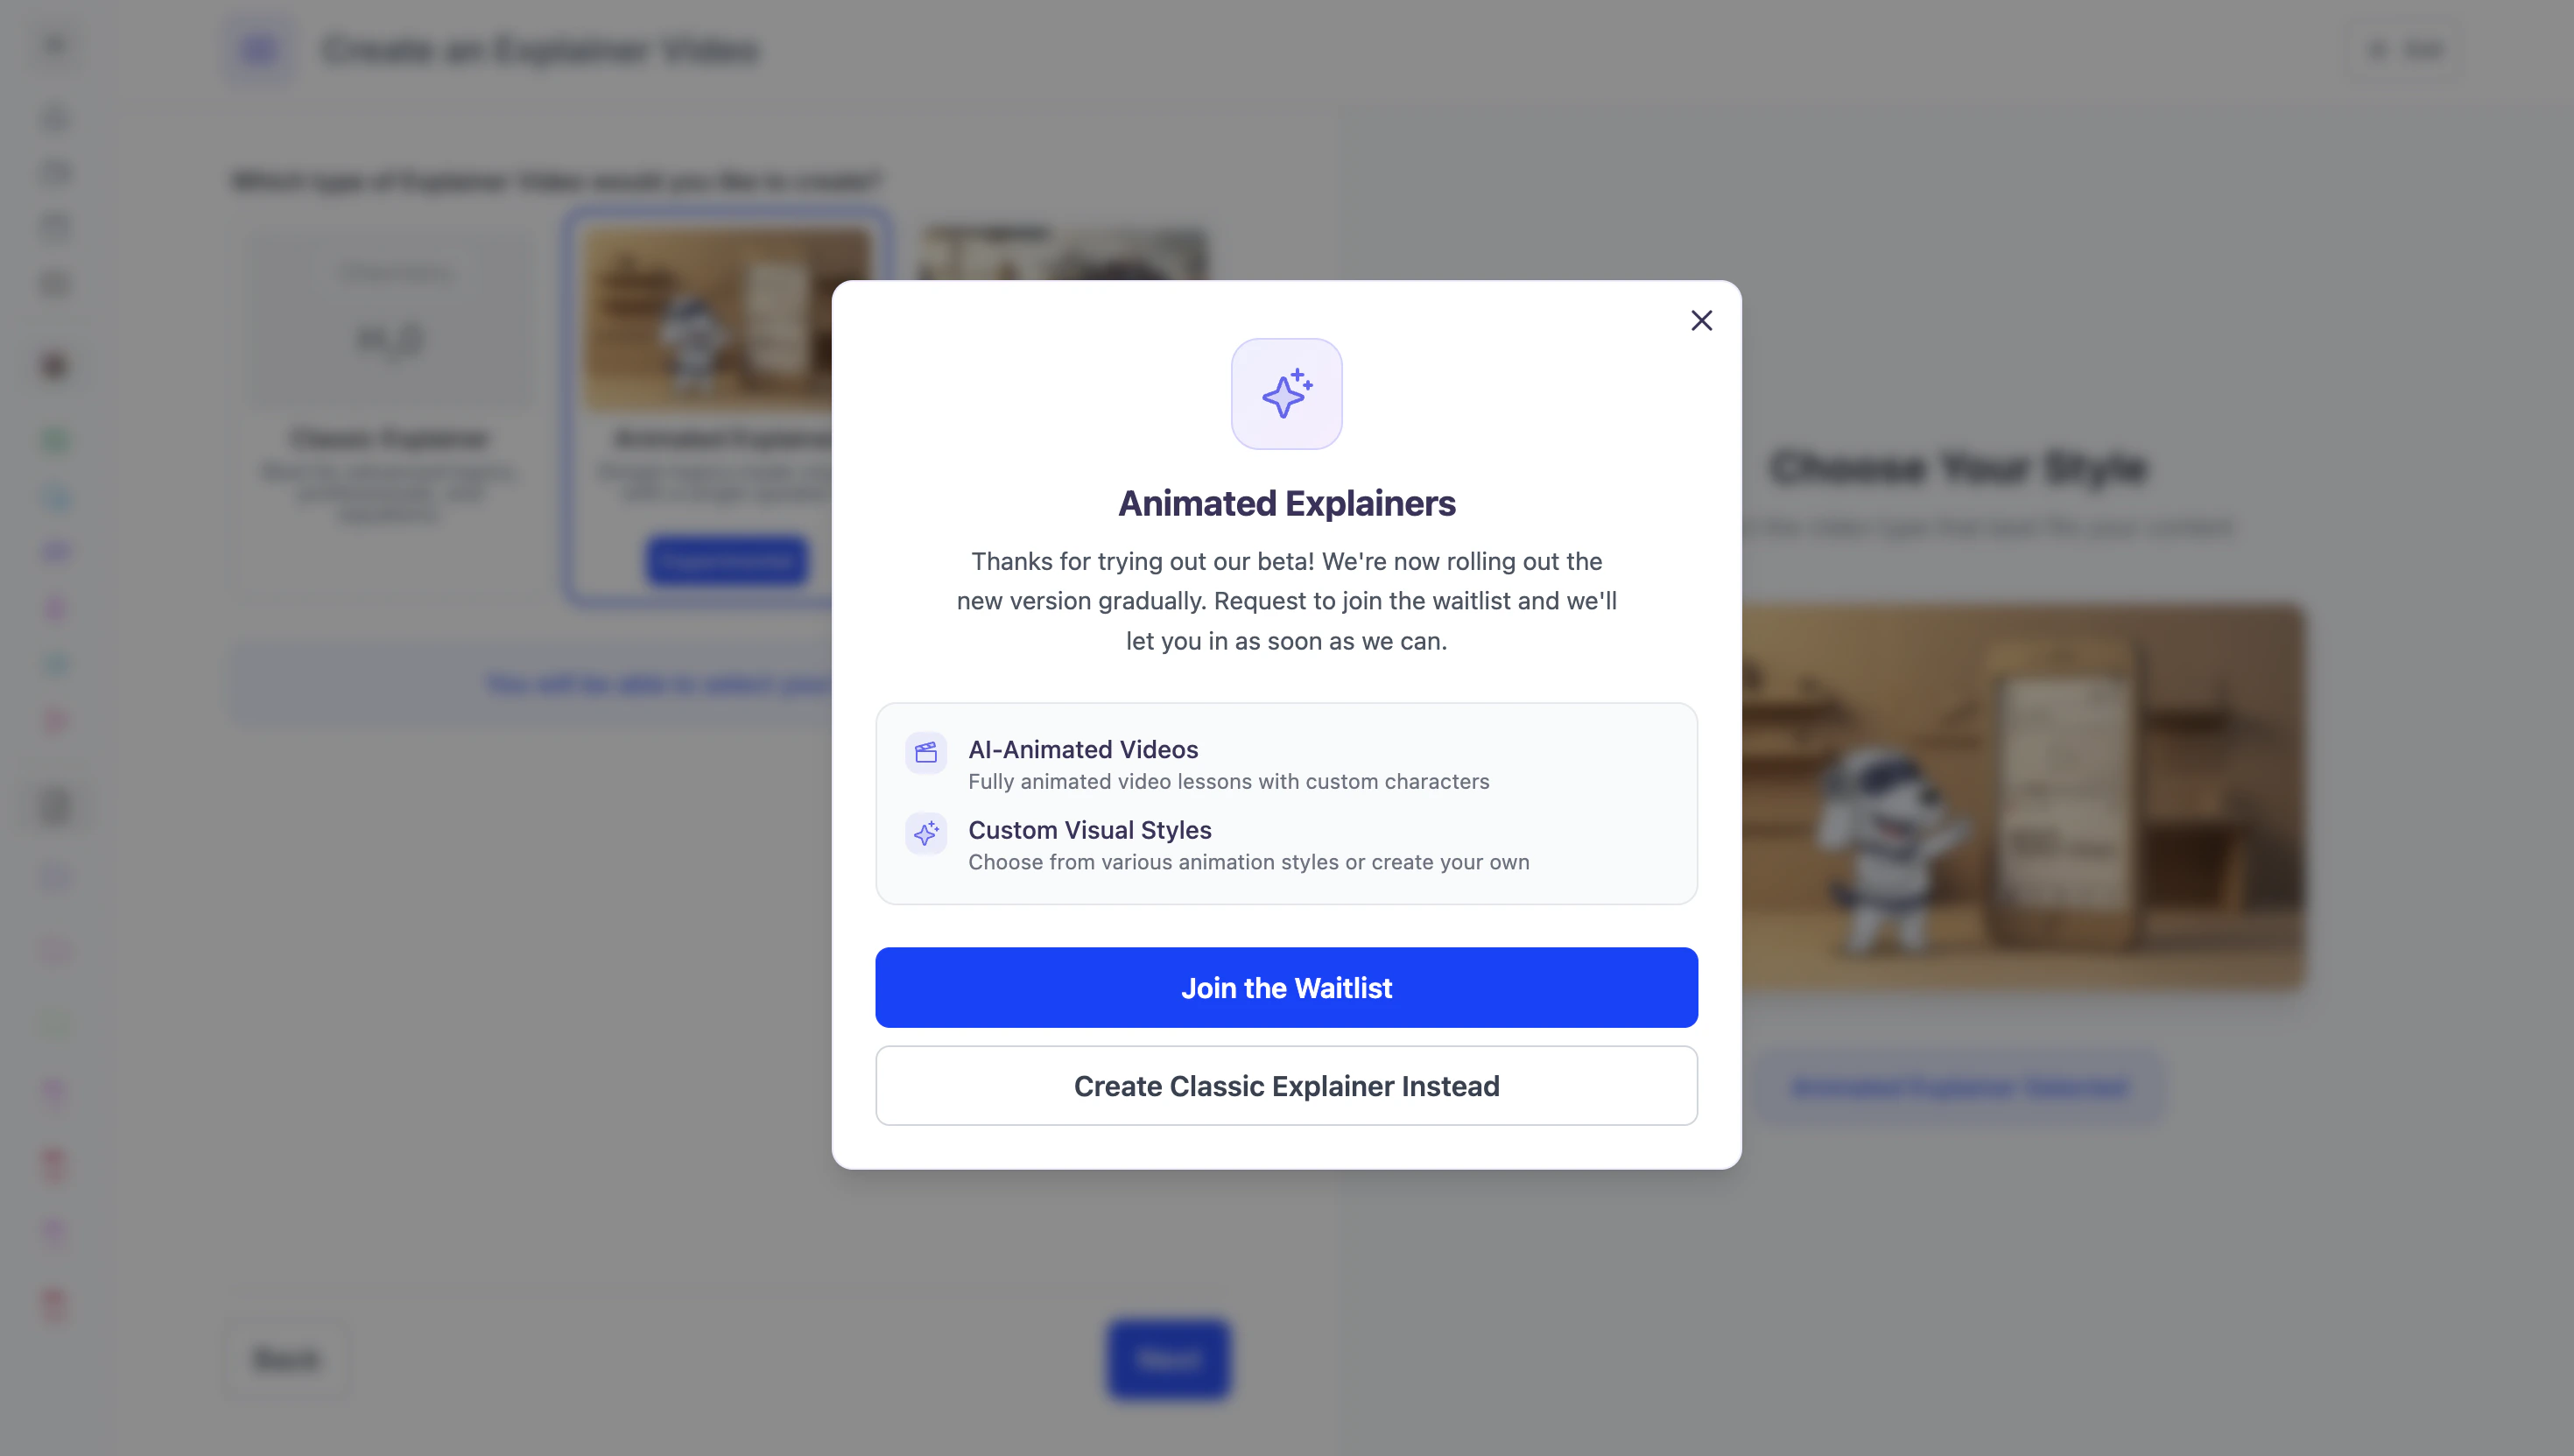
Animated Explainers are currently in an experimental (Beta) phase. Check back for updates as we continue to improve and expand access.
Type 3: Animated Conversation
- Select Animated Conversation if you learn best through dialogue. This format presents the topic as a conversation between two animated characters, making it great for understanding concepts through back-and-forth discussion or examples.
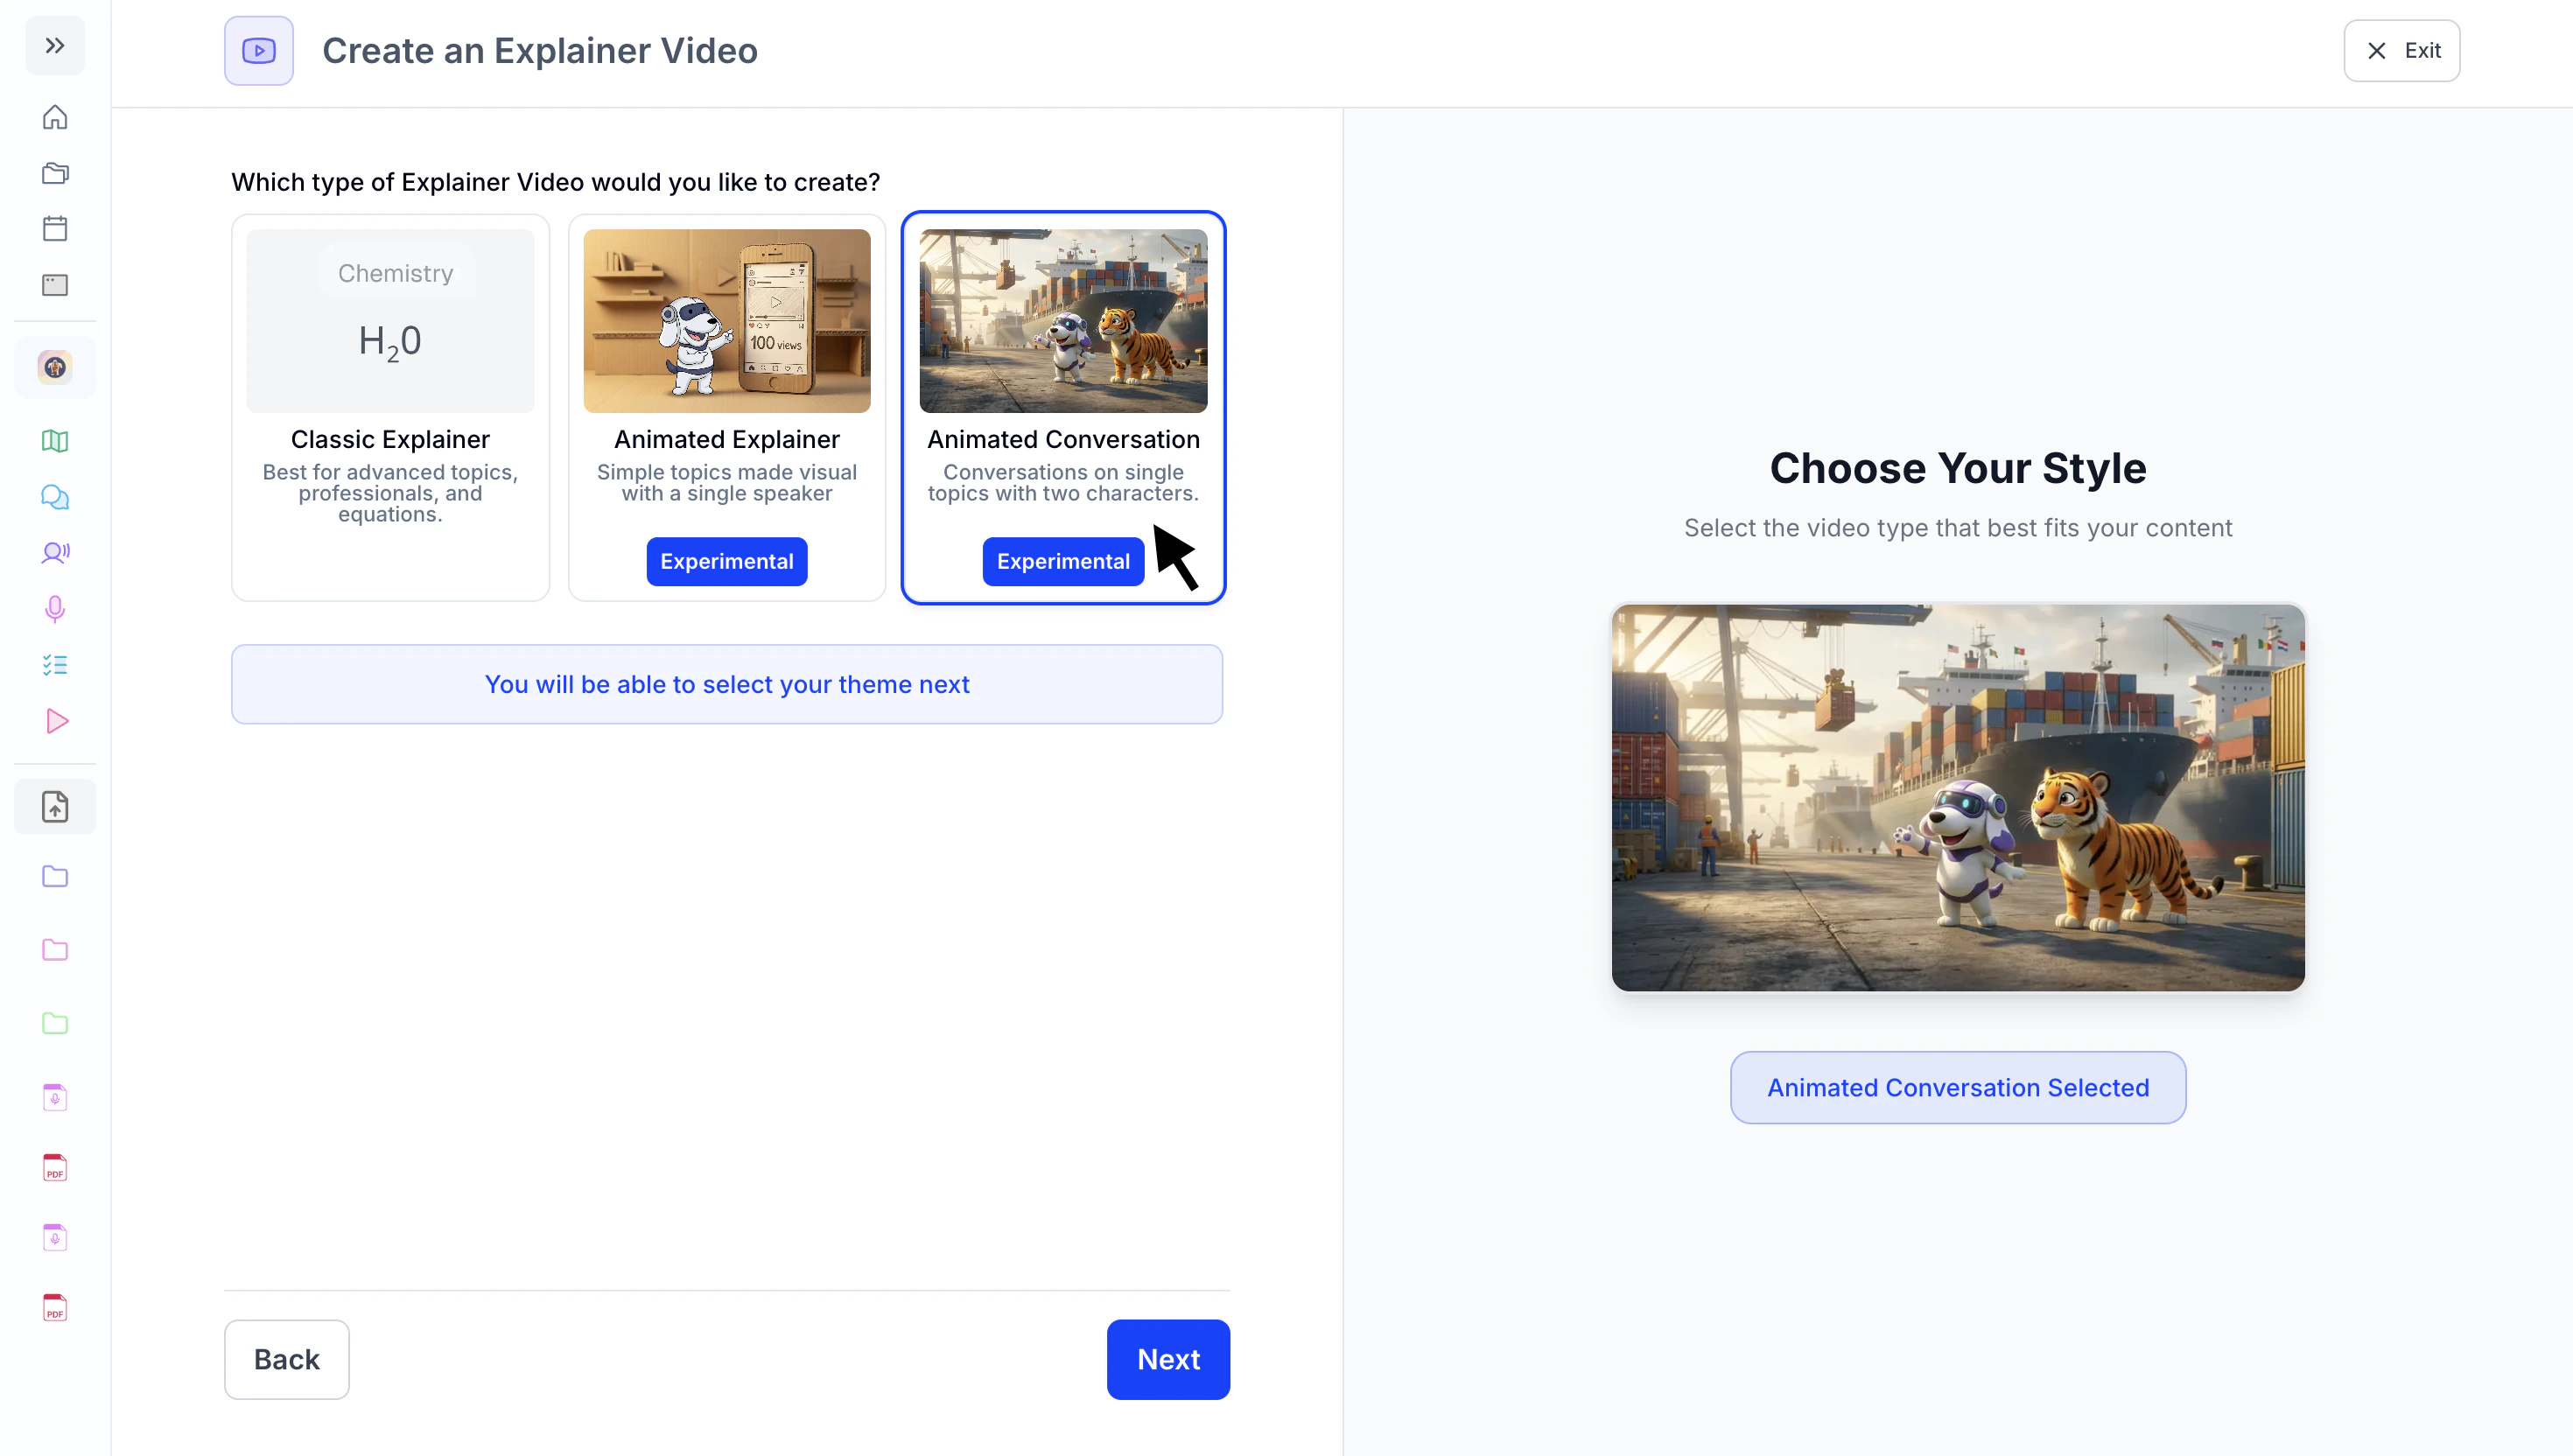
- After making your selection, click Next.
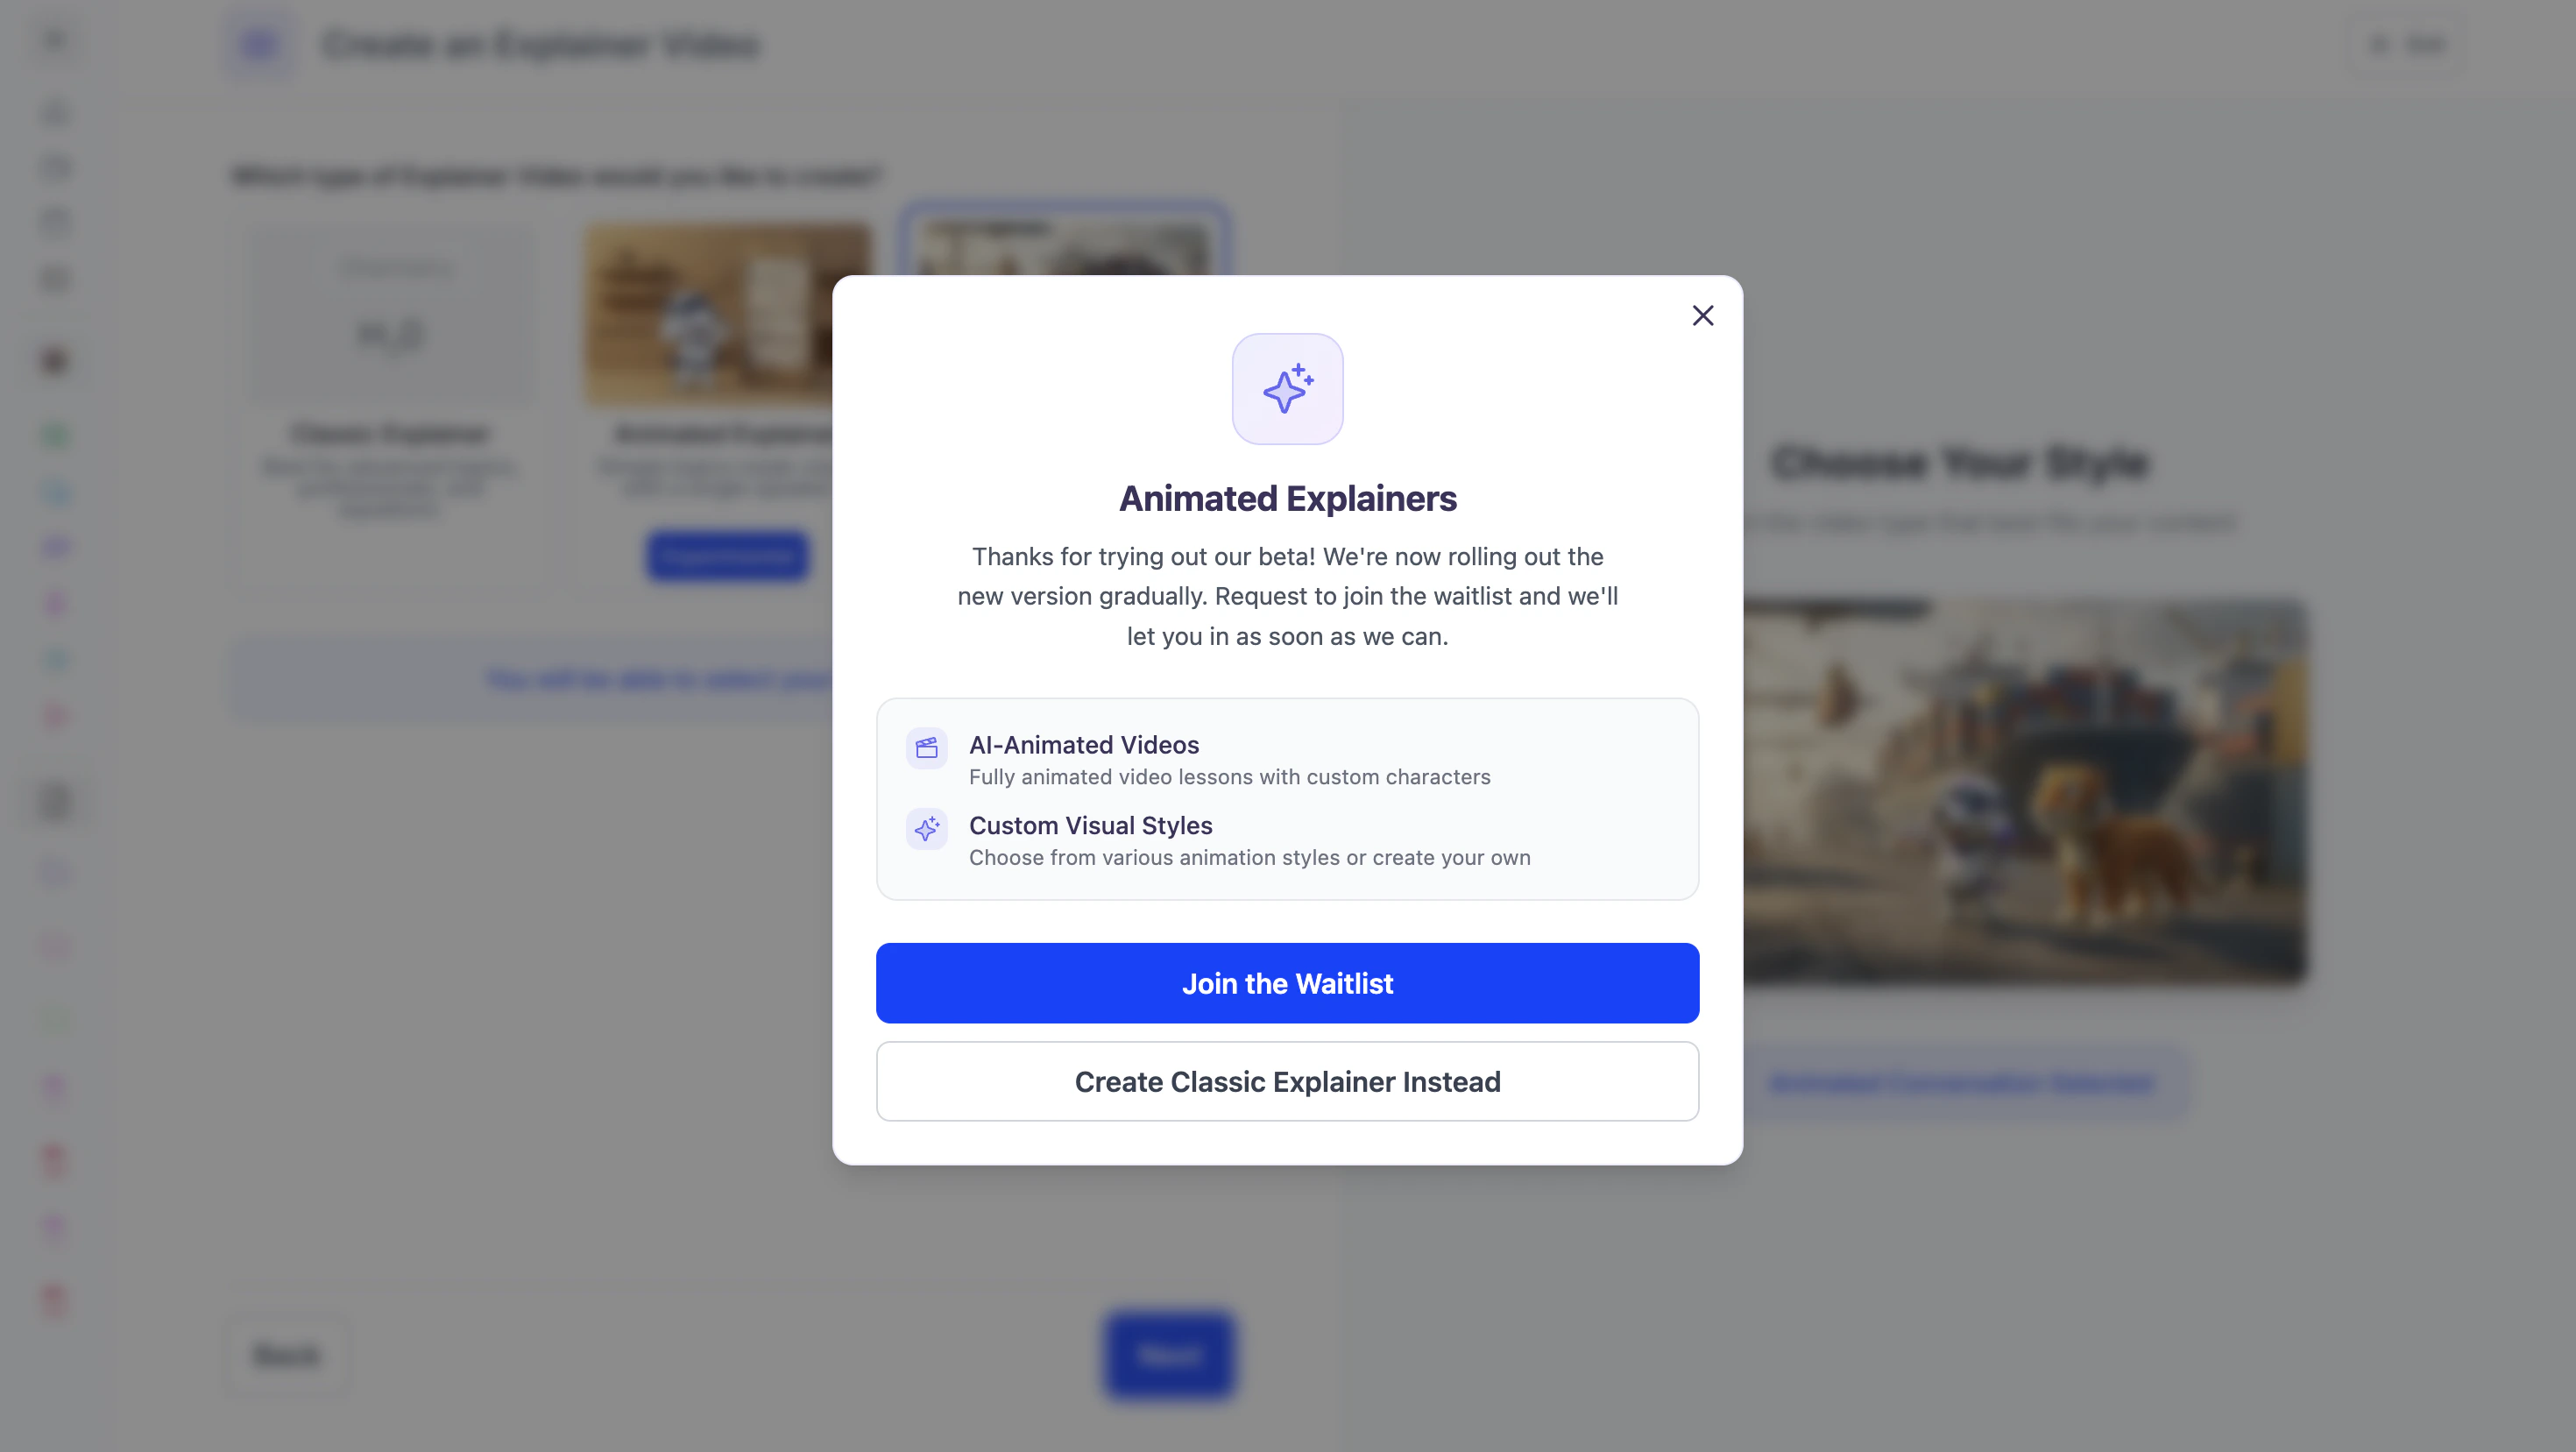
Animated Conversation Explainers are currently in an experimental (Beta) phase. Check back for updates as we continue to improve and expand access.
Step 4: Customize your Explainer Video
- Start by choosing how you want your material presented. You can select from the available prompts
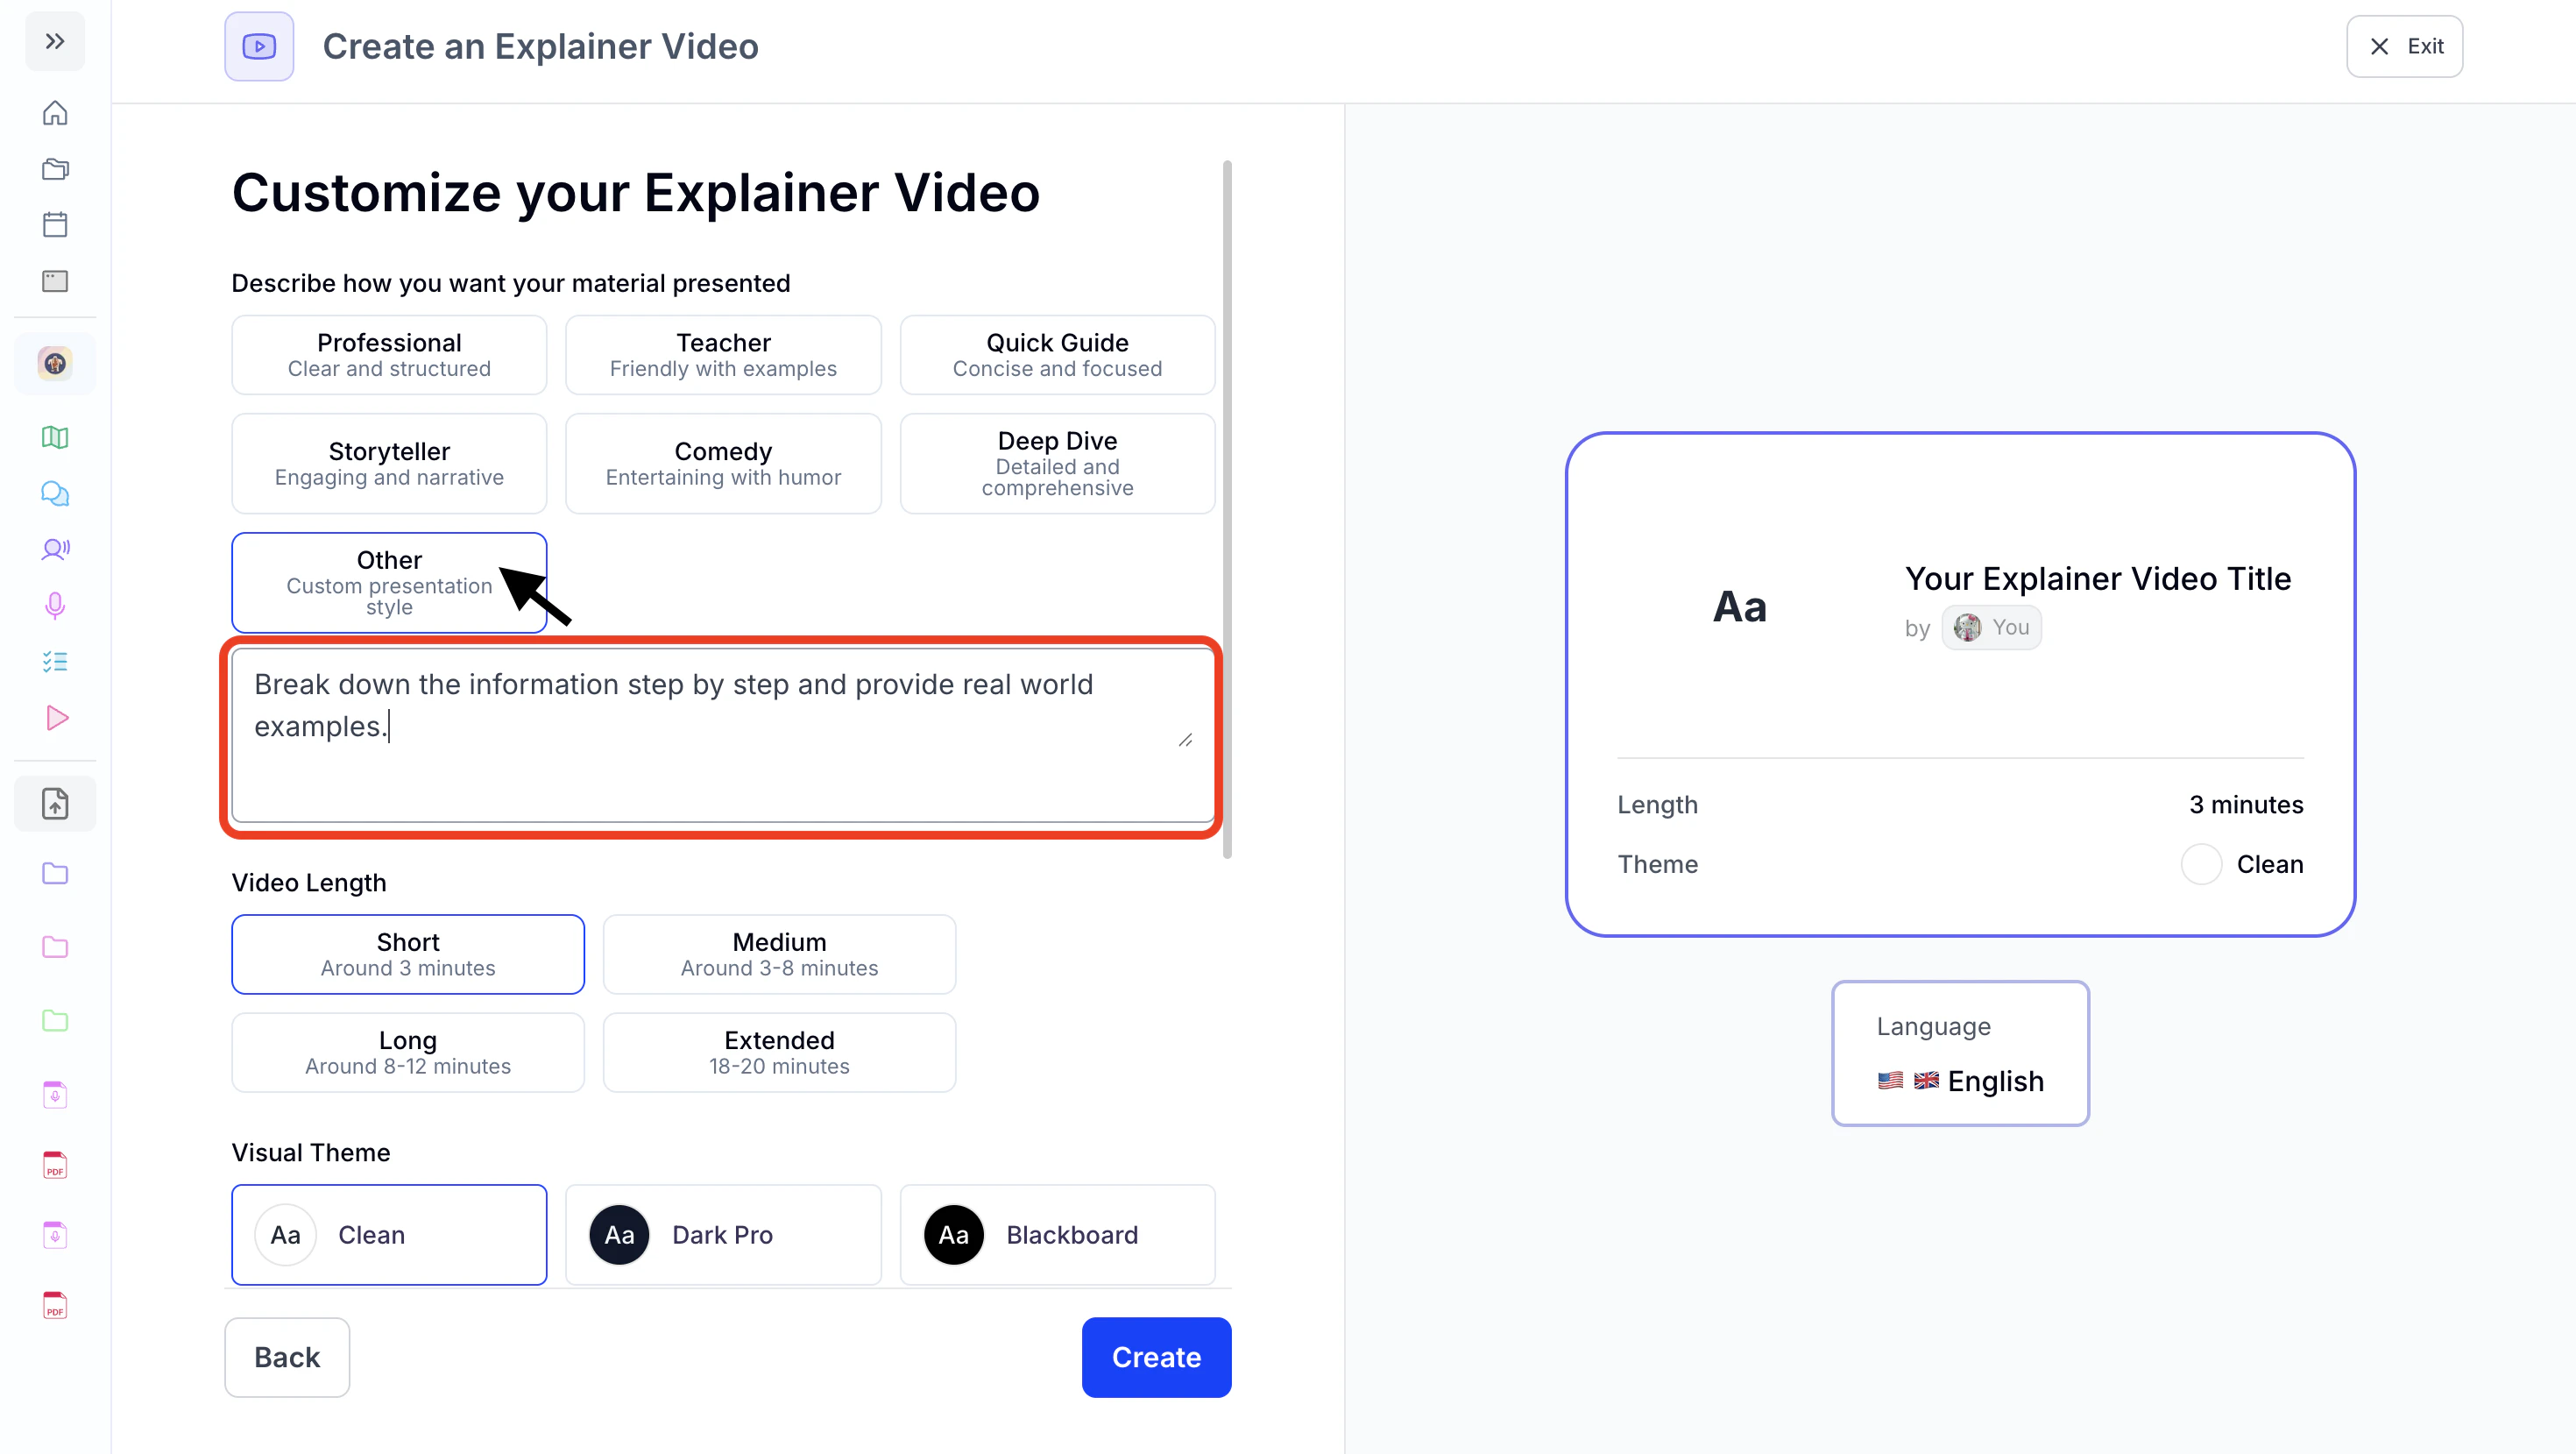
or pick Other to type your own custom style.
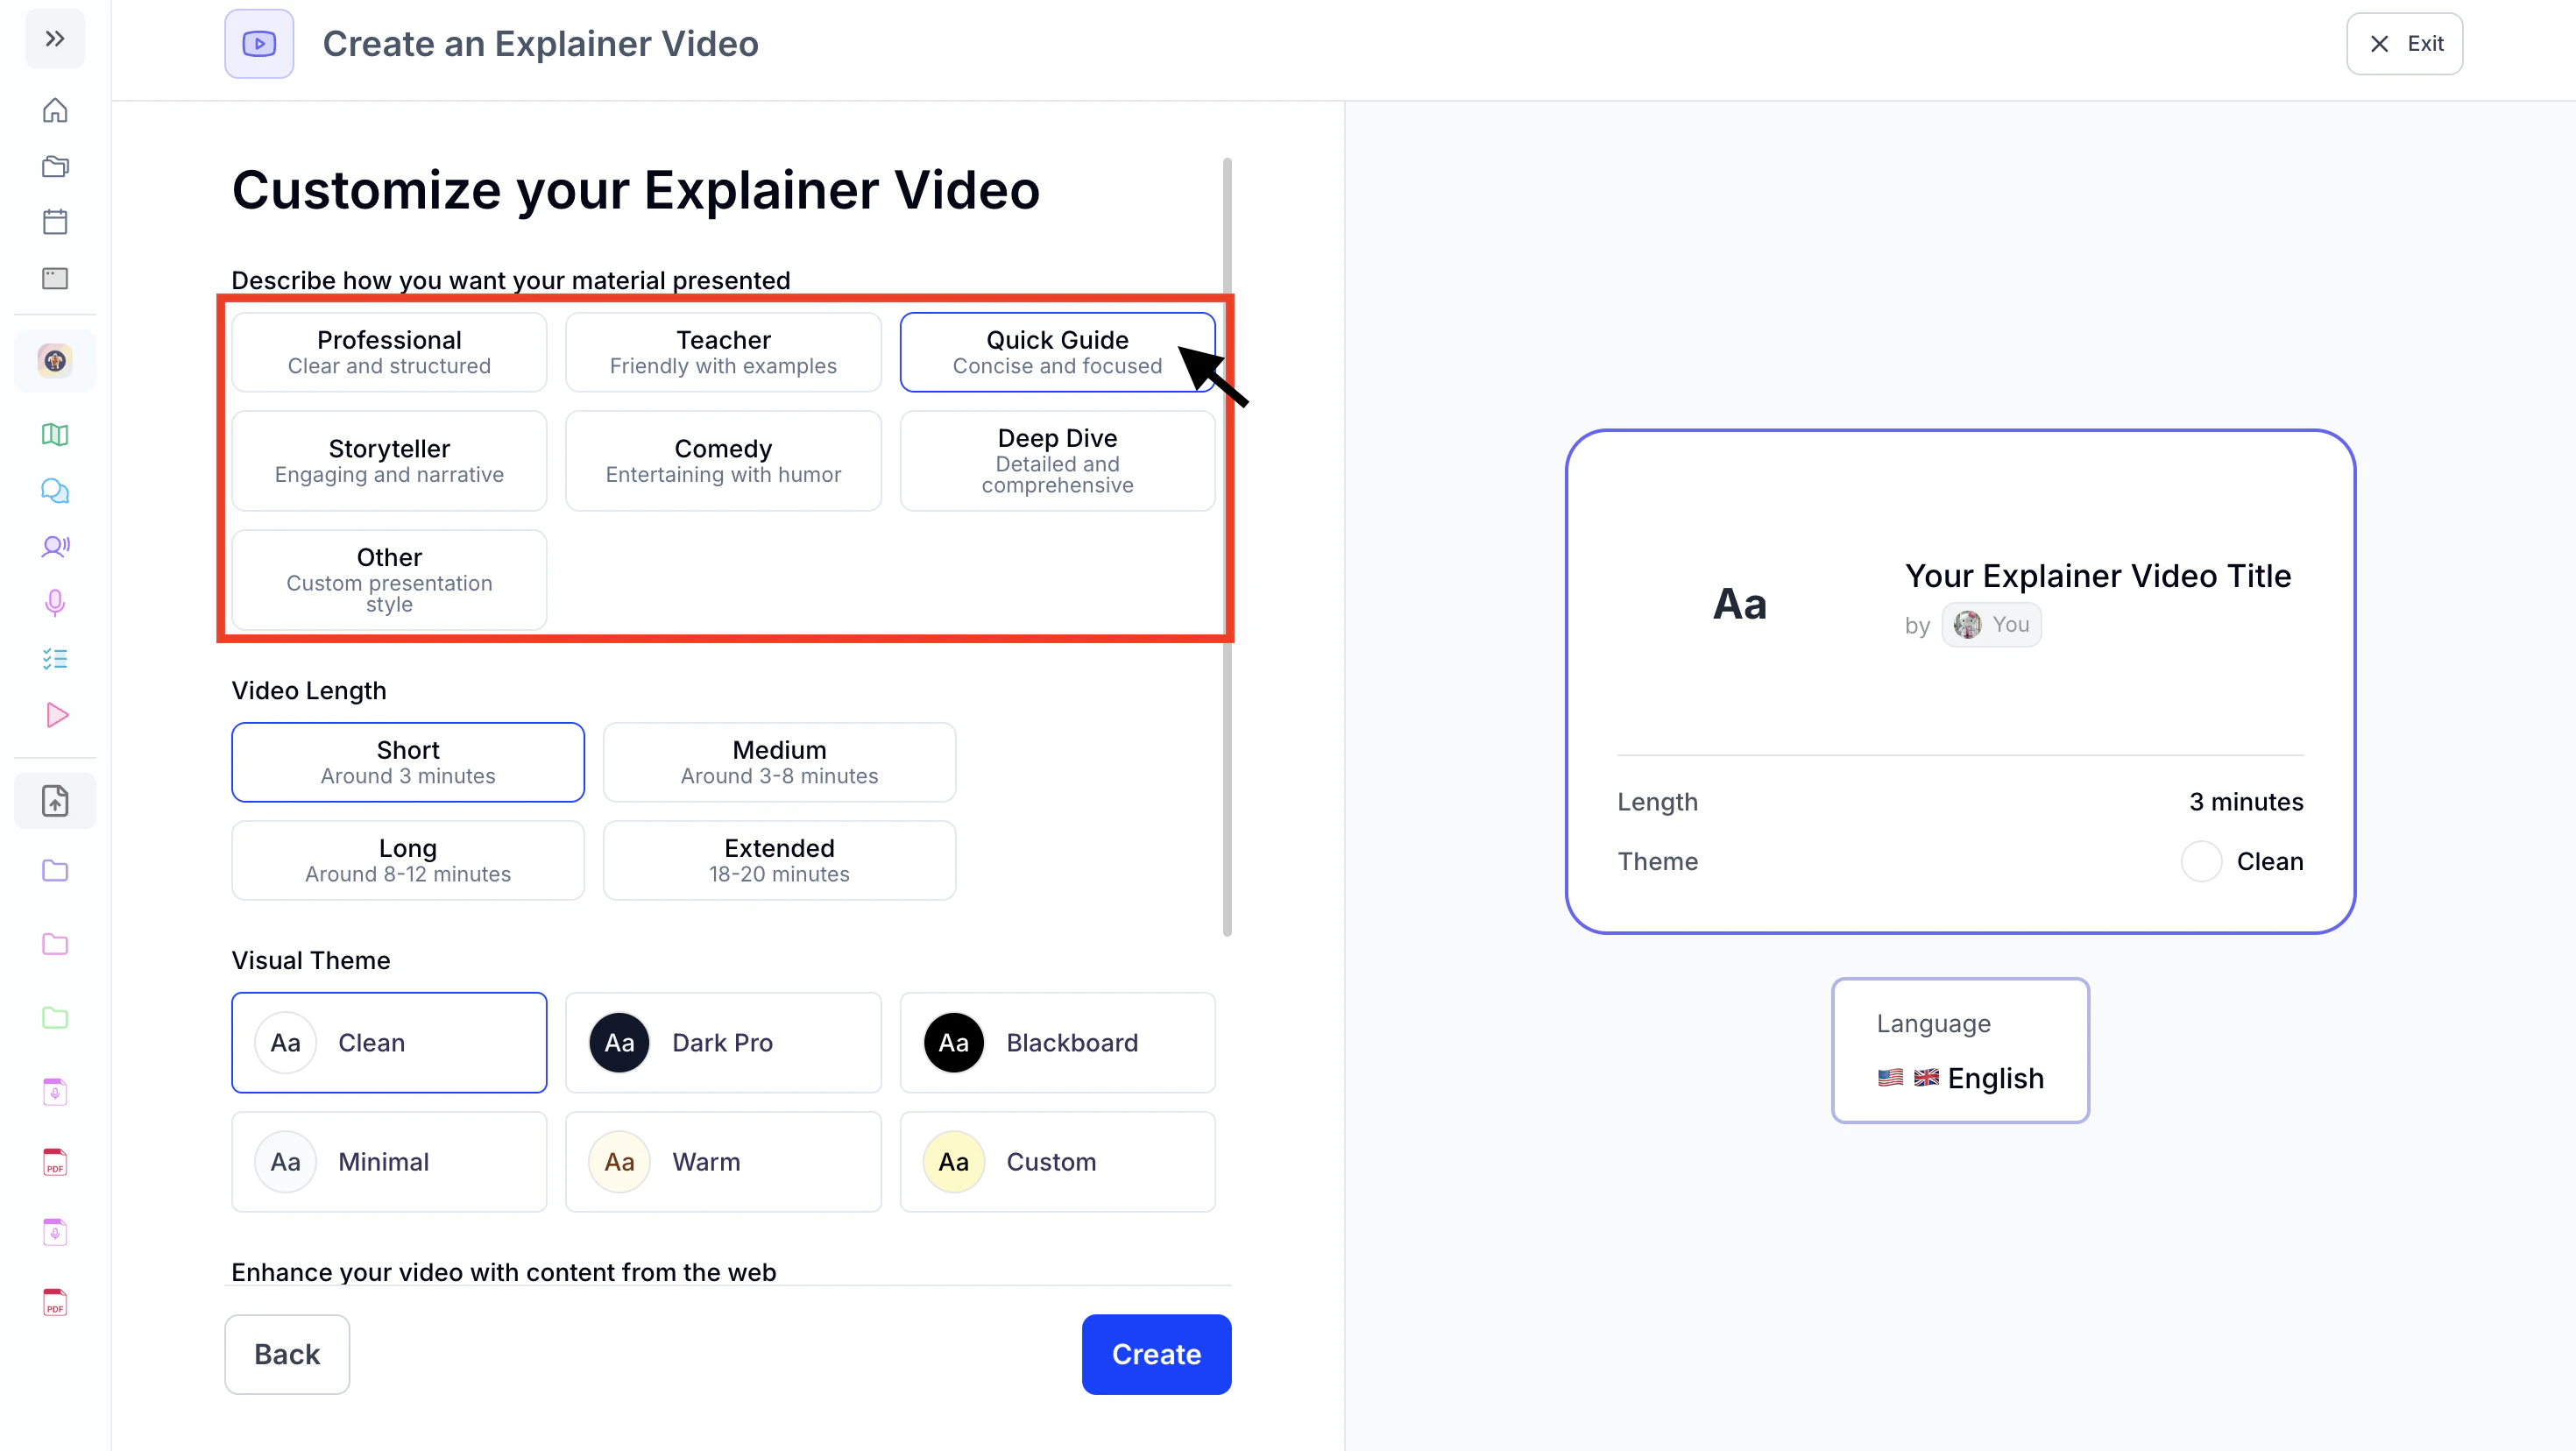
- Next choose a the video length from these options:
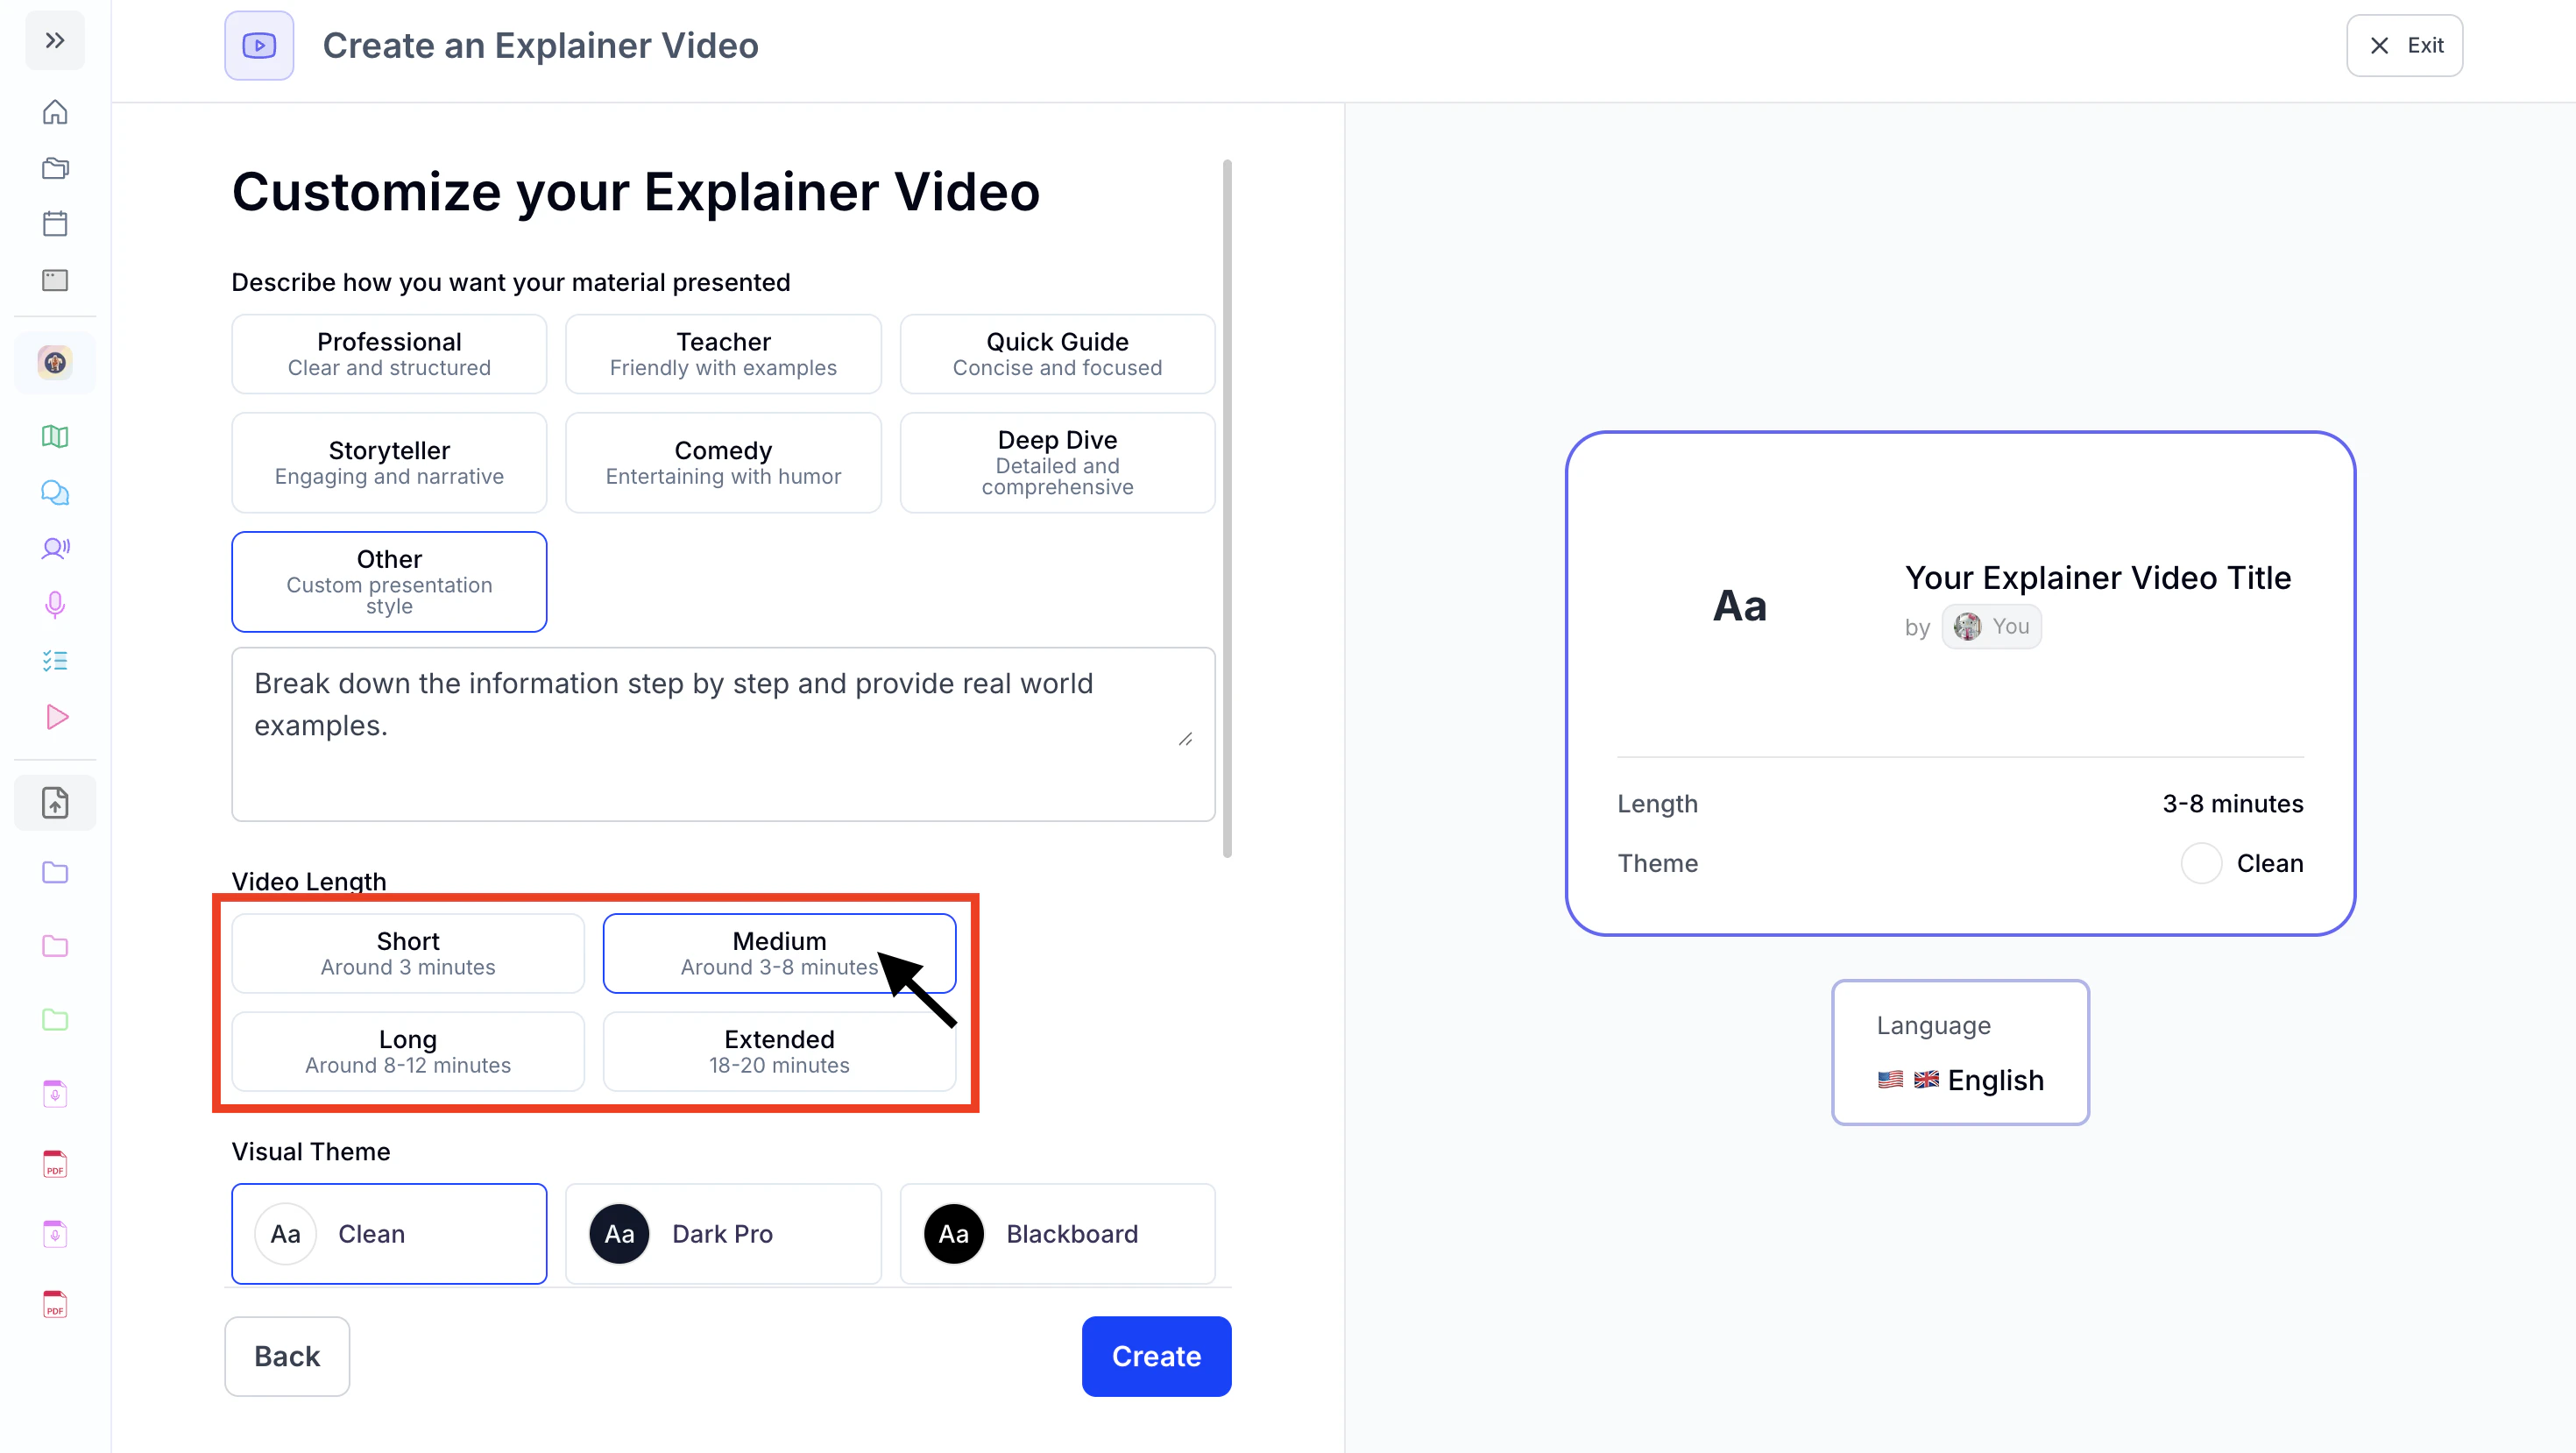
- Short: ~3 minutes
- Medium: ~3–8 minutes
- Long: ~8–12 minutes
- Extended: ~18–20 minutes
- Then, select a visual theme for your video.
- You can choose from the available options or,

- Select Custom to create your own style.
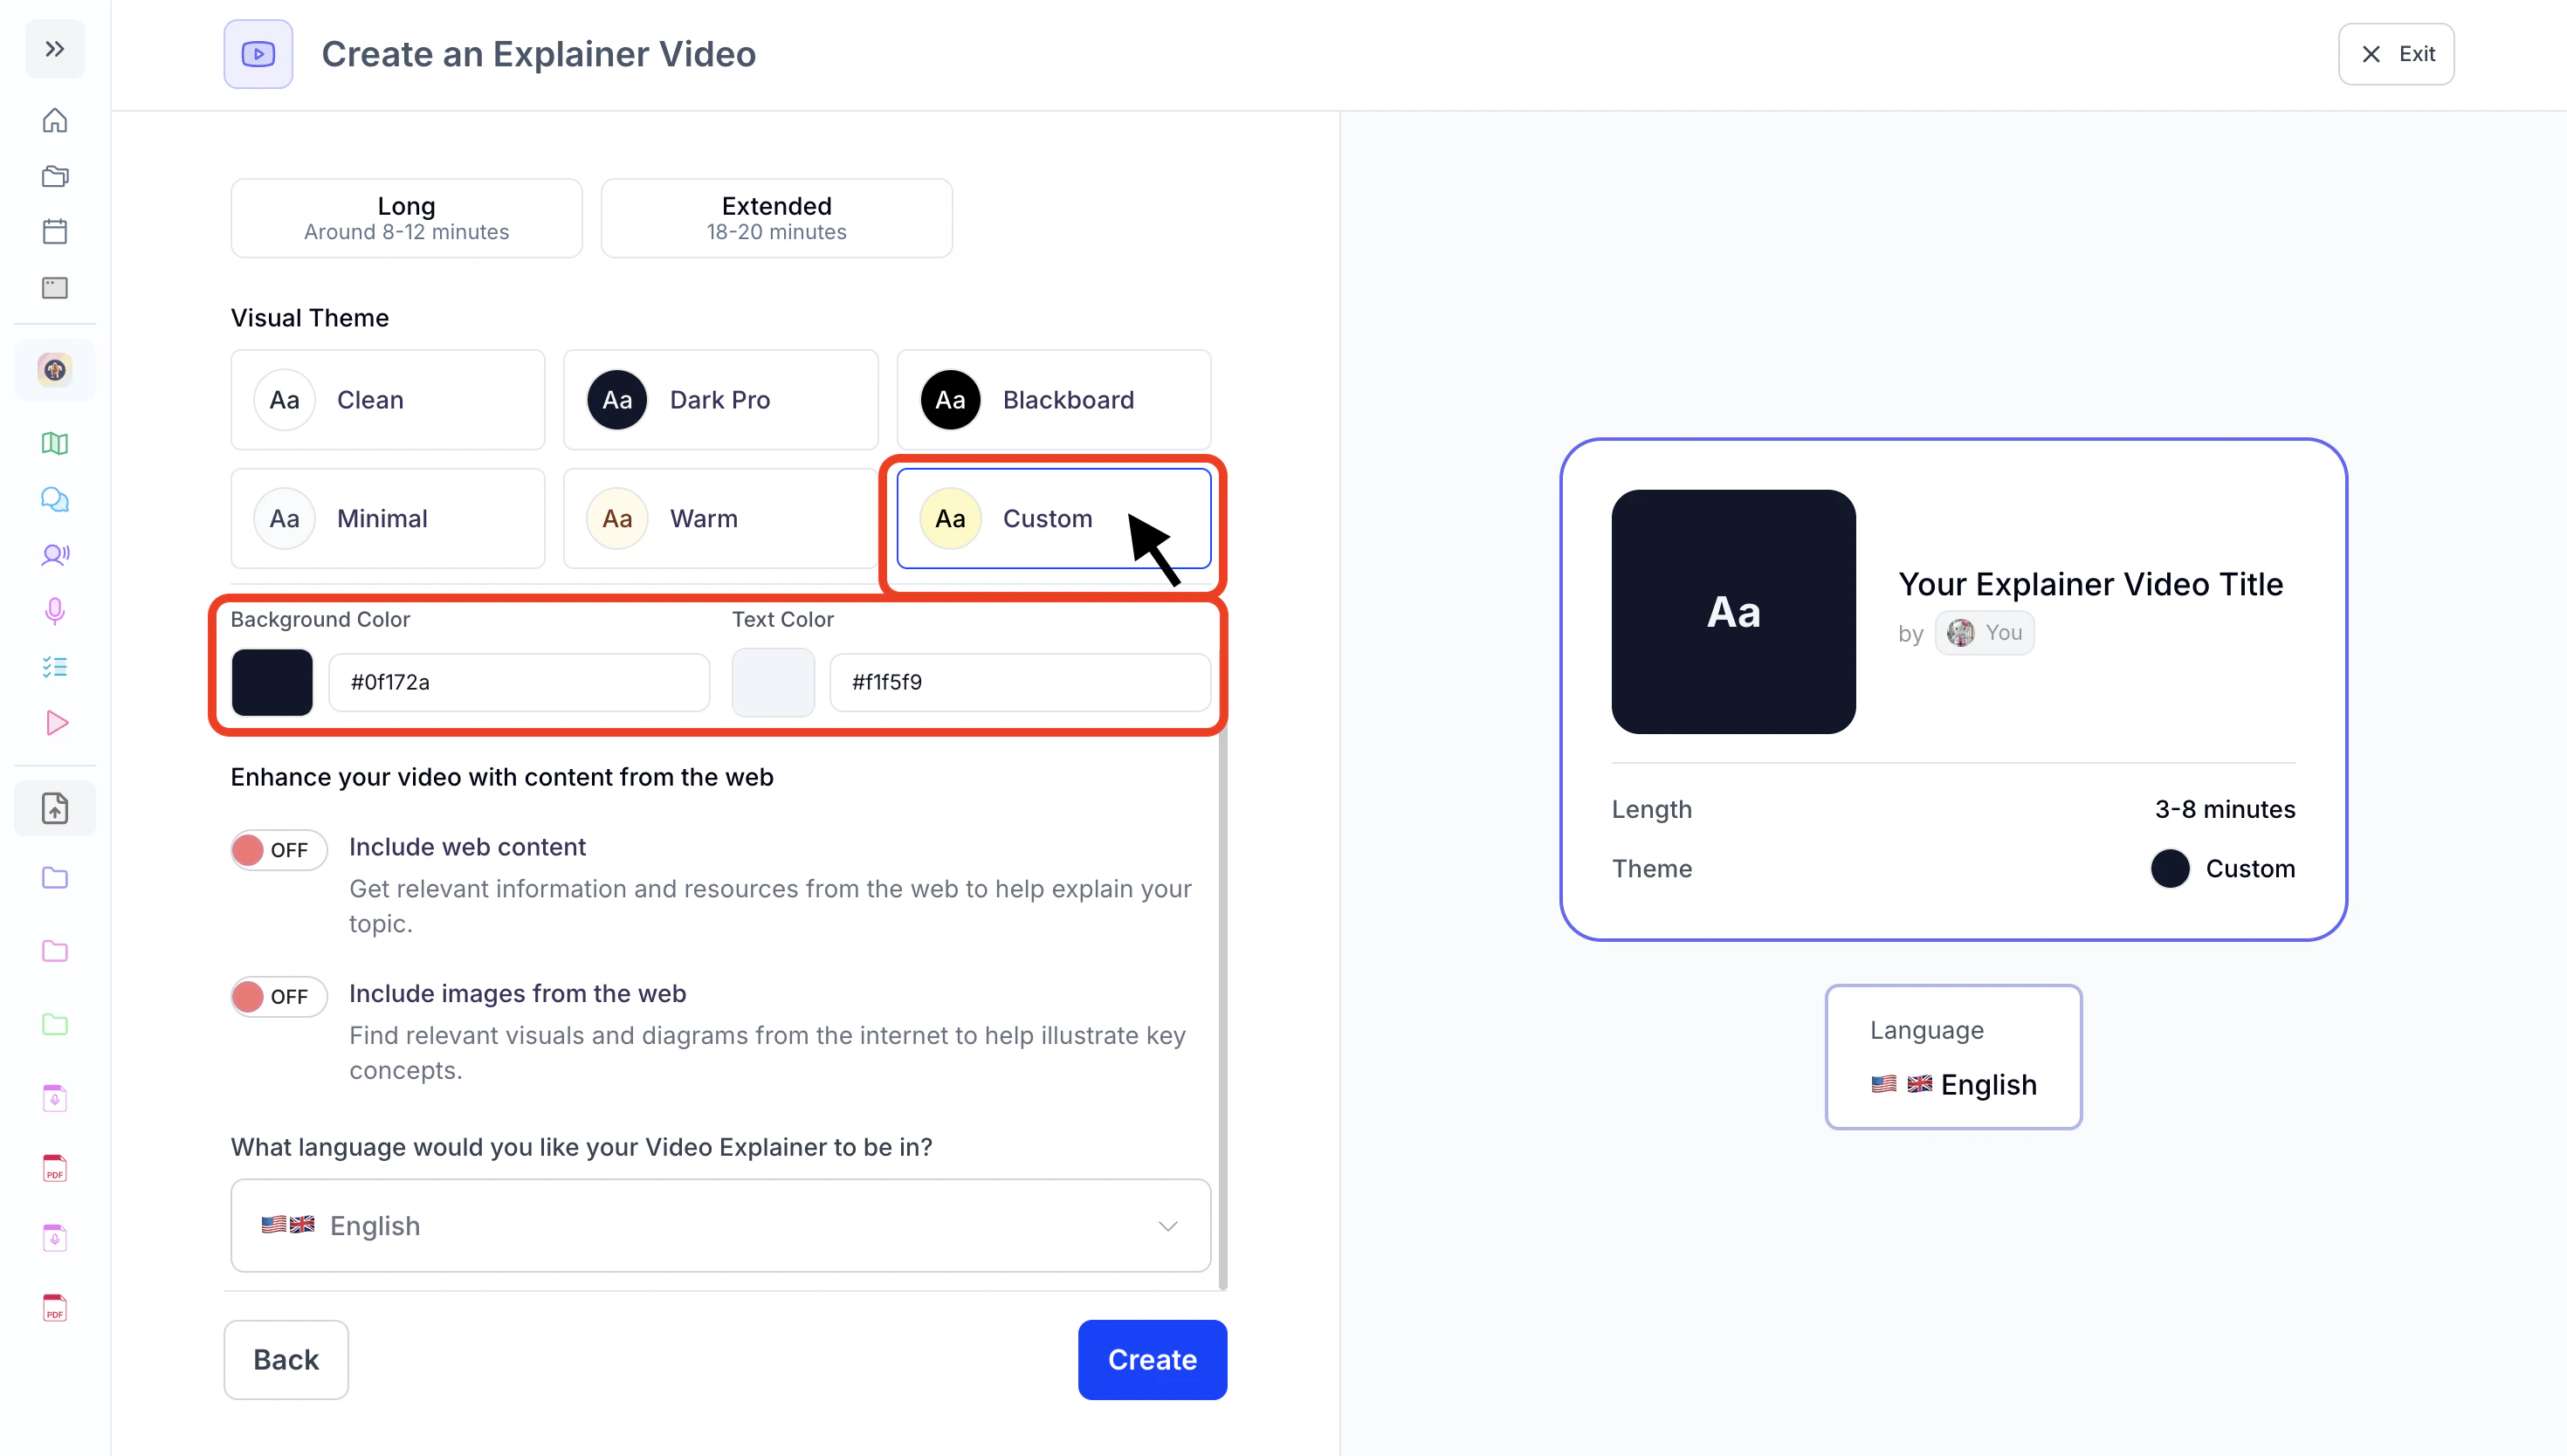
- Personalize your design by clicking the background or text color to open the color picker and choose your preferred colors.
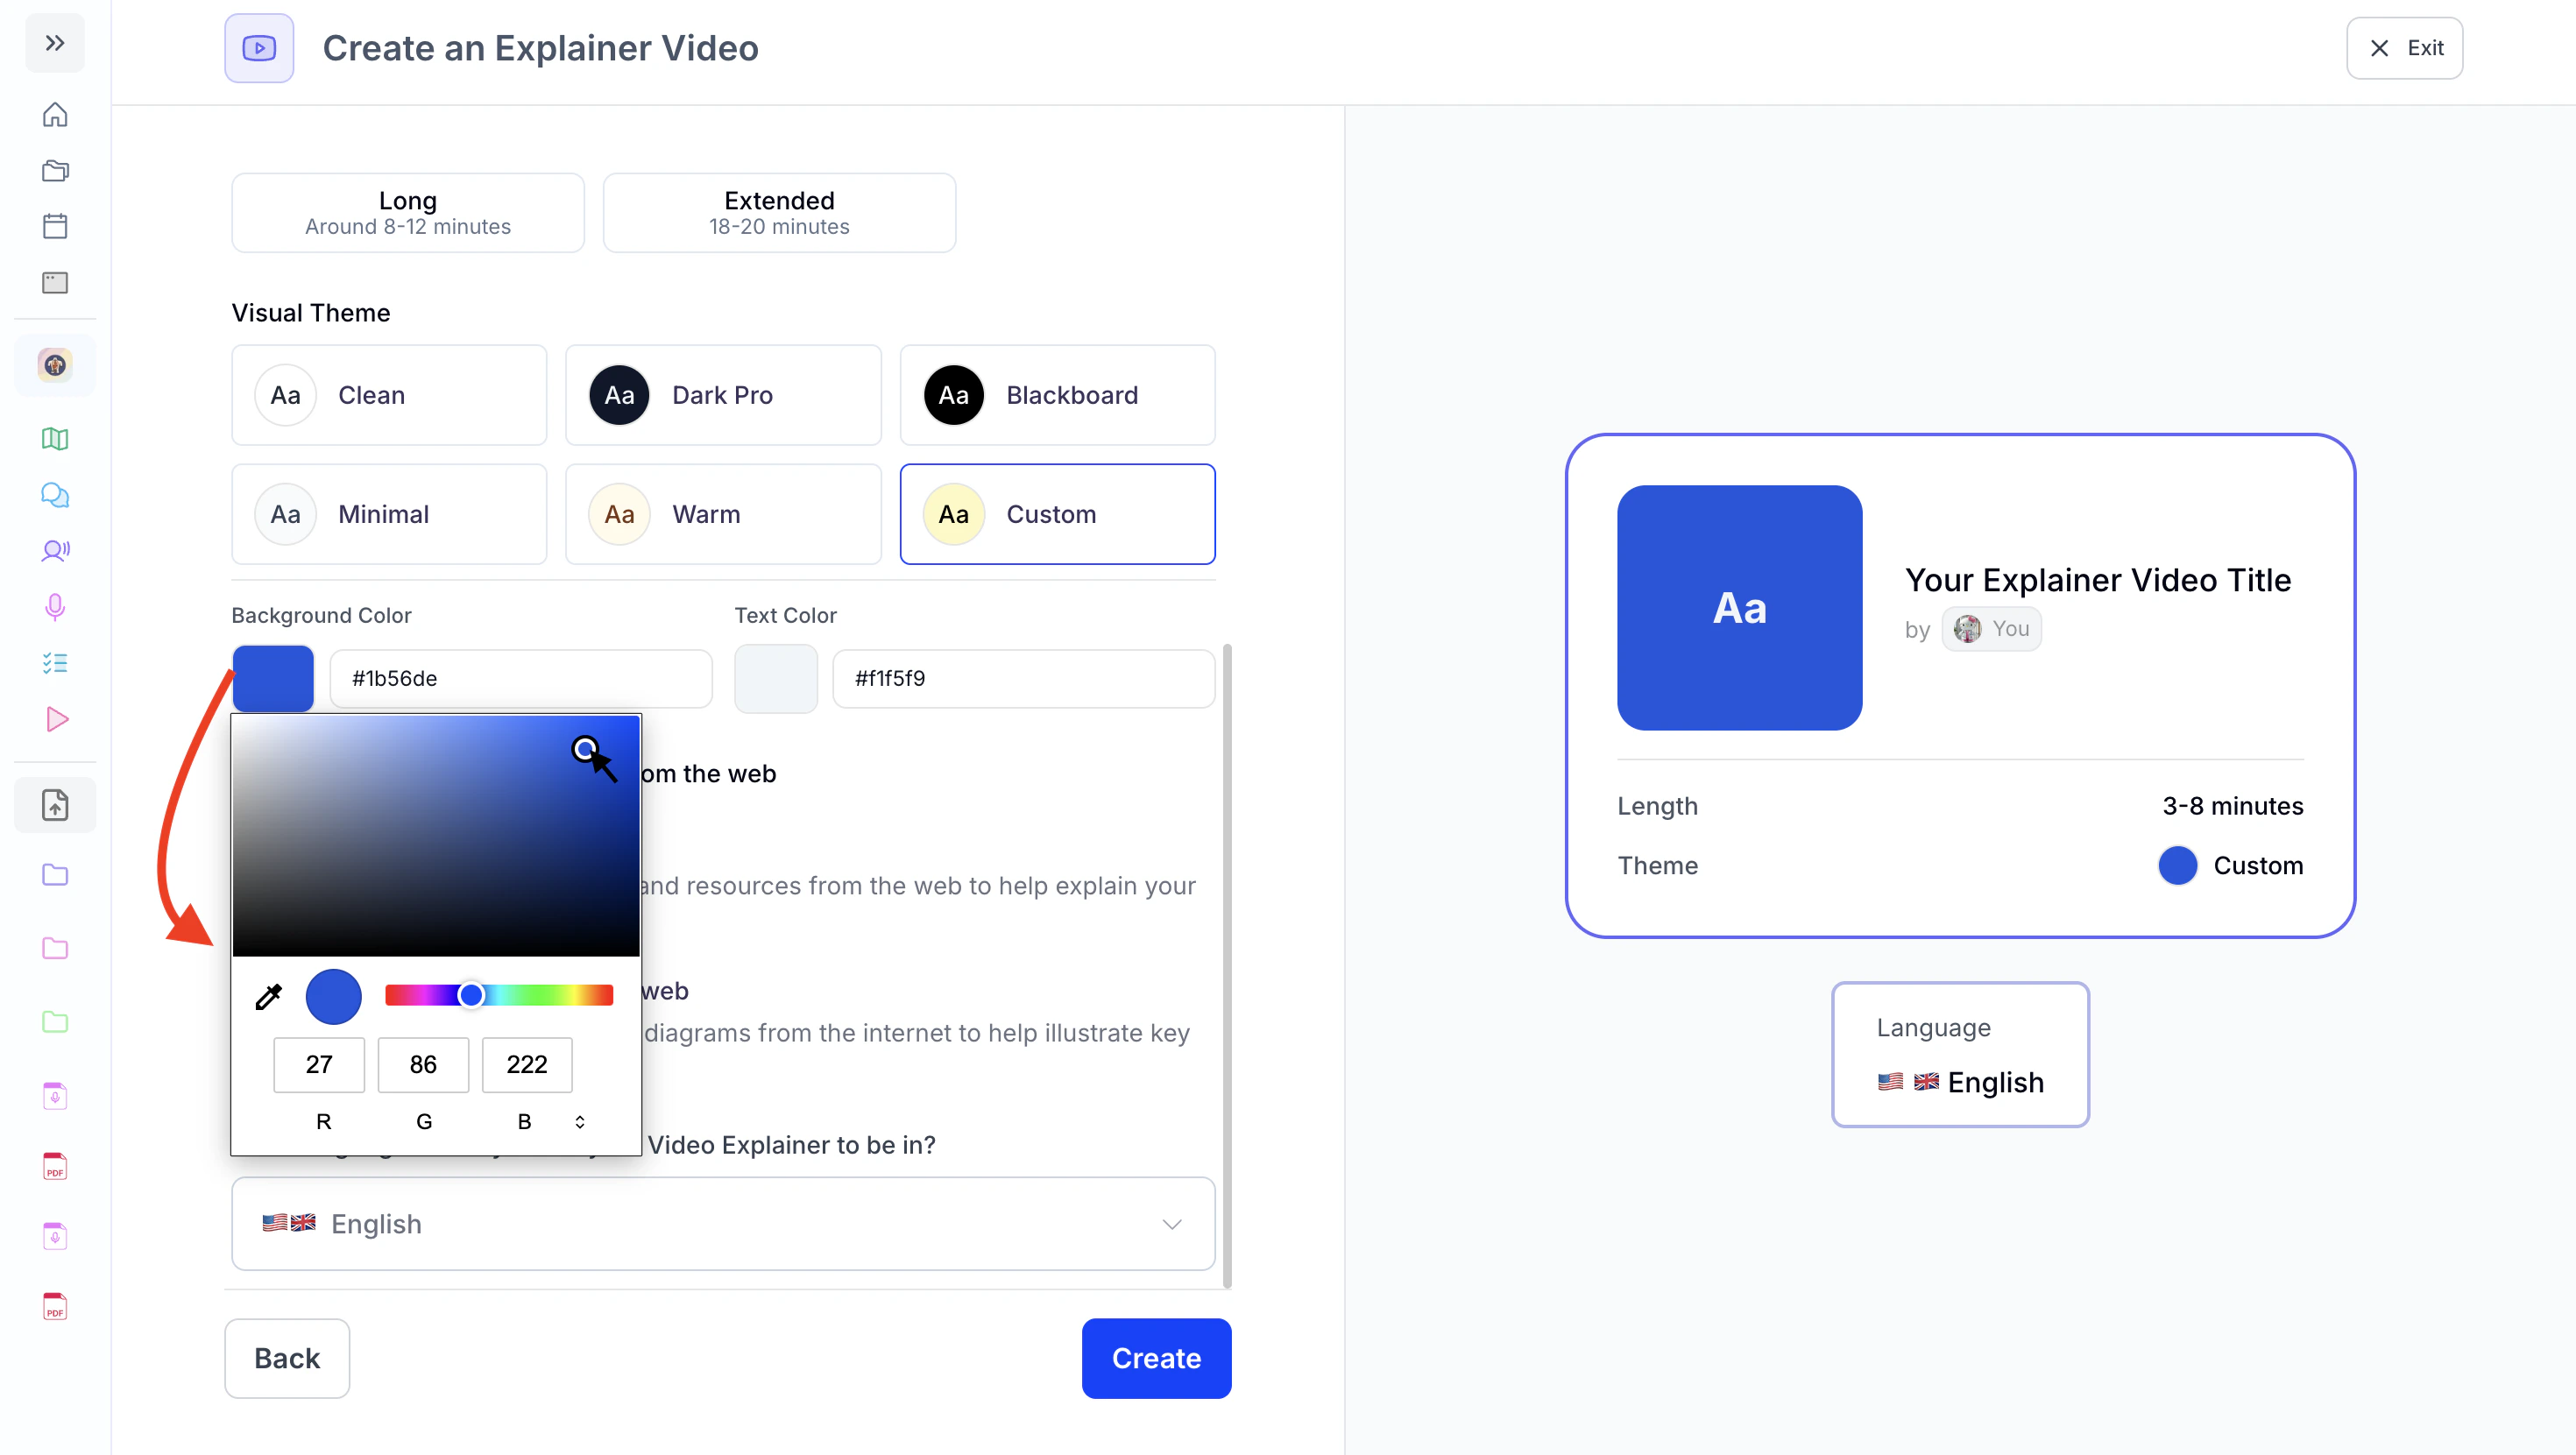
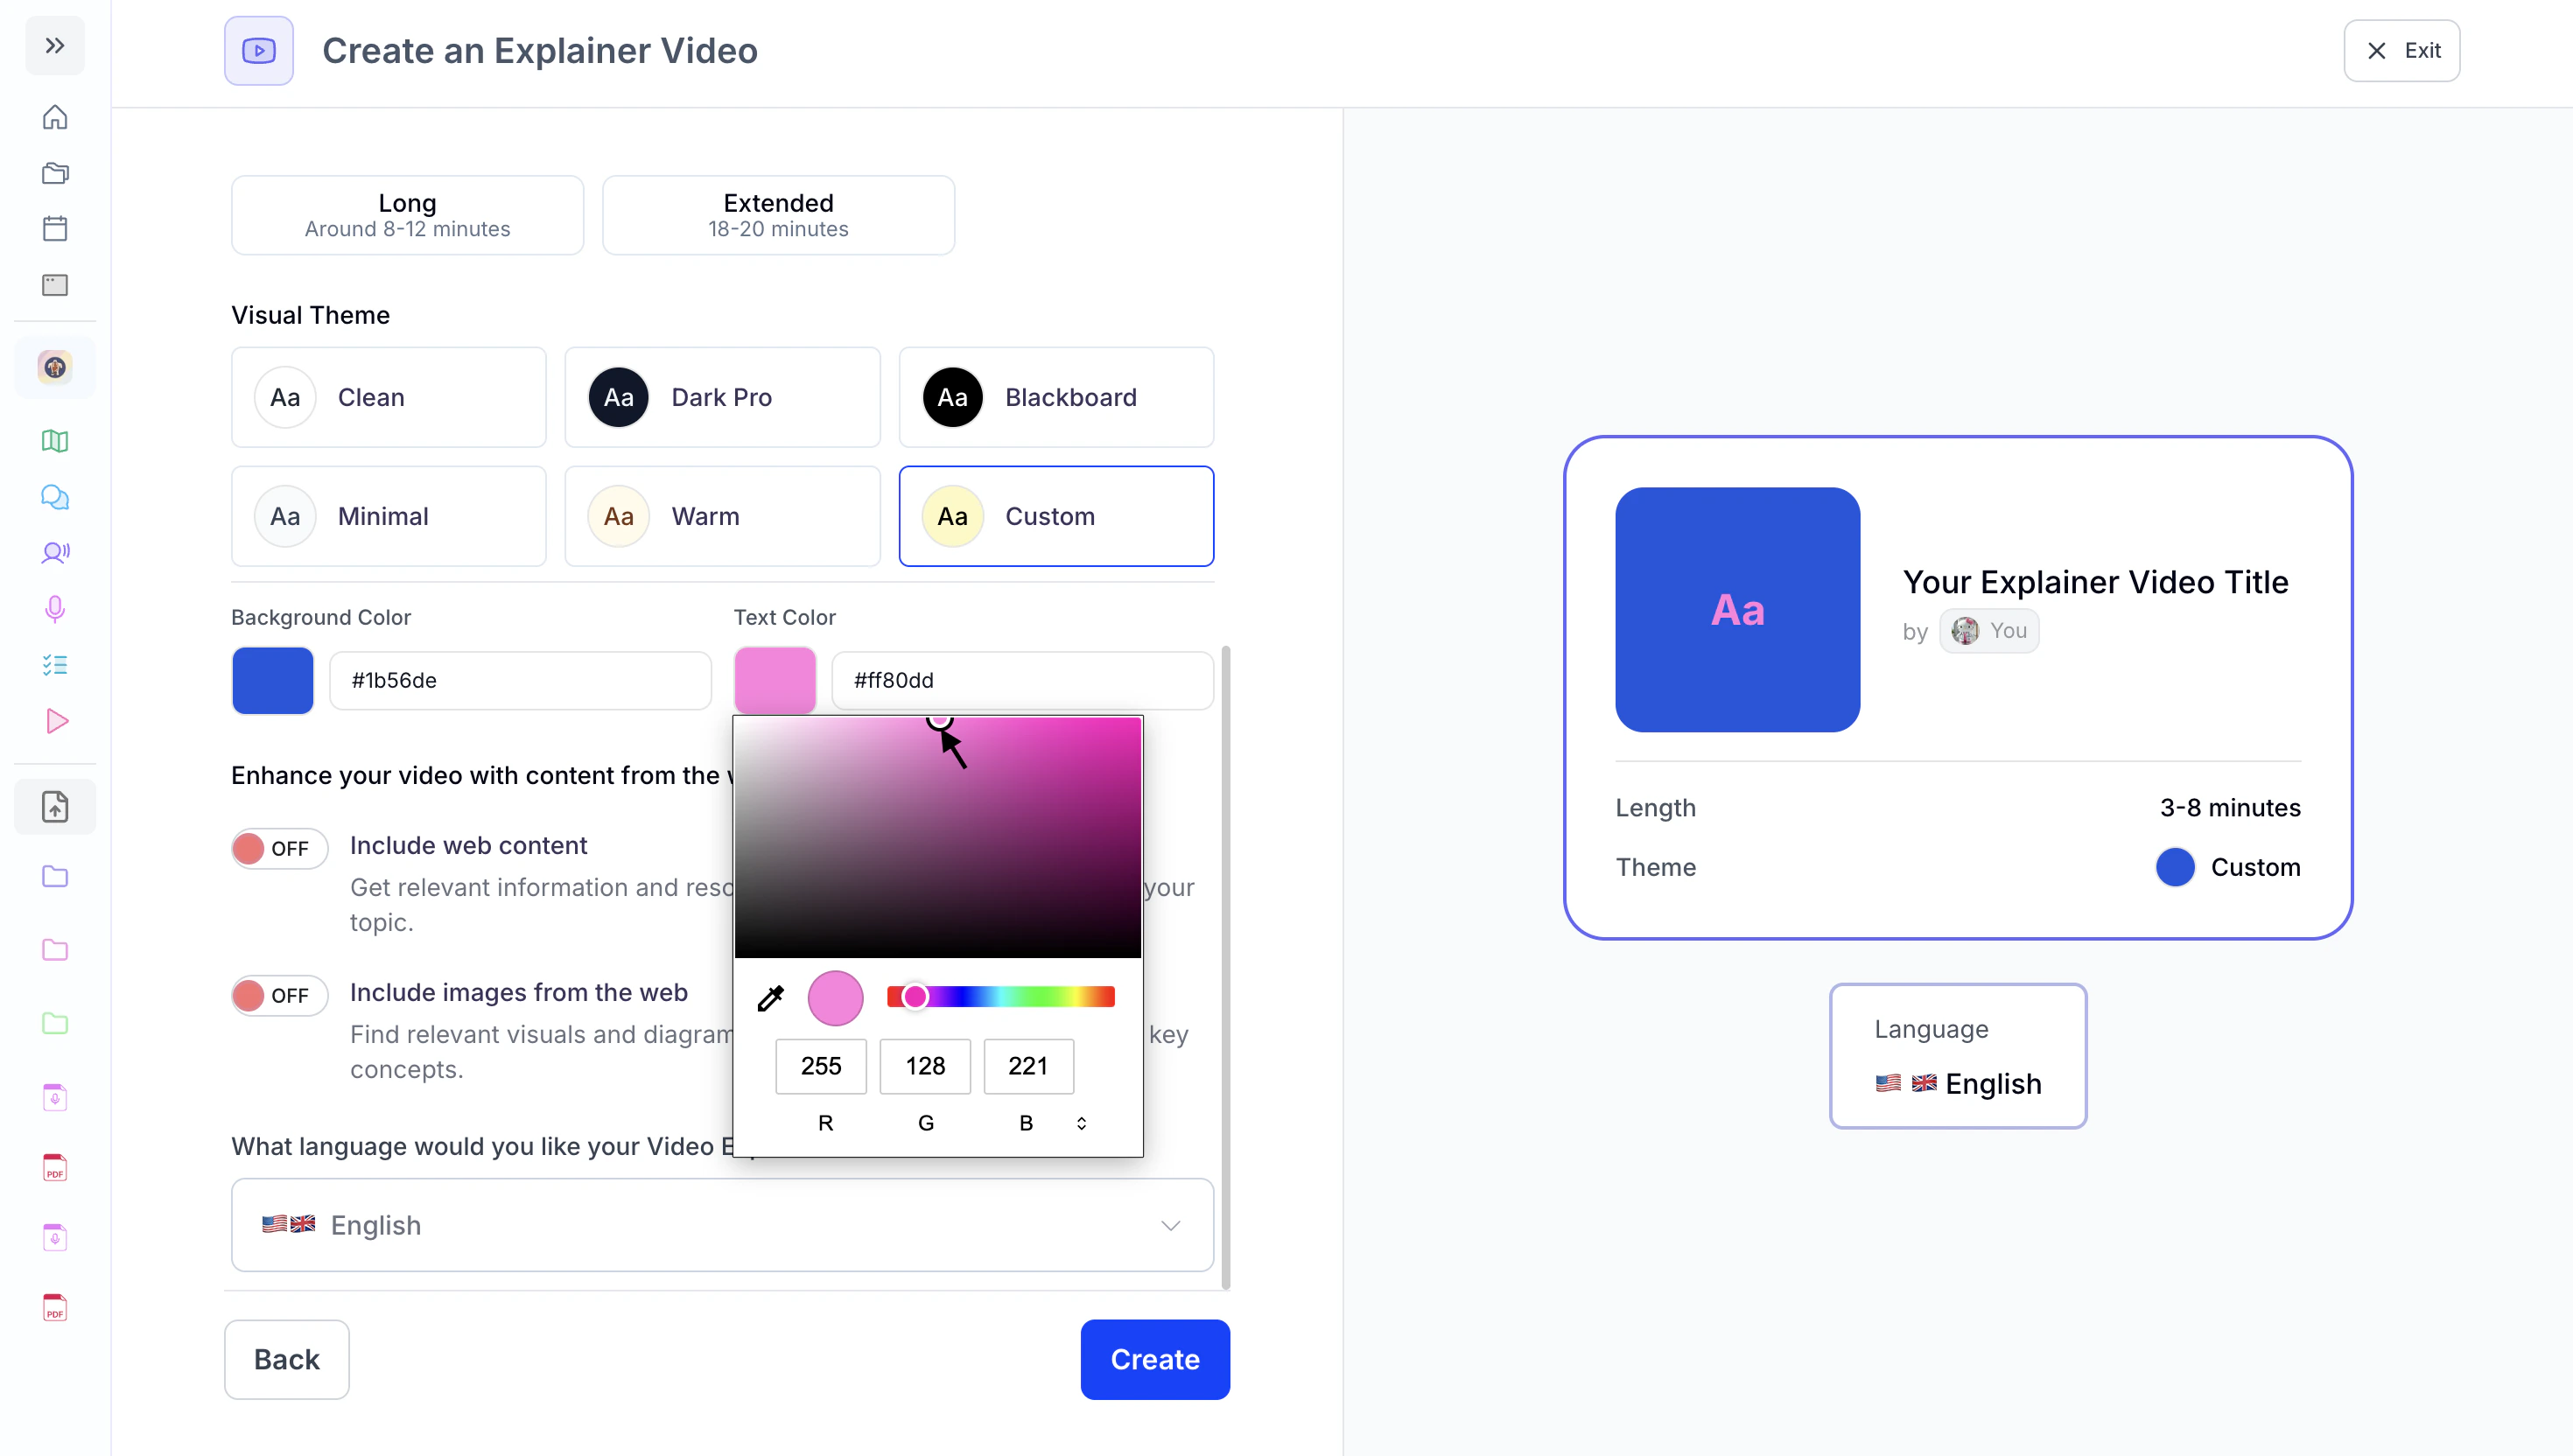
- Personalize your design by clicking the background or text color to open the color picker and choose your preferred colors.
- You can choose from the available options or,
- Now scroll to the Enhance your video with content from the web section:
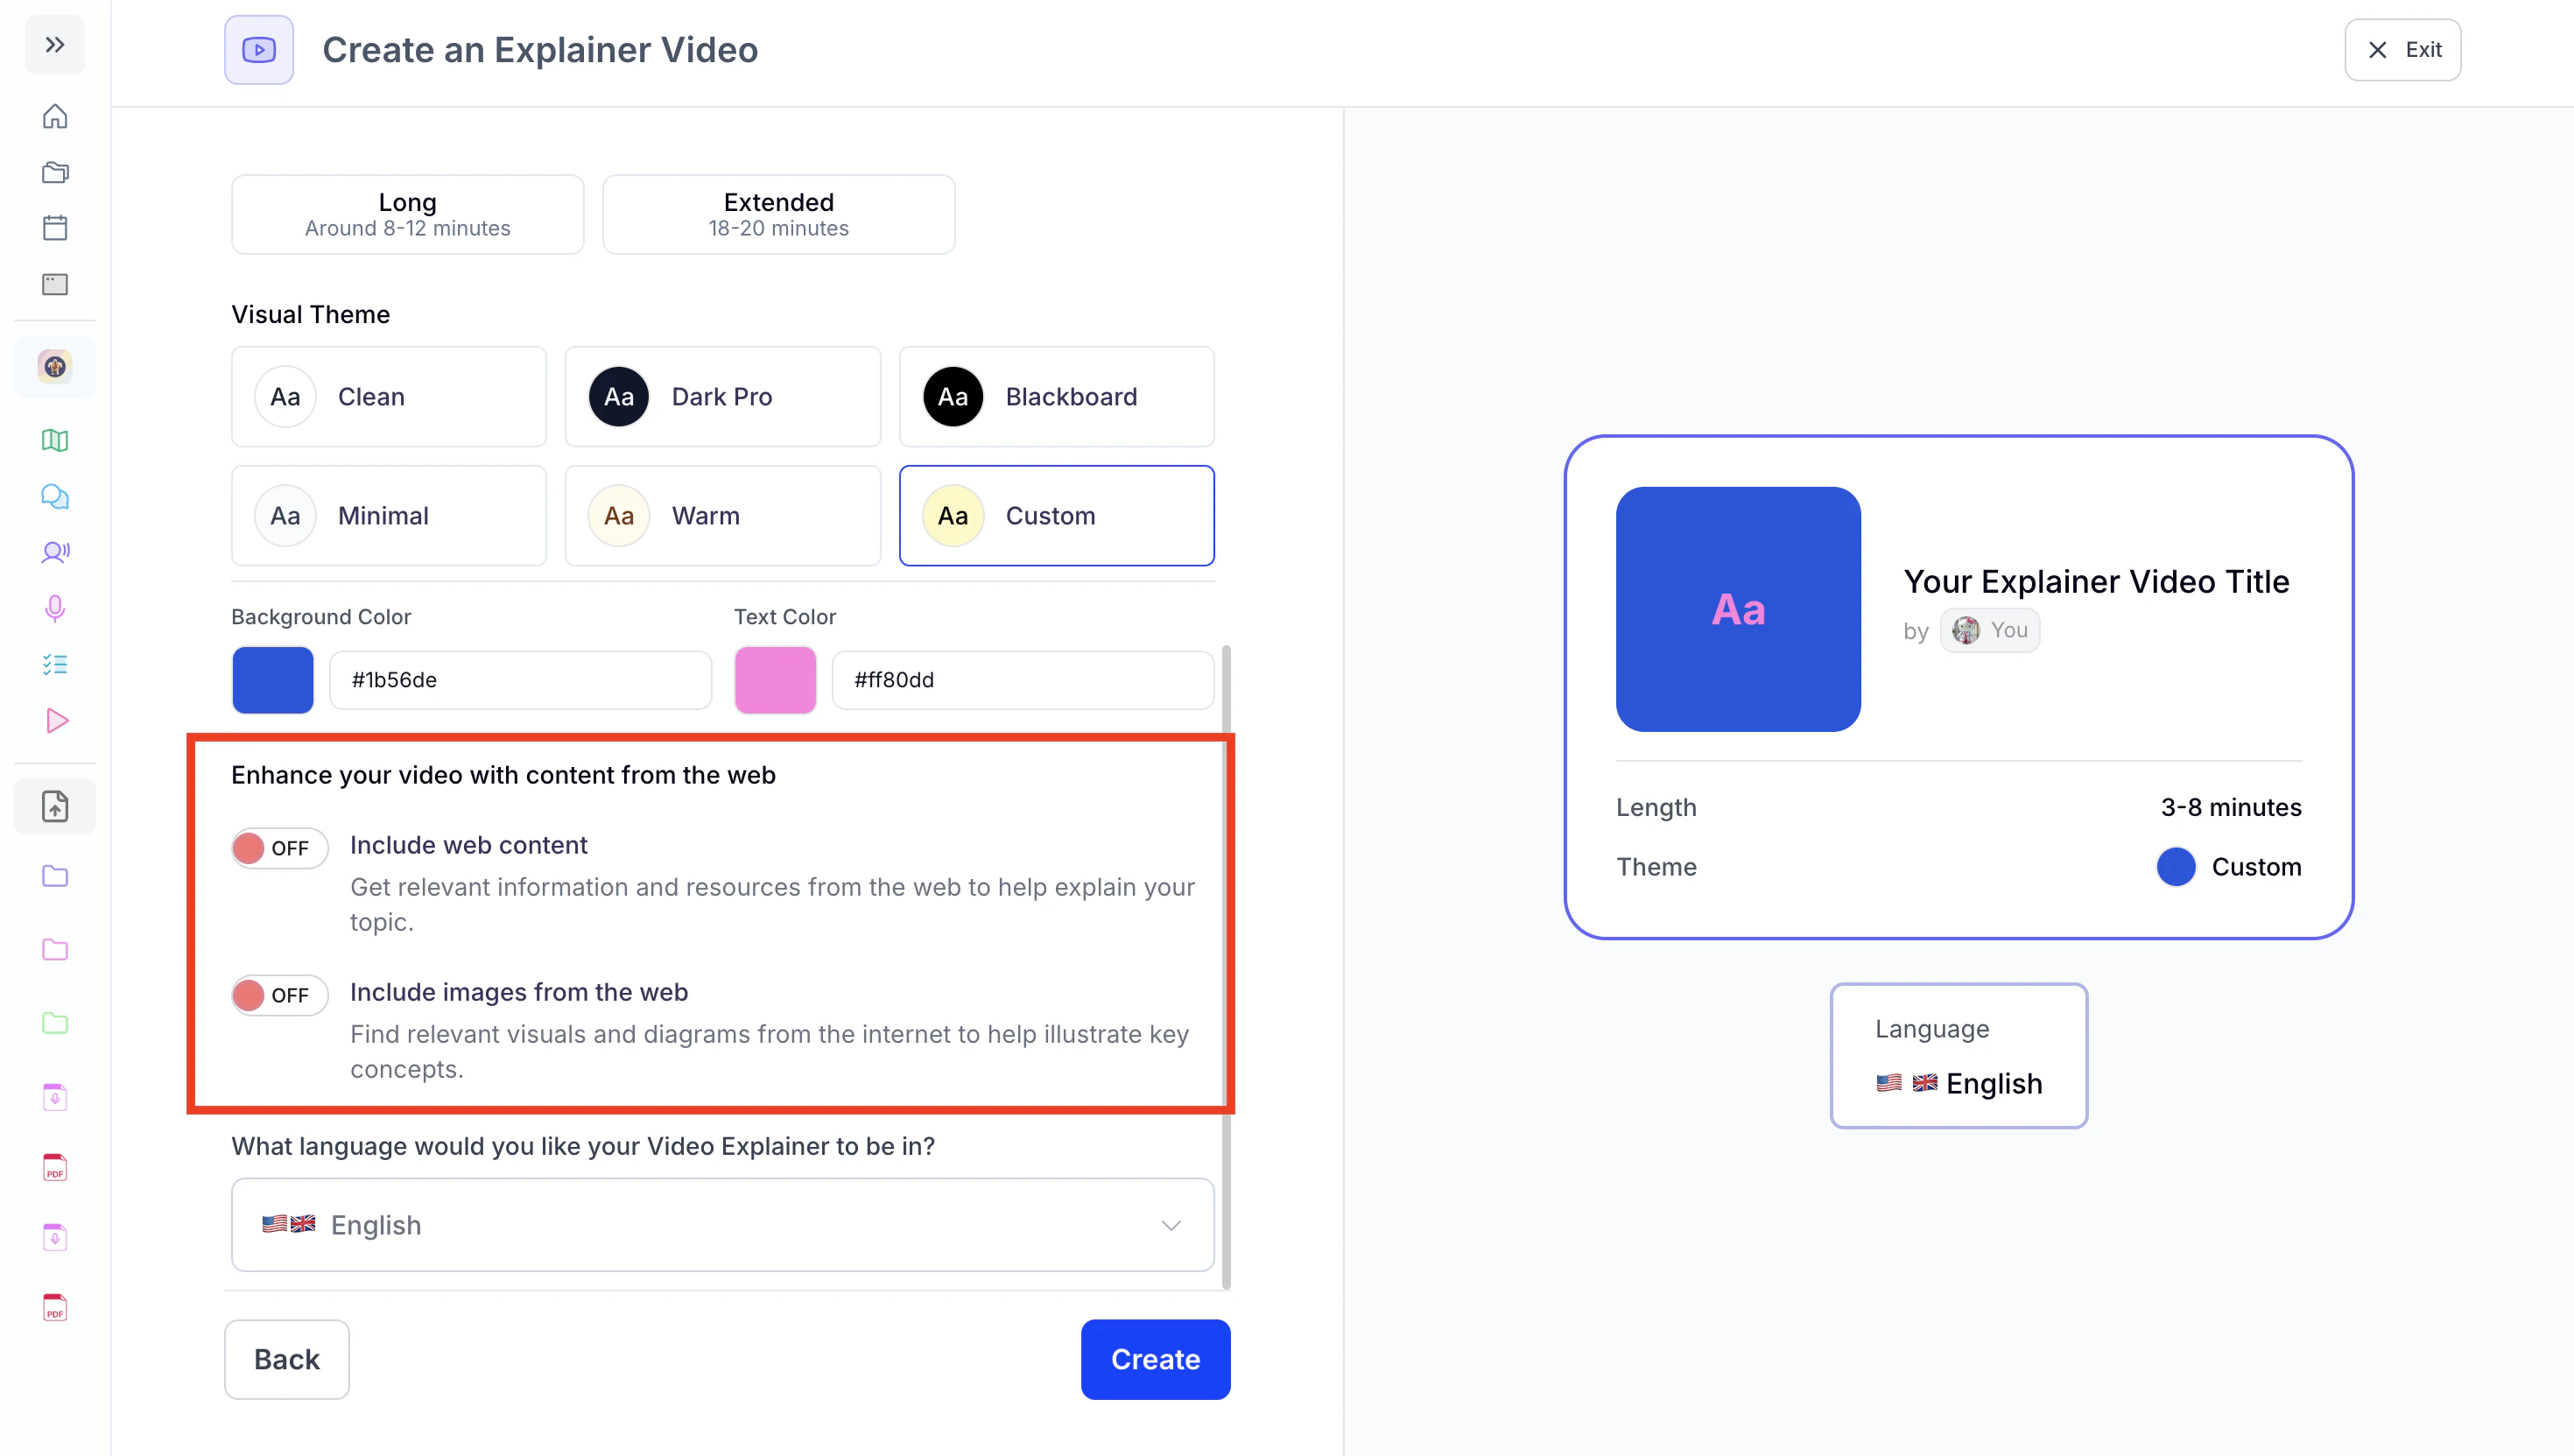
- Enable the Include web content option to pull in relevant information and resources from the web to support your topic.

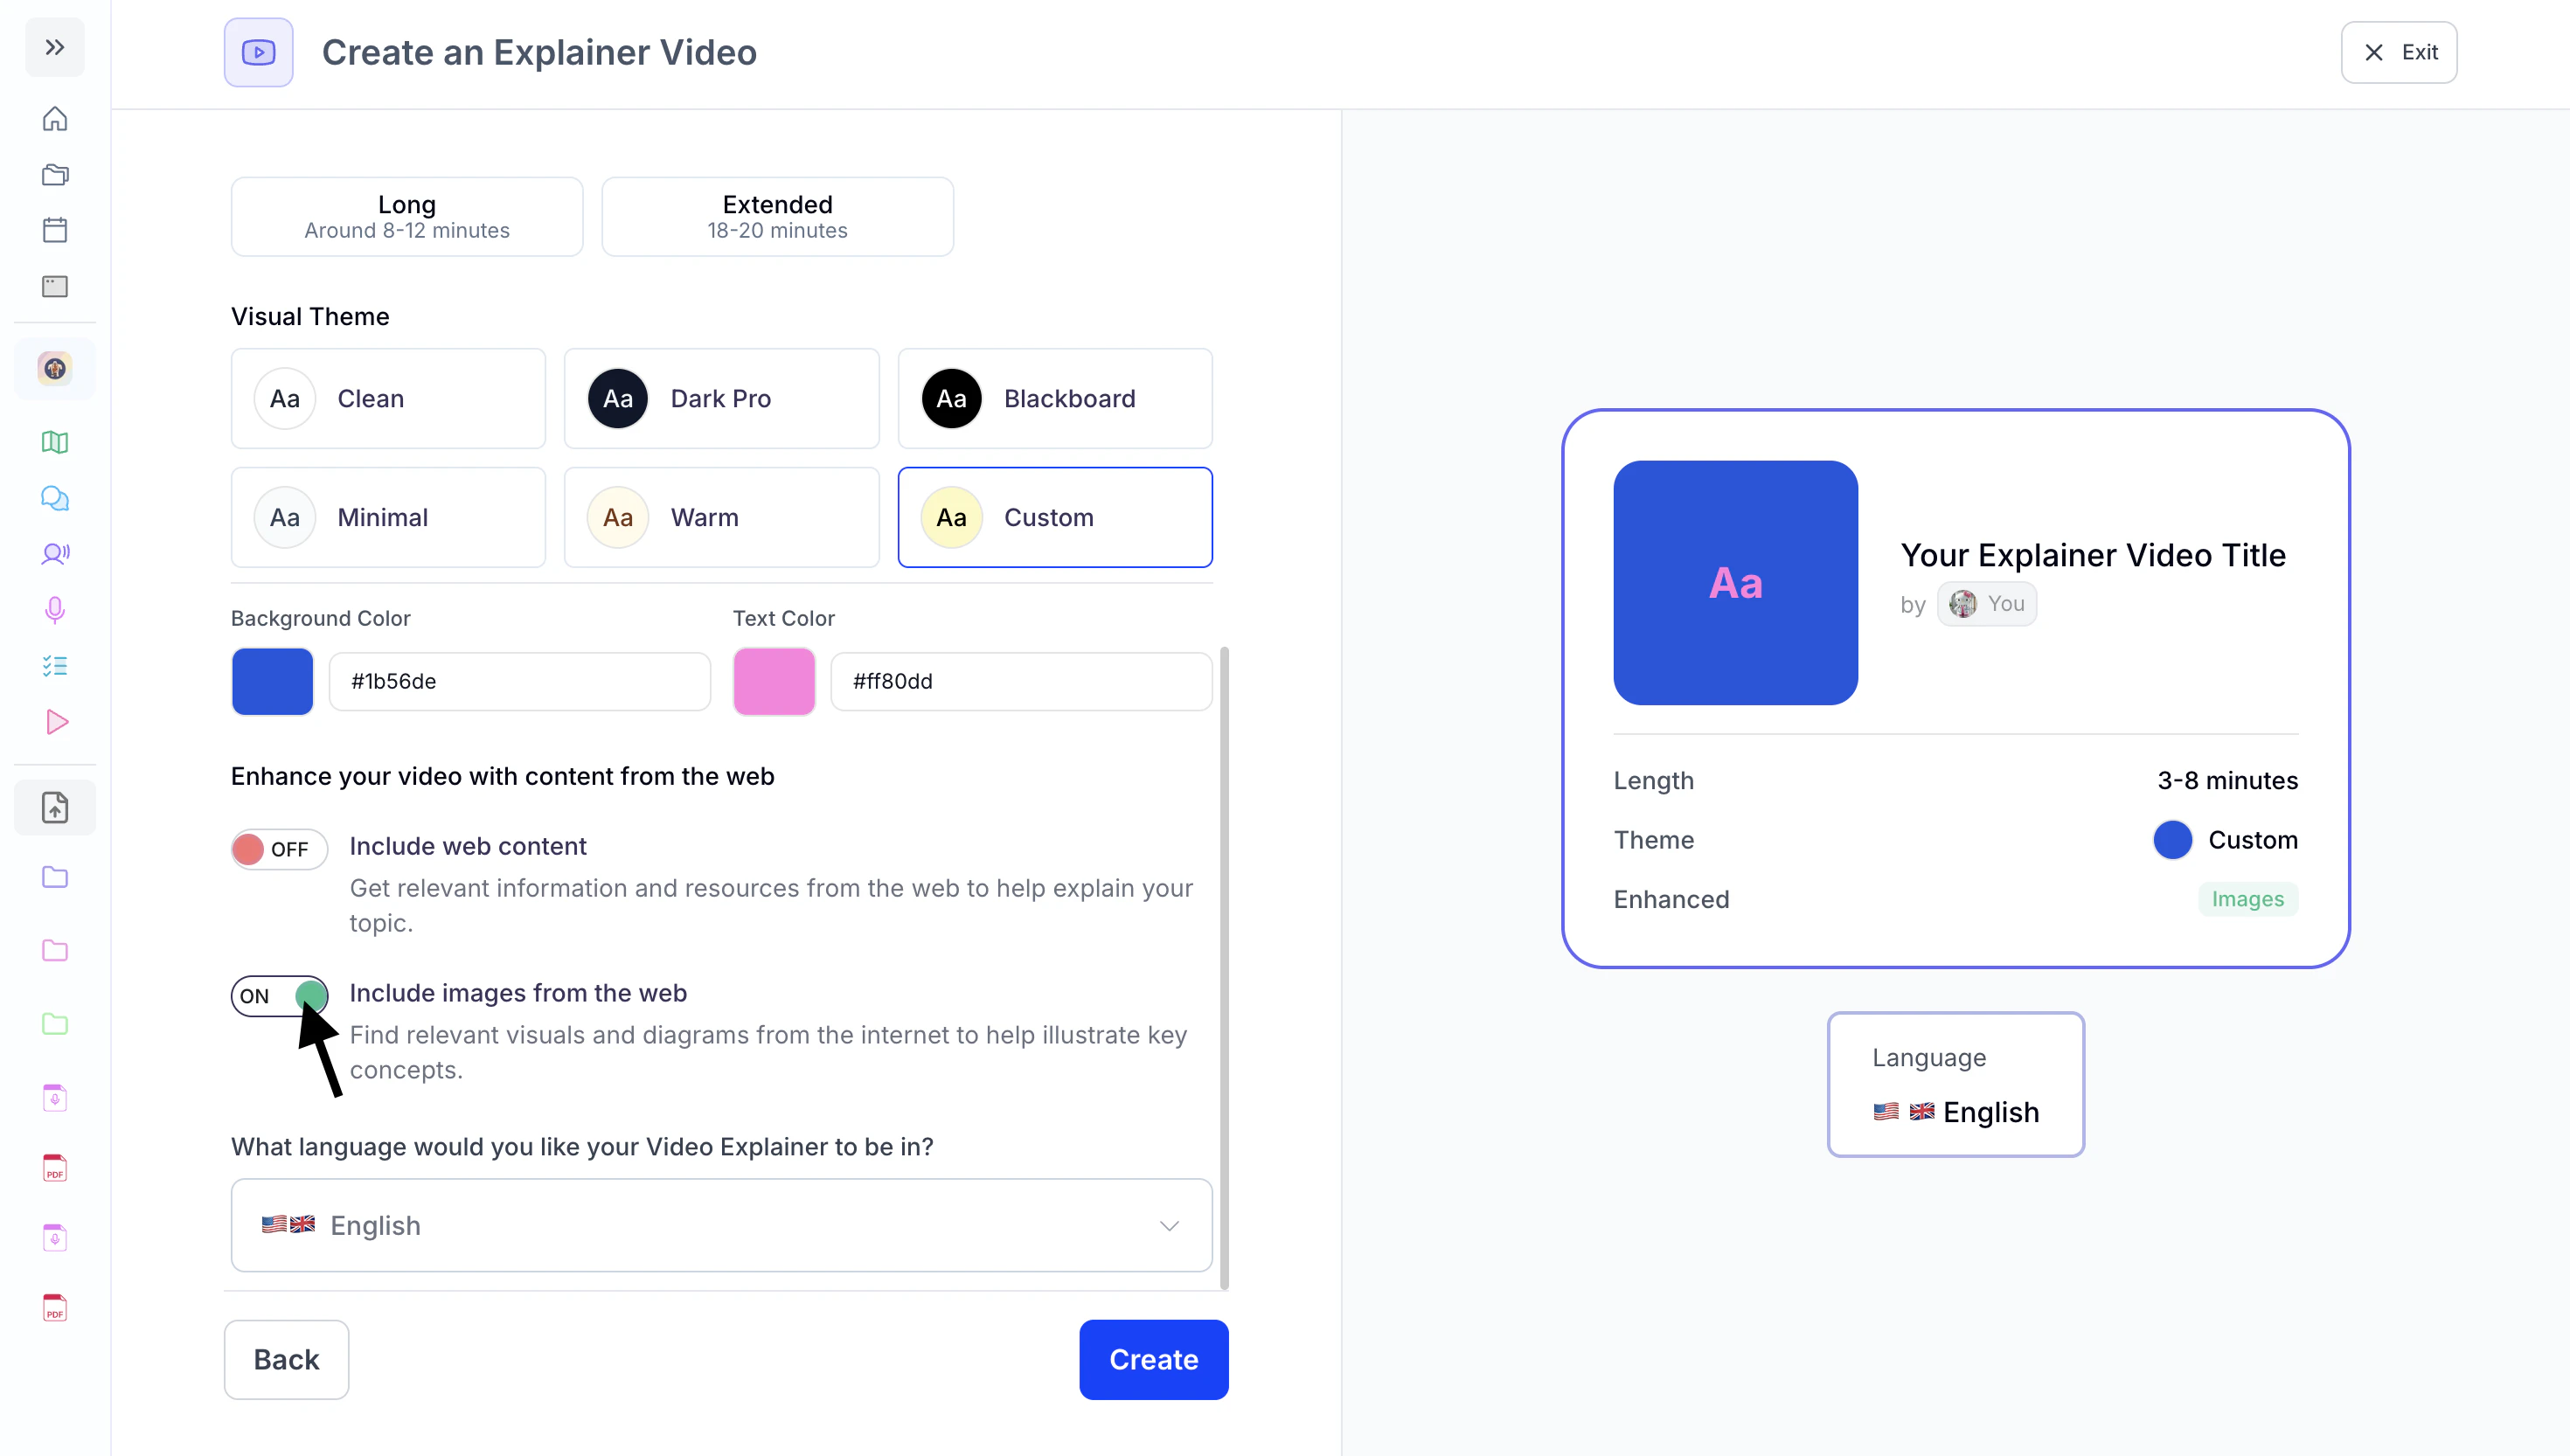
- Enable the Include images from the web option to pull relevant visuals and diagrams from the internet to help illustrate key concepts.
- Enable the Include web content option to pull in relevant information and resources from the web to support your topic.
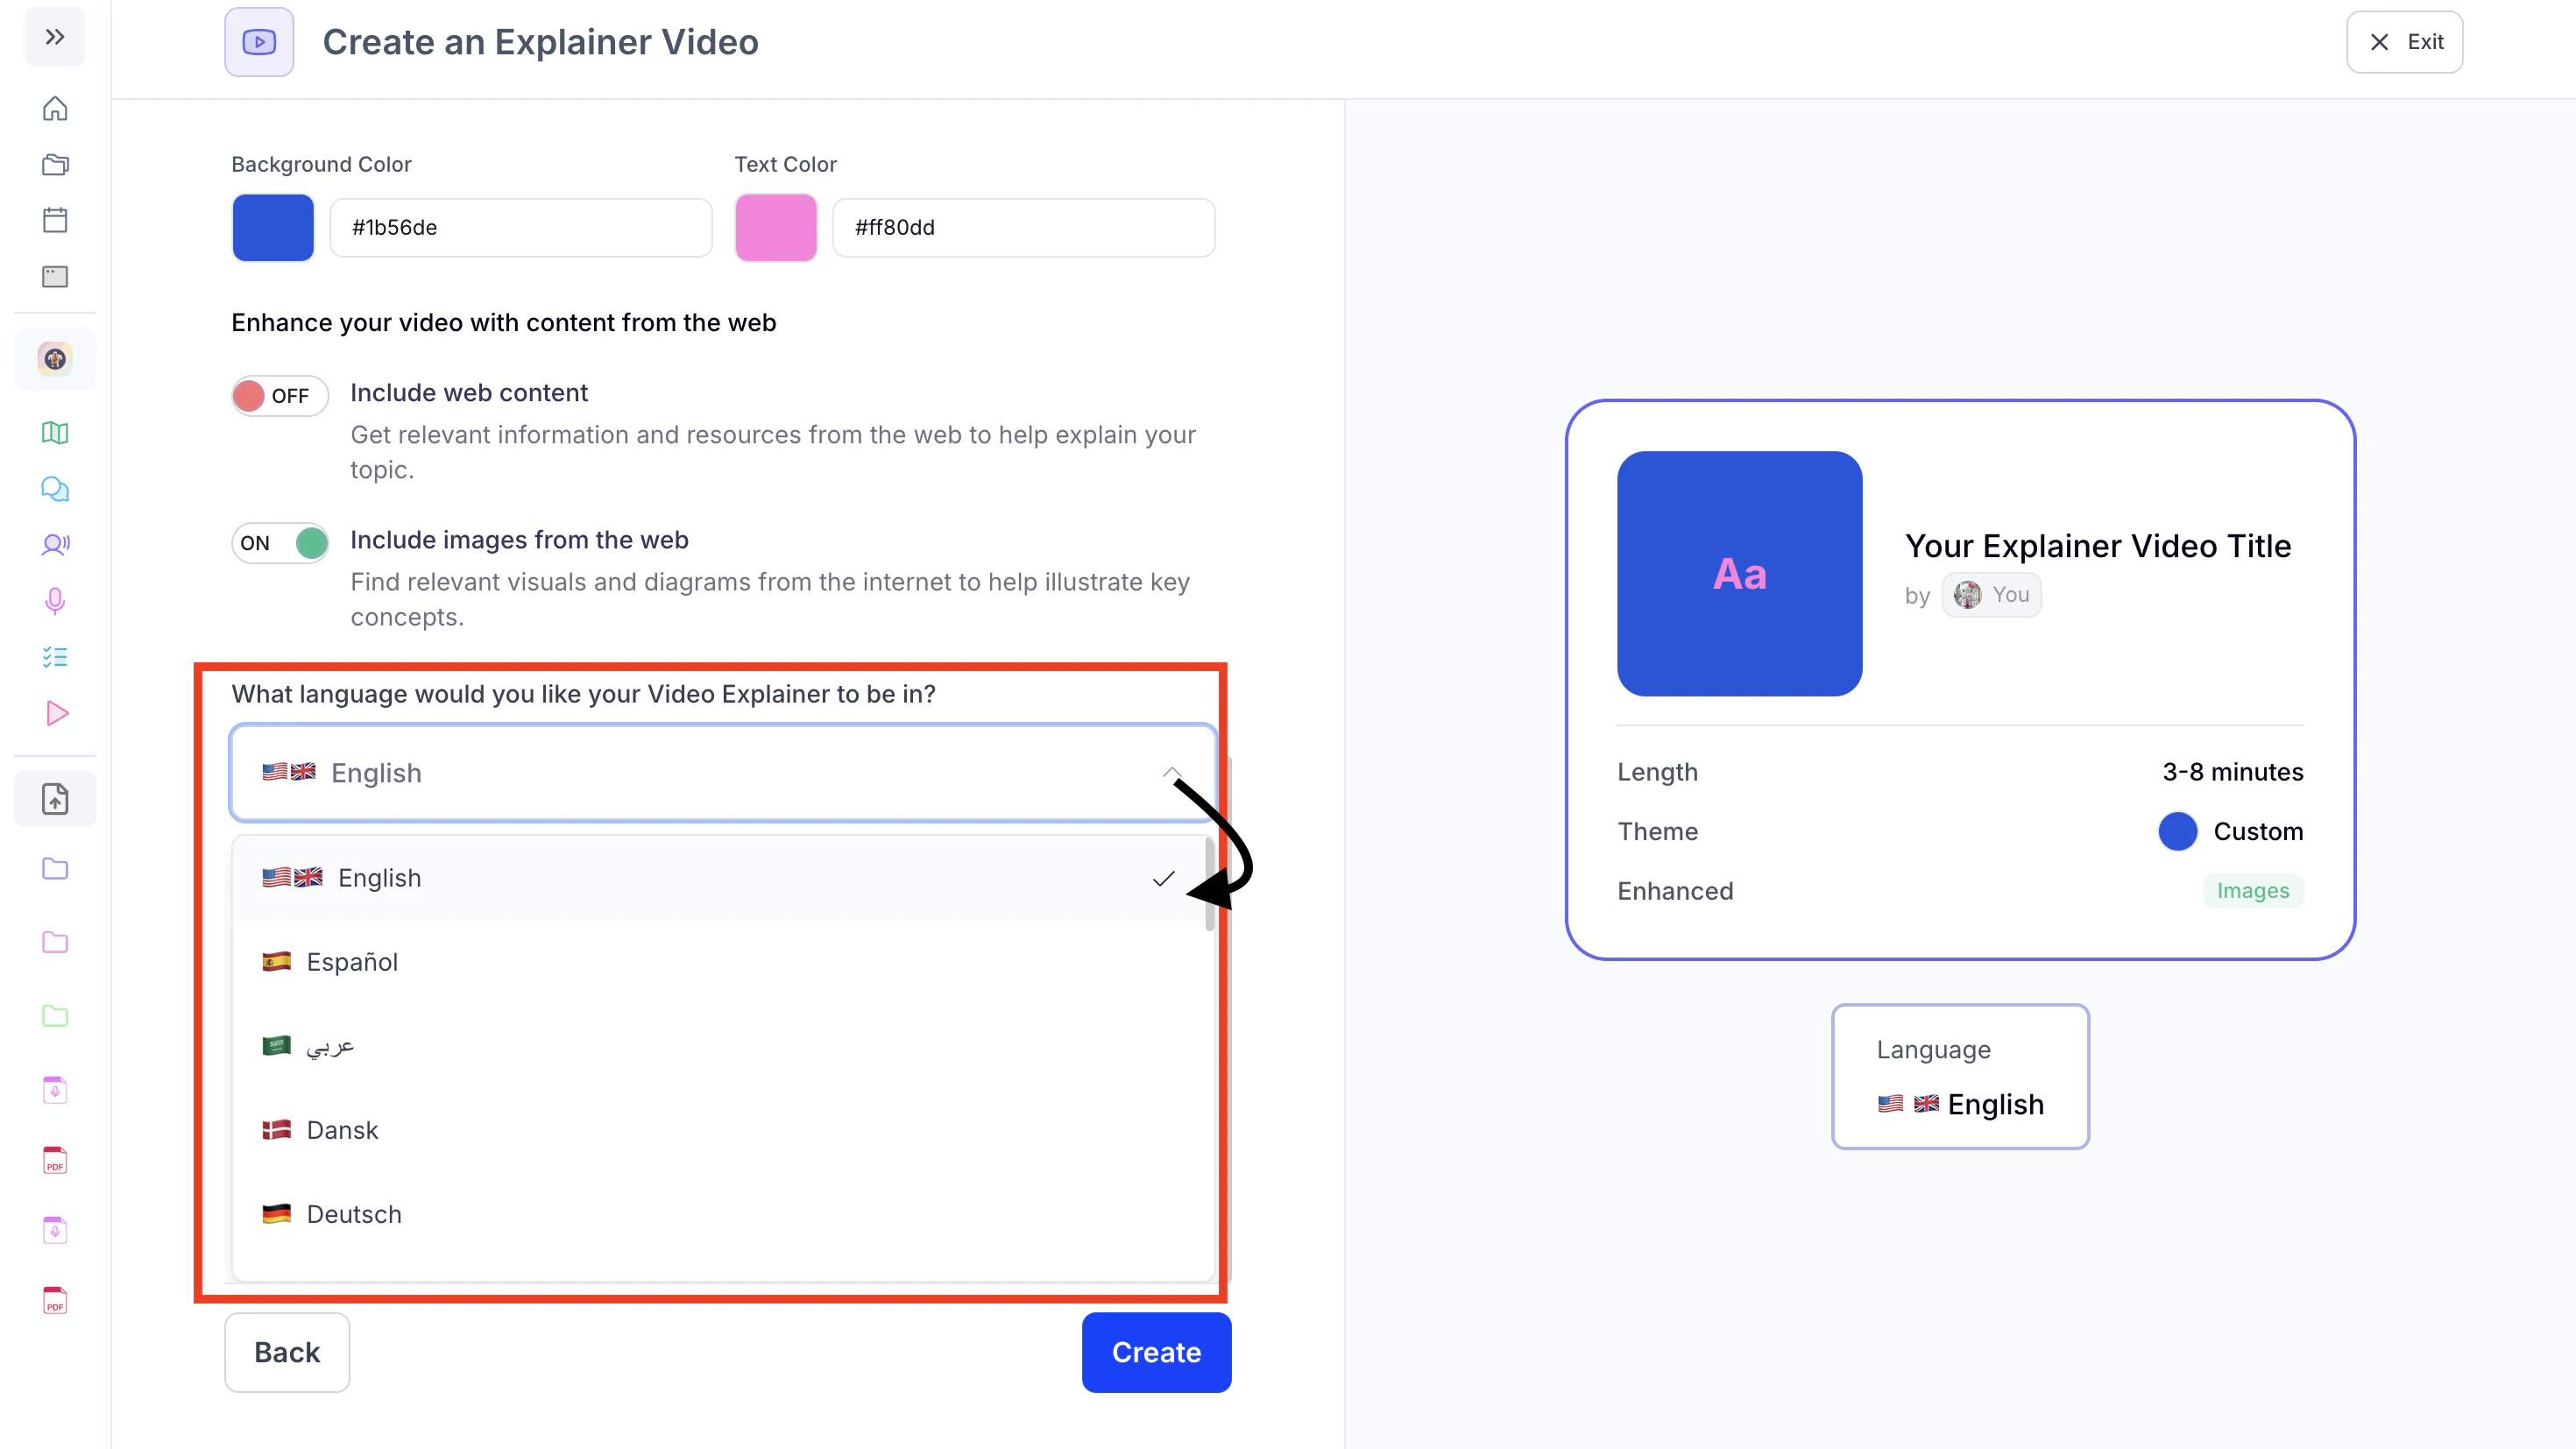
- Lastly, choose the language for your video explainer by clicking the box under What language would you like your Video Explainer to be in? and selecting your preferred language from the list.
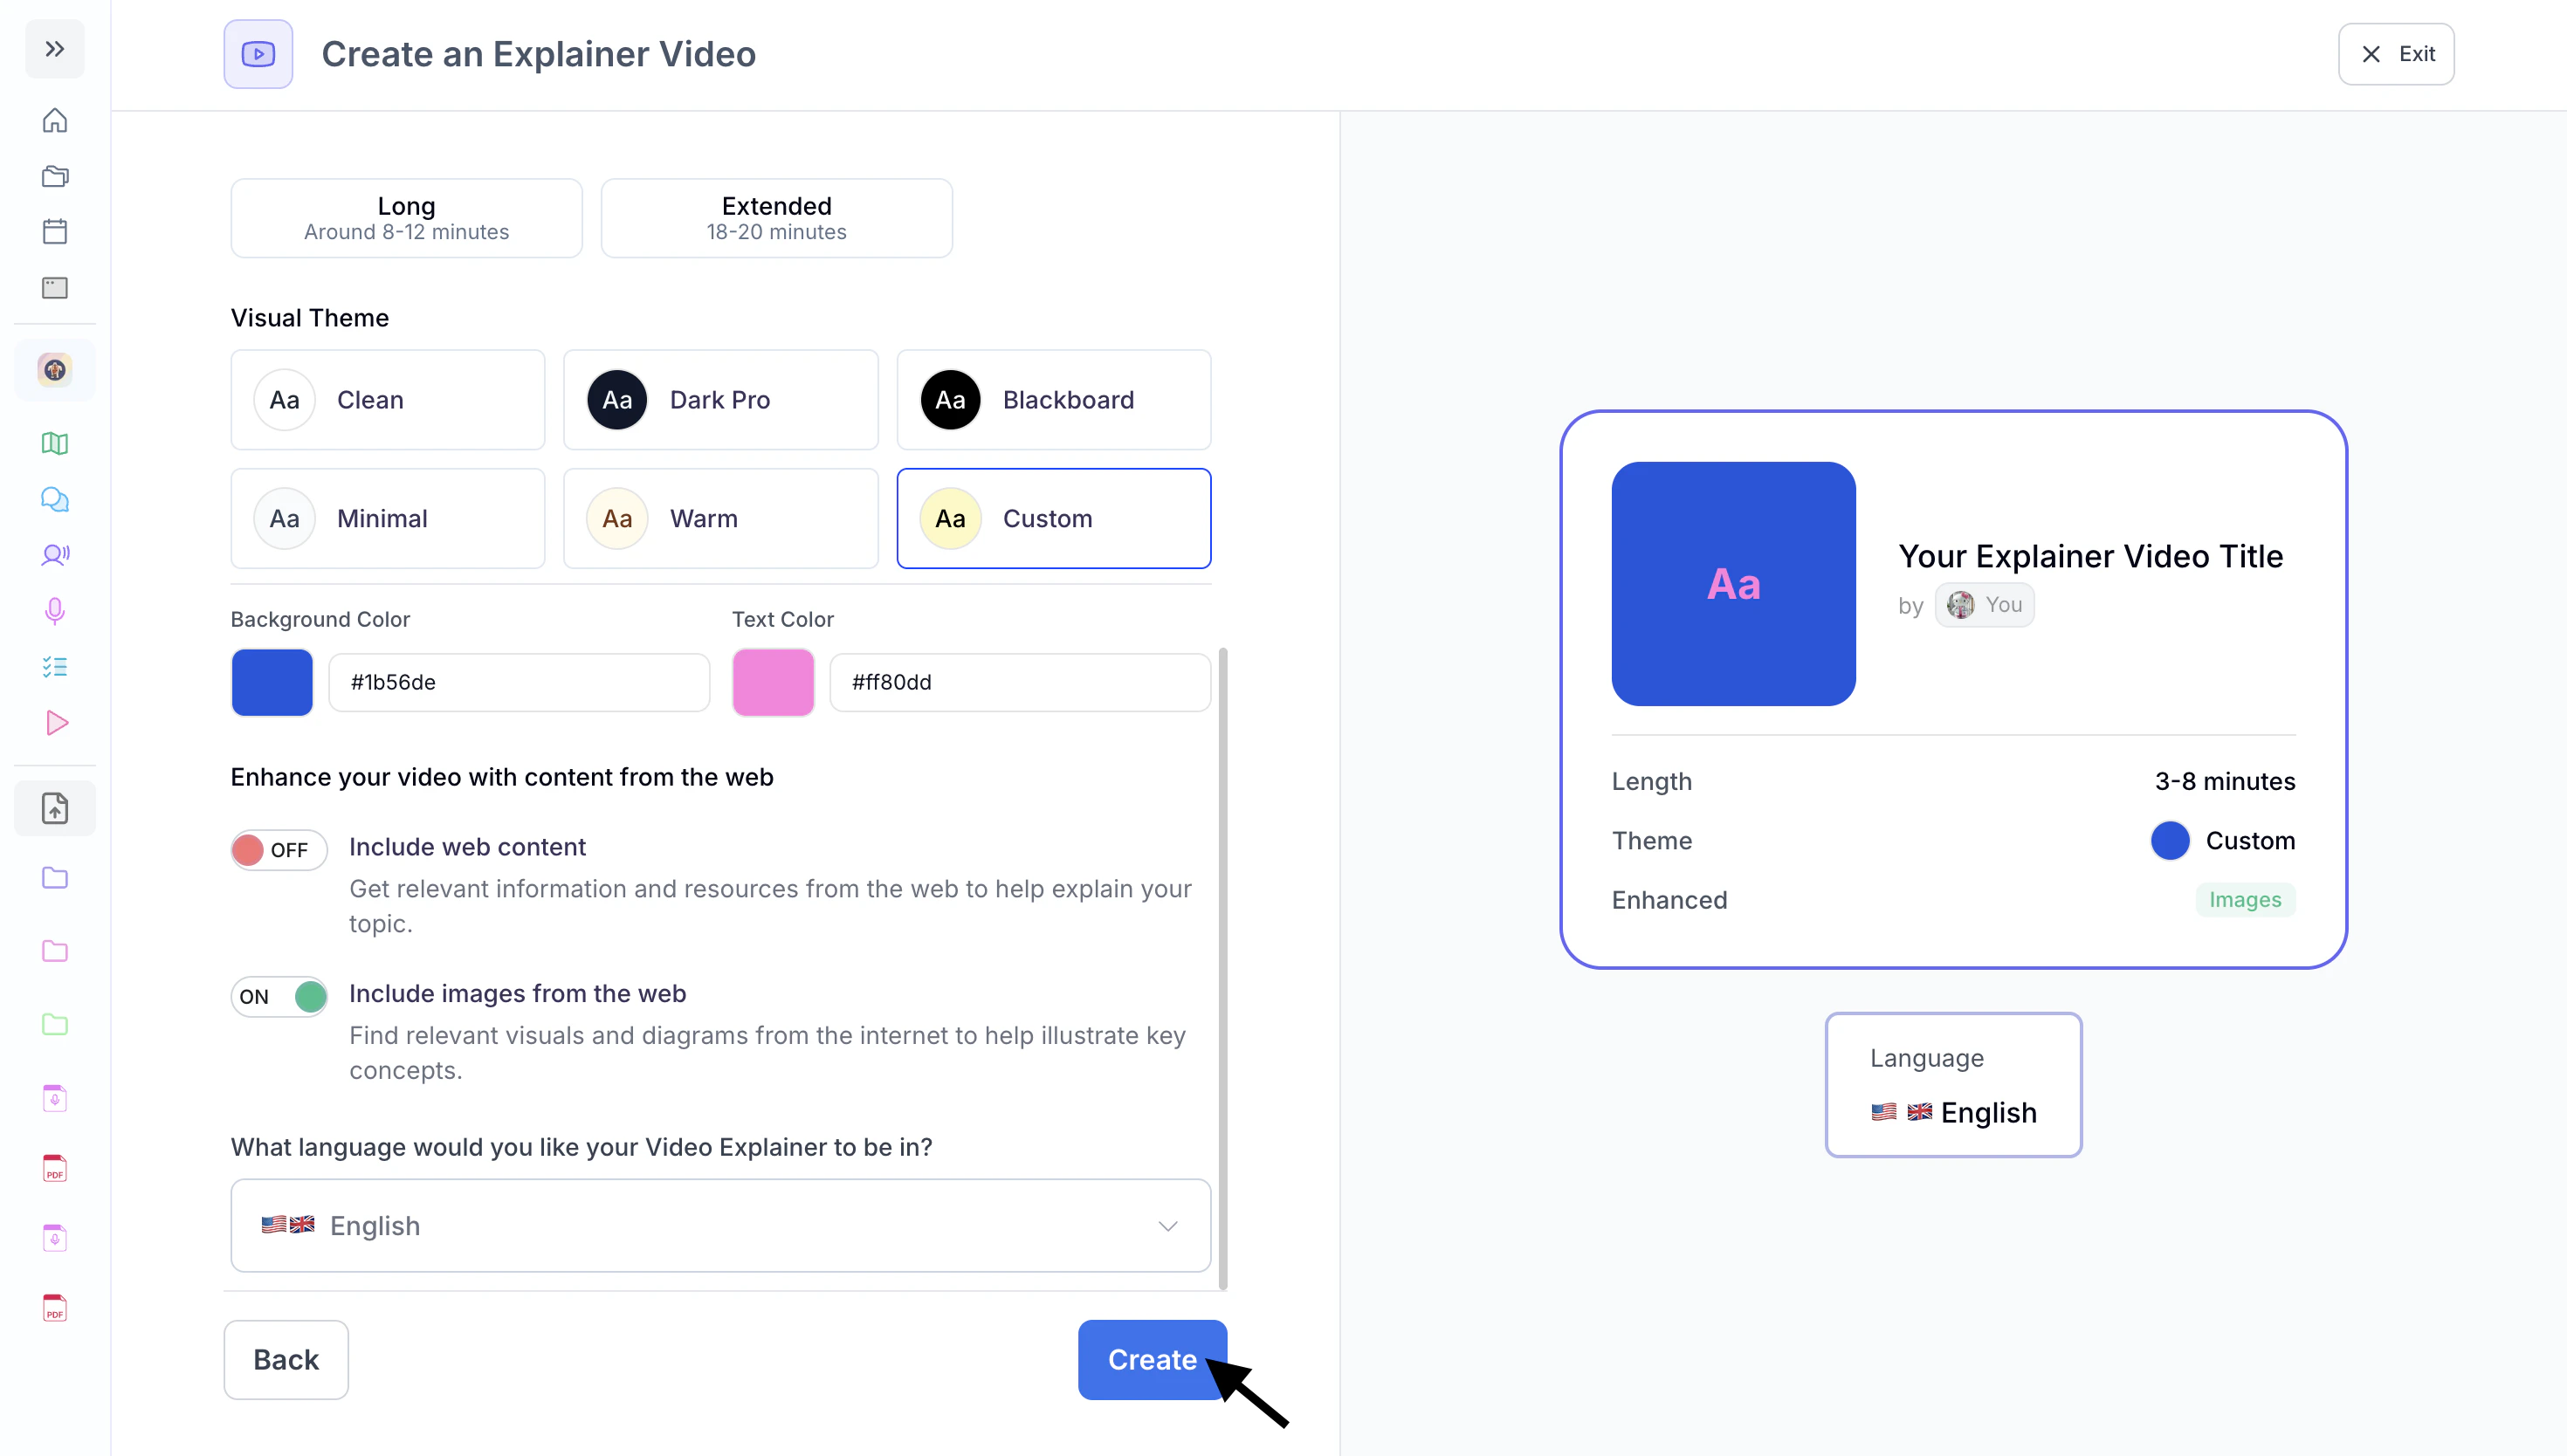
- Once you’re done, click Create.
- Your customized video explainer will then start generating, wait for this to be completed.
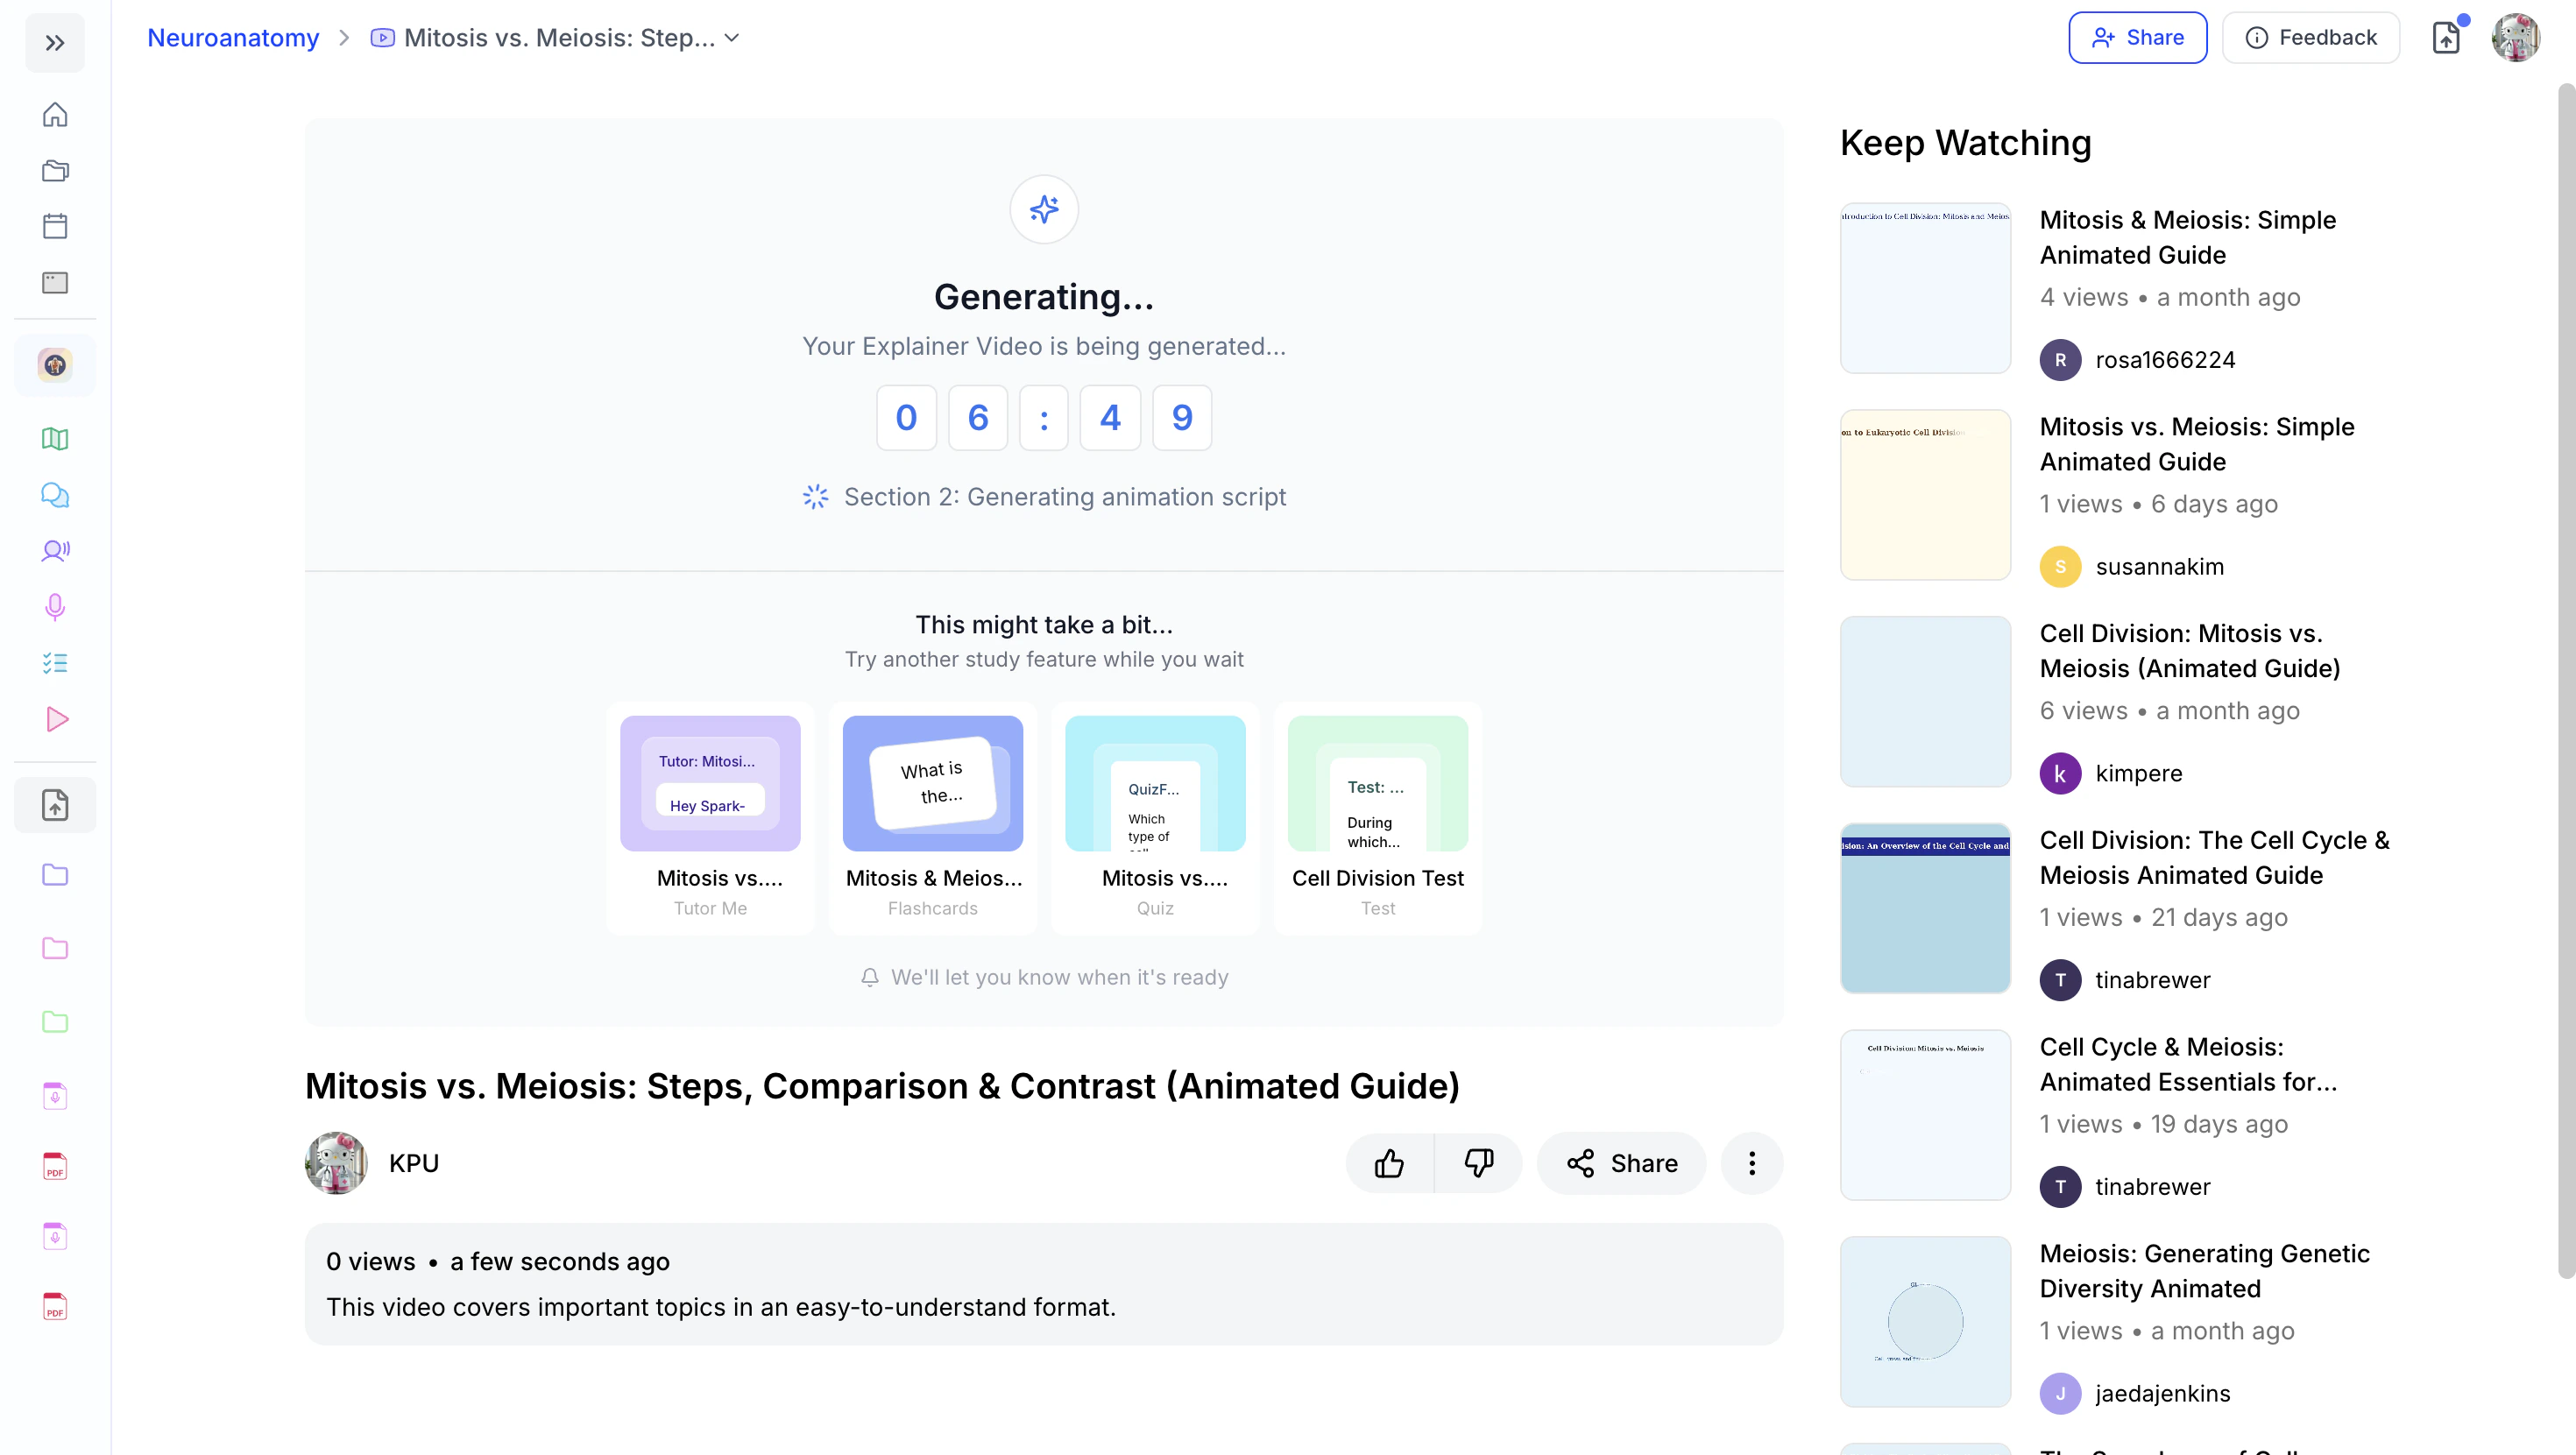
- Your explainer video is now created!
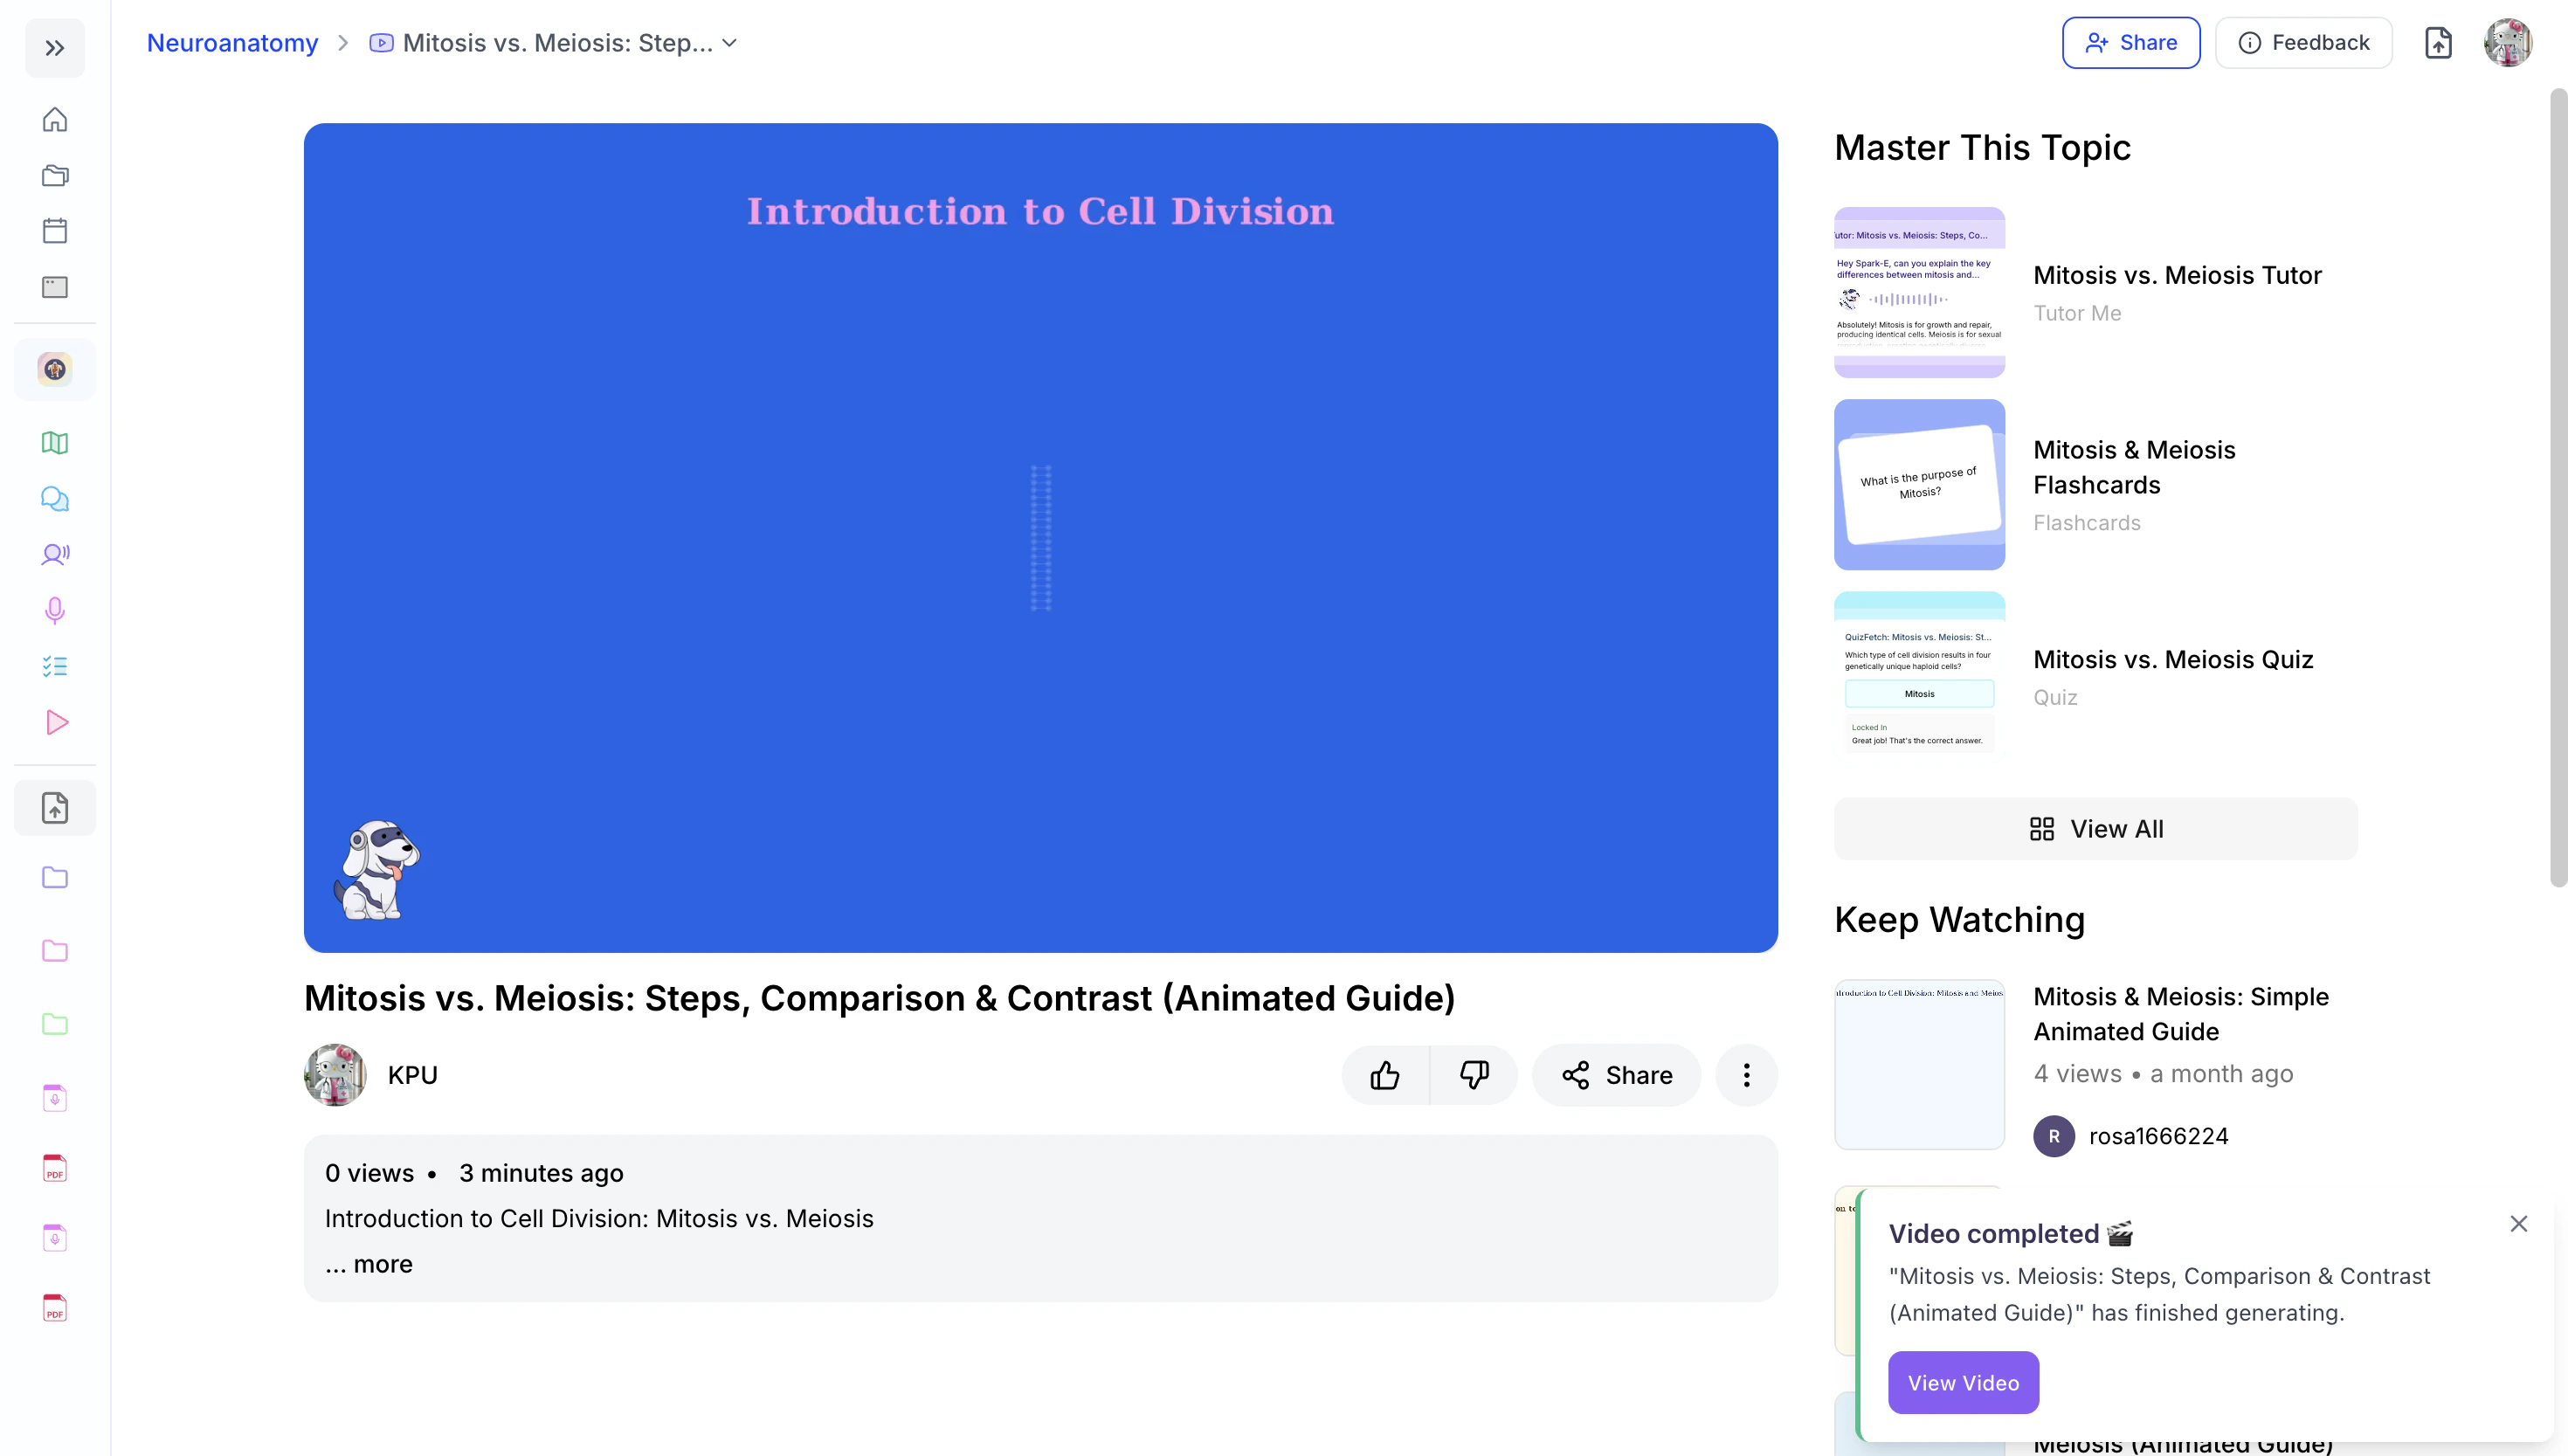
- Proceed to Navigating your Explainer Video for next steps.
Navigating your Explainer Video
Play your Video Explainer
- When your Video Explainer is ready you can start watching by clicking the Play button.
The Play button will switch to a Pause button while the video is playing.
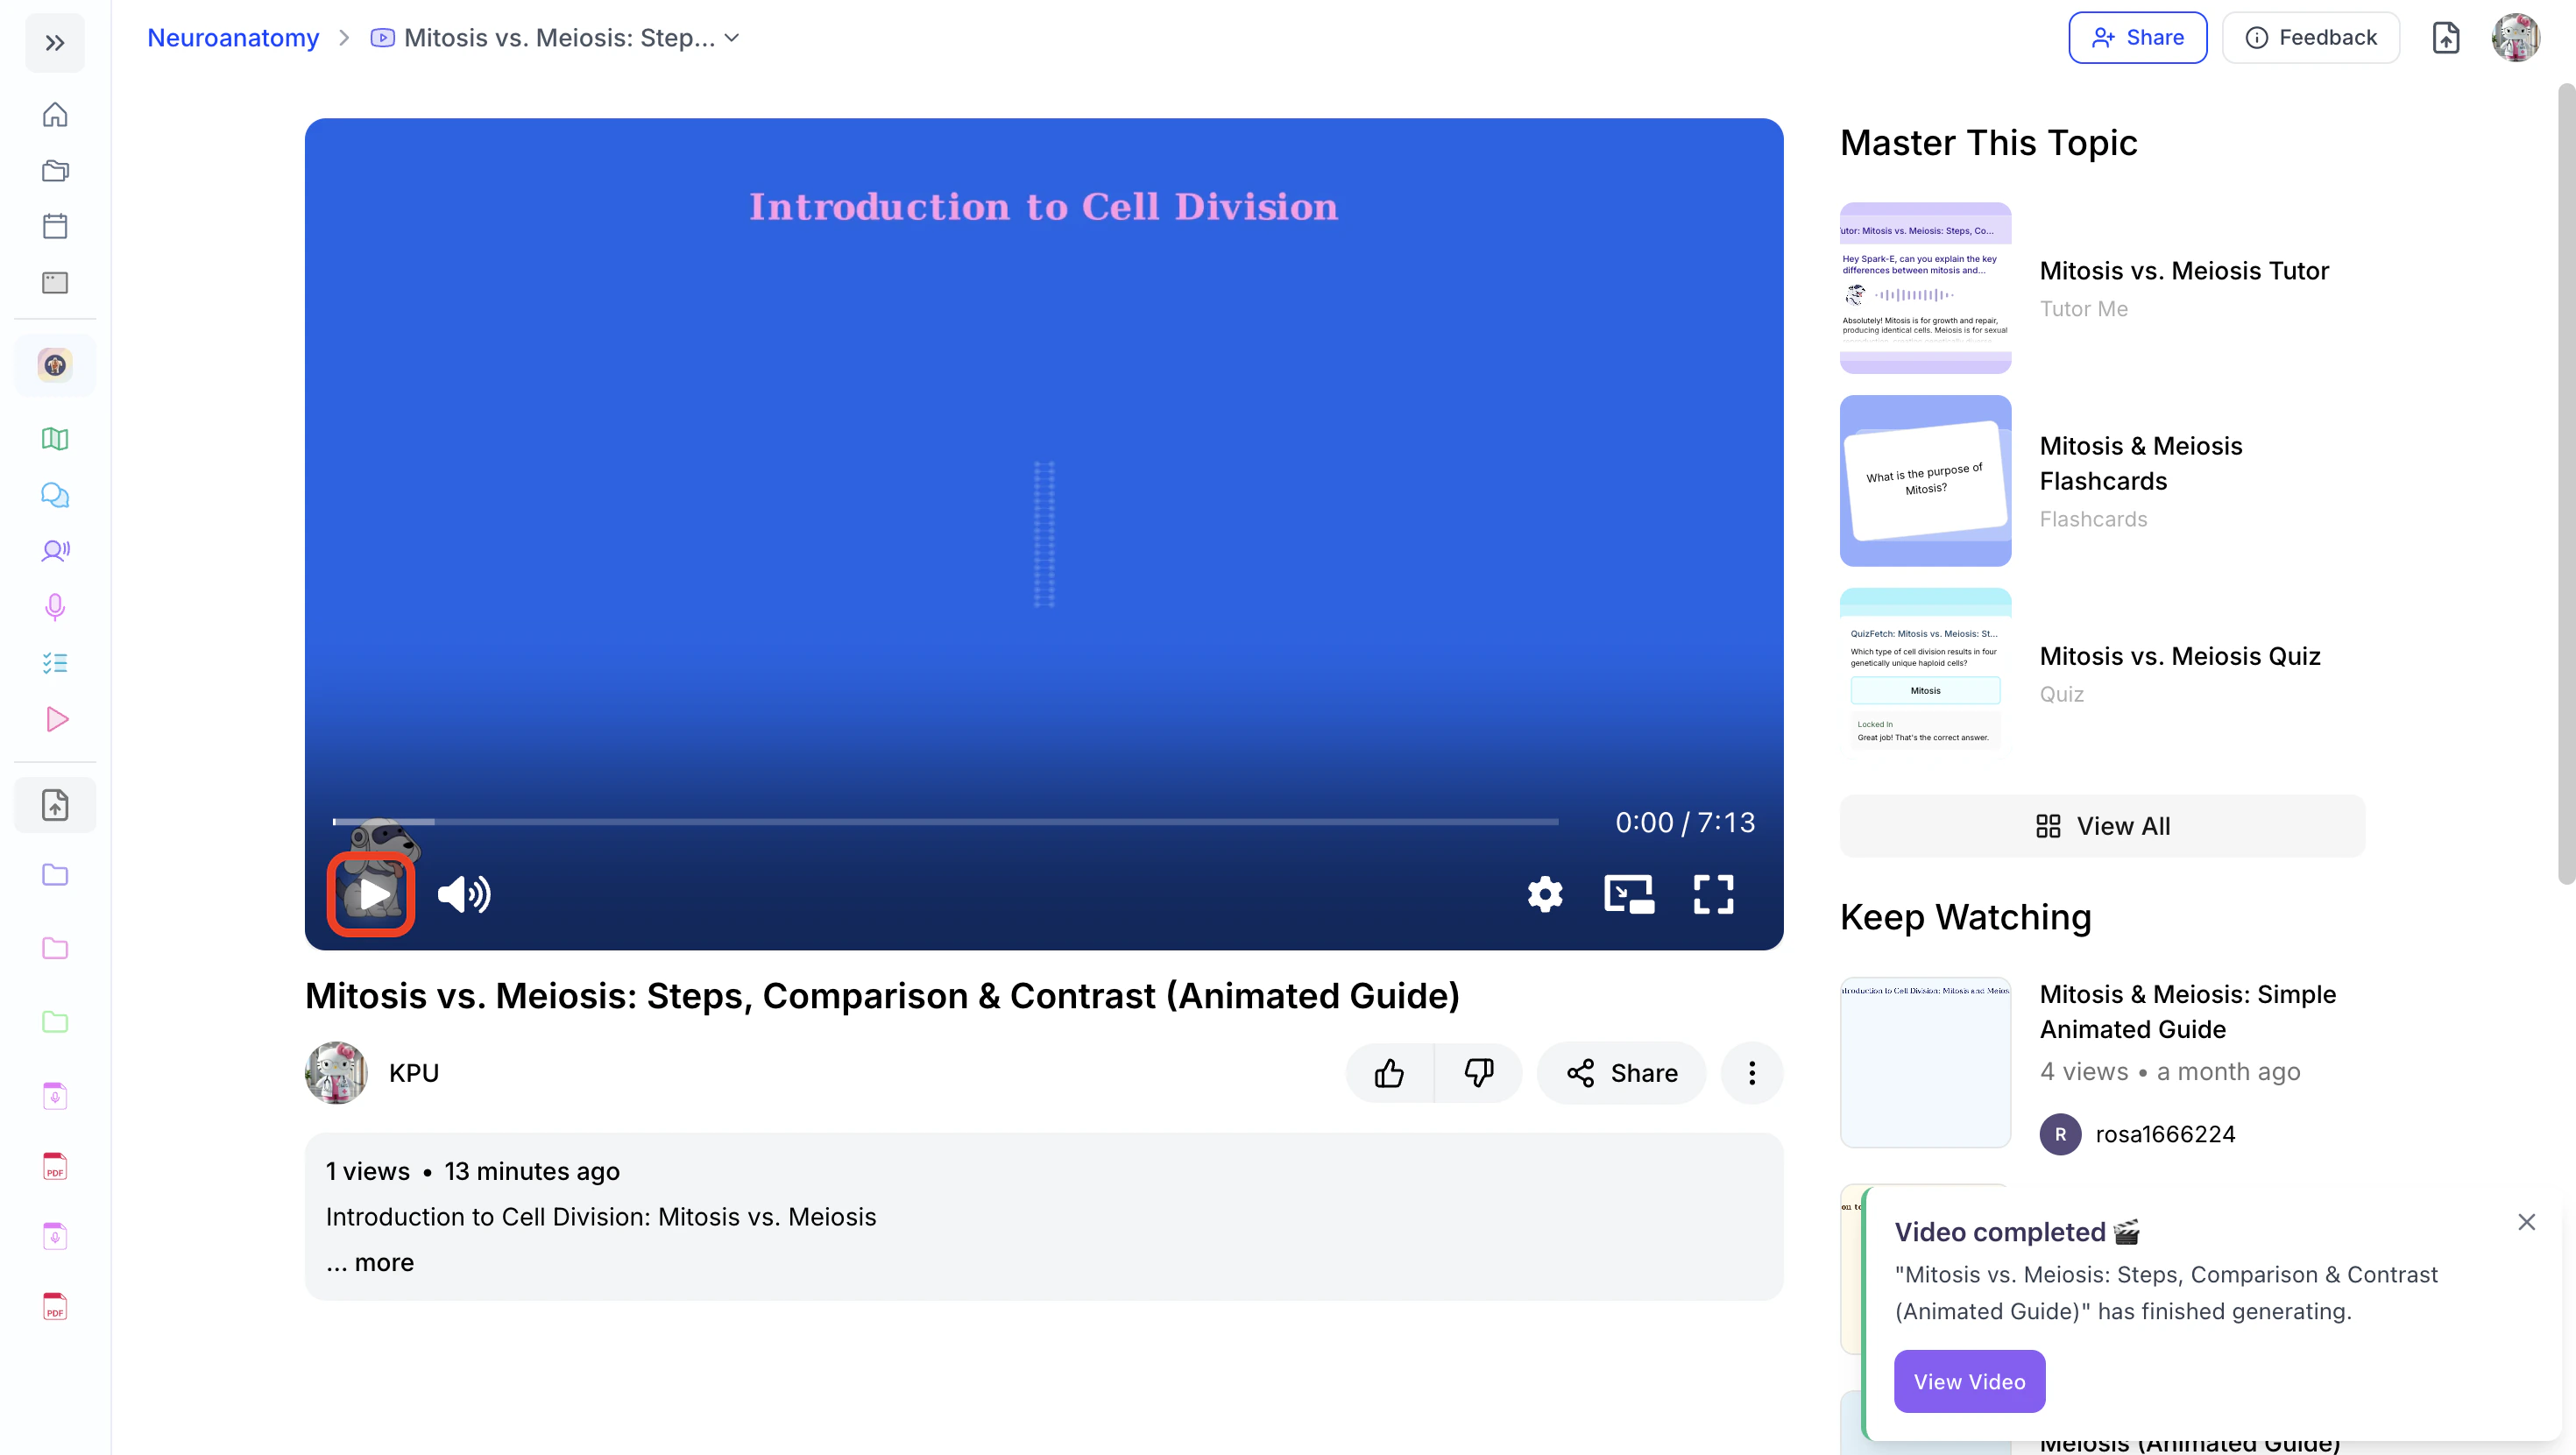
- To pause your video, simply click the Pause button.

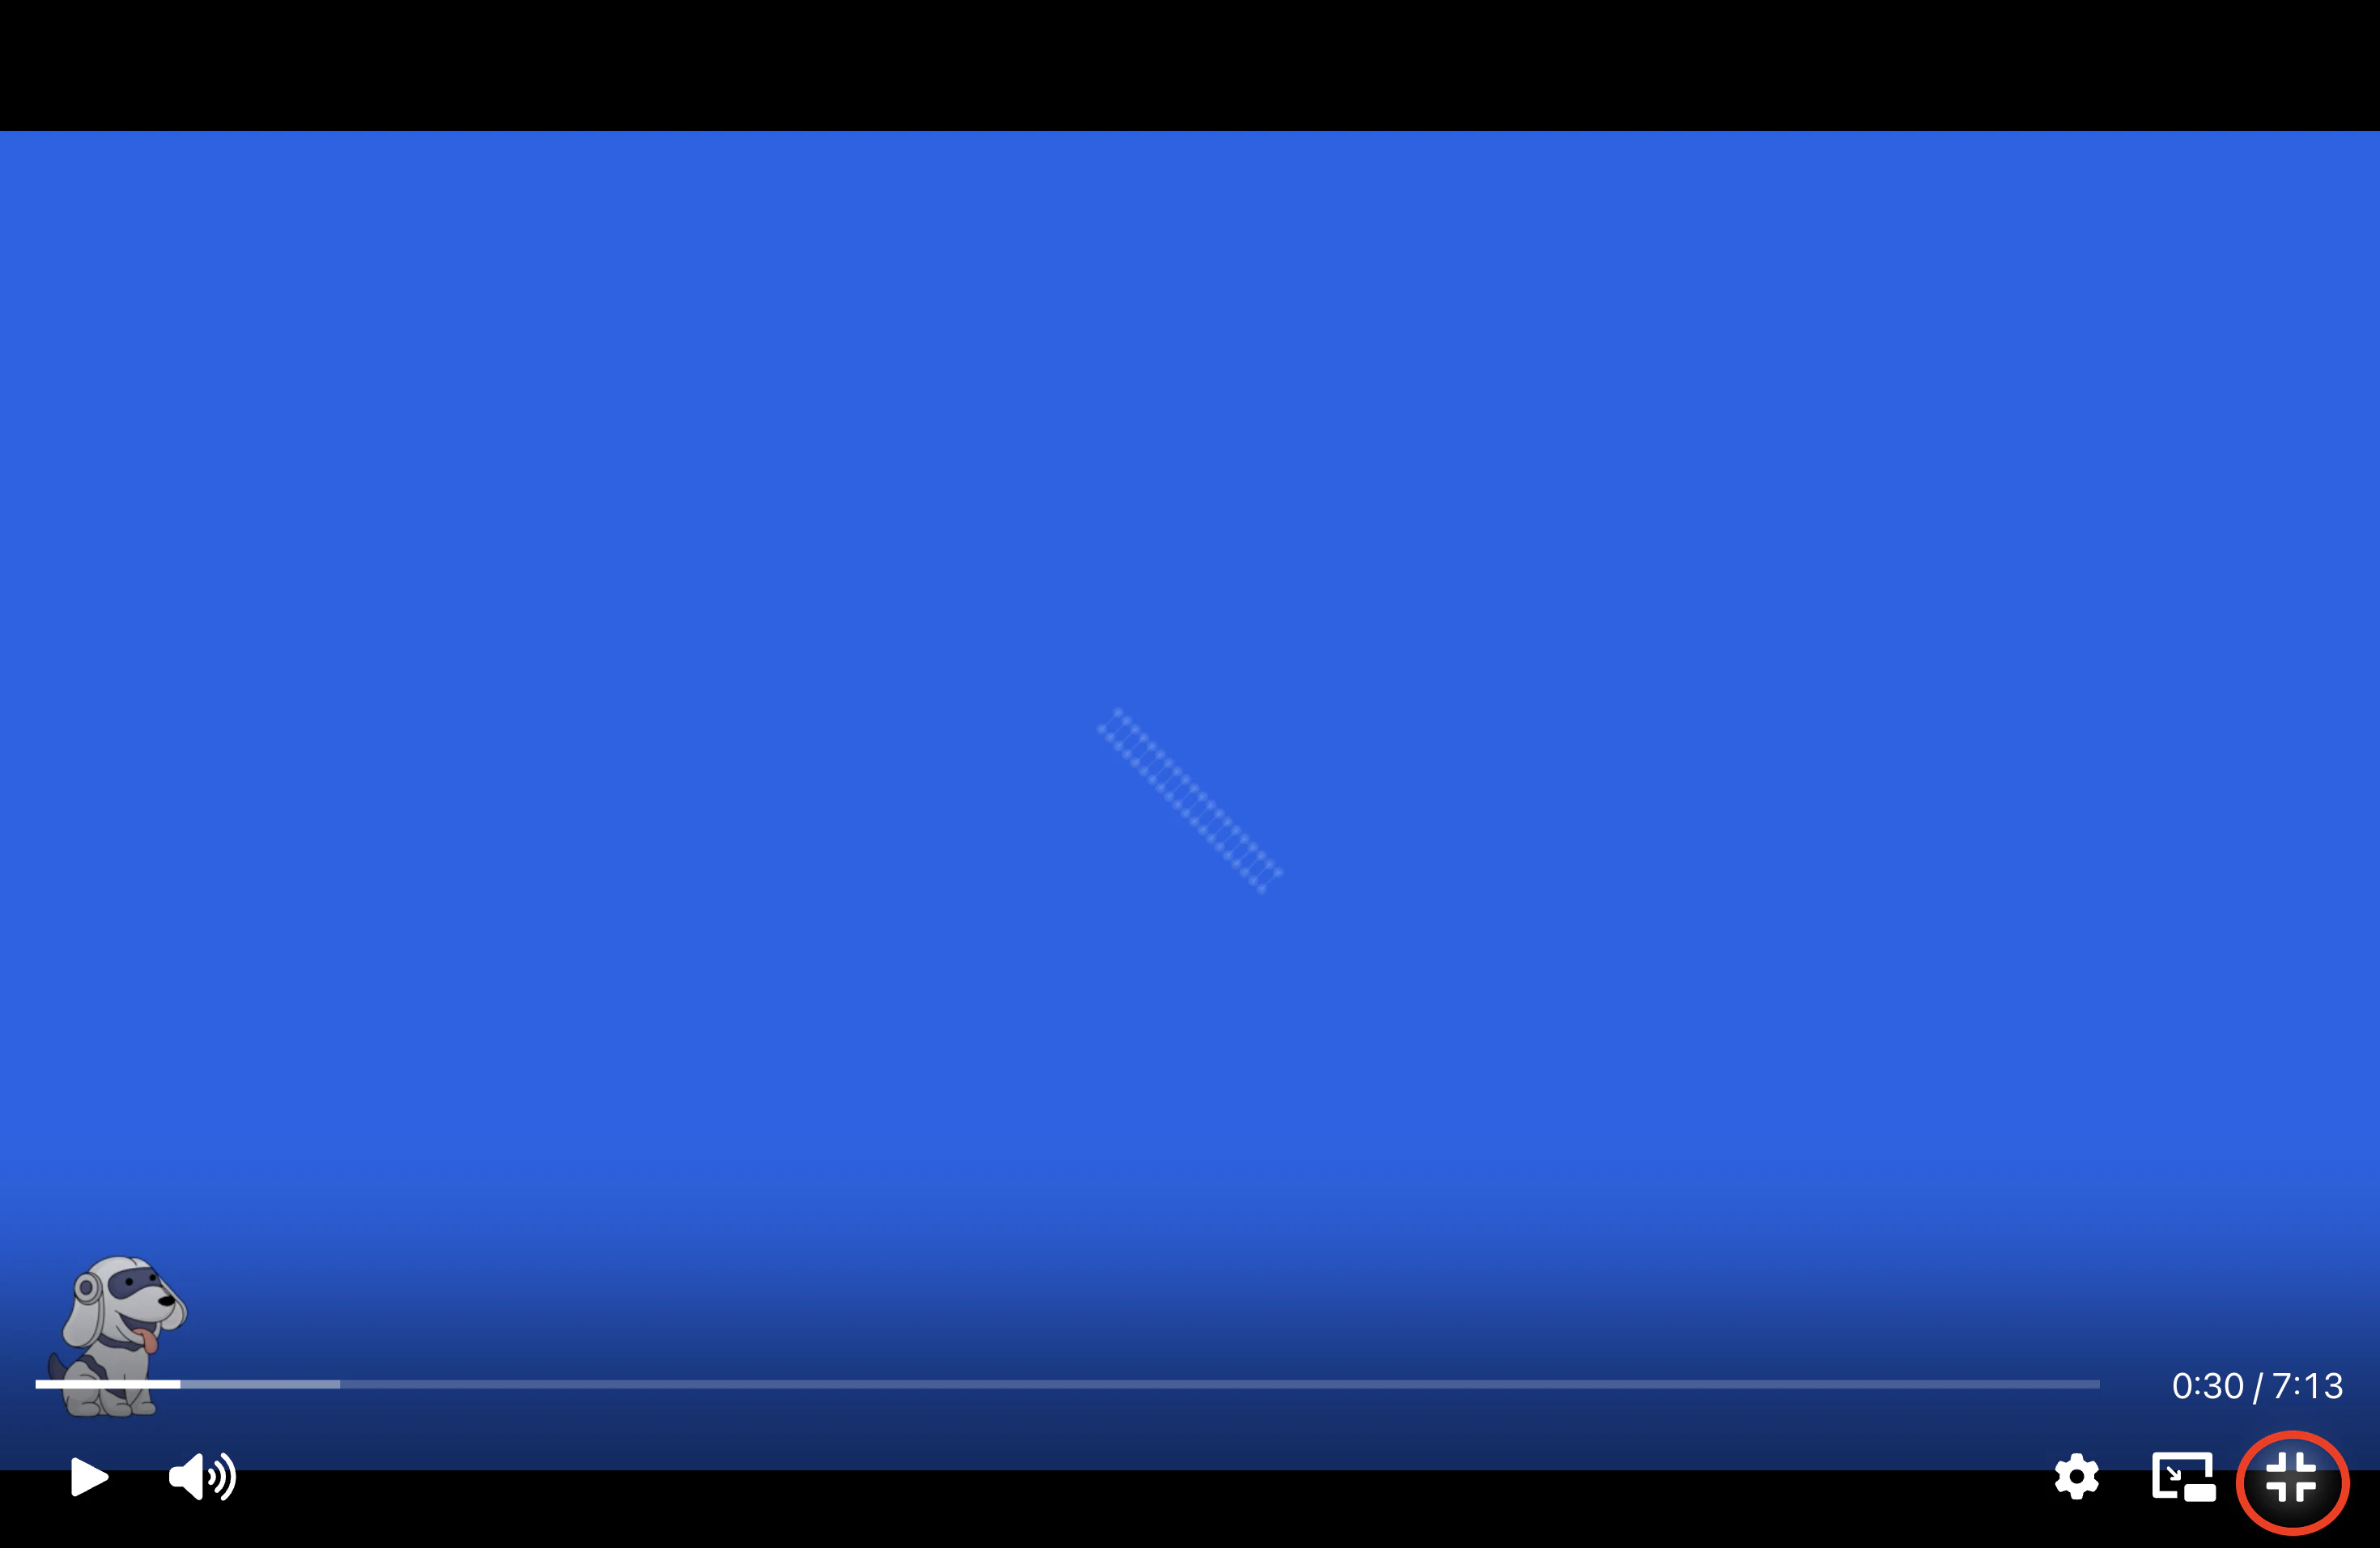
- To watch in full screen, click the Full Screen icon in the bottom right.
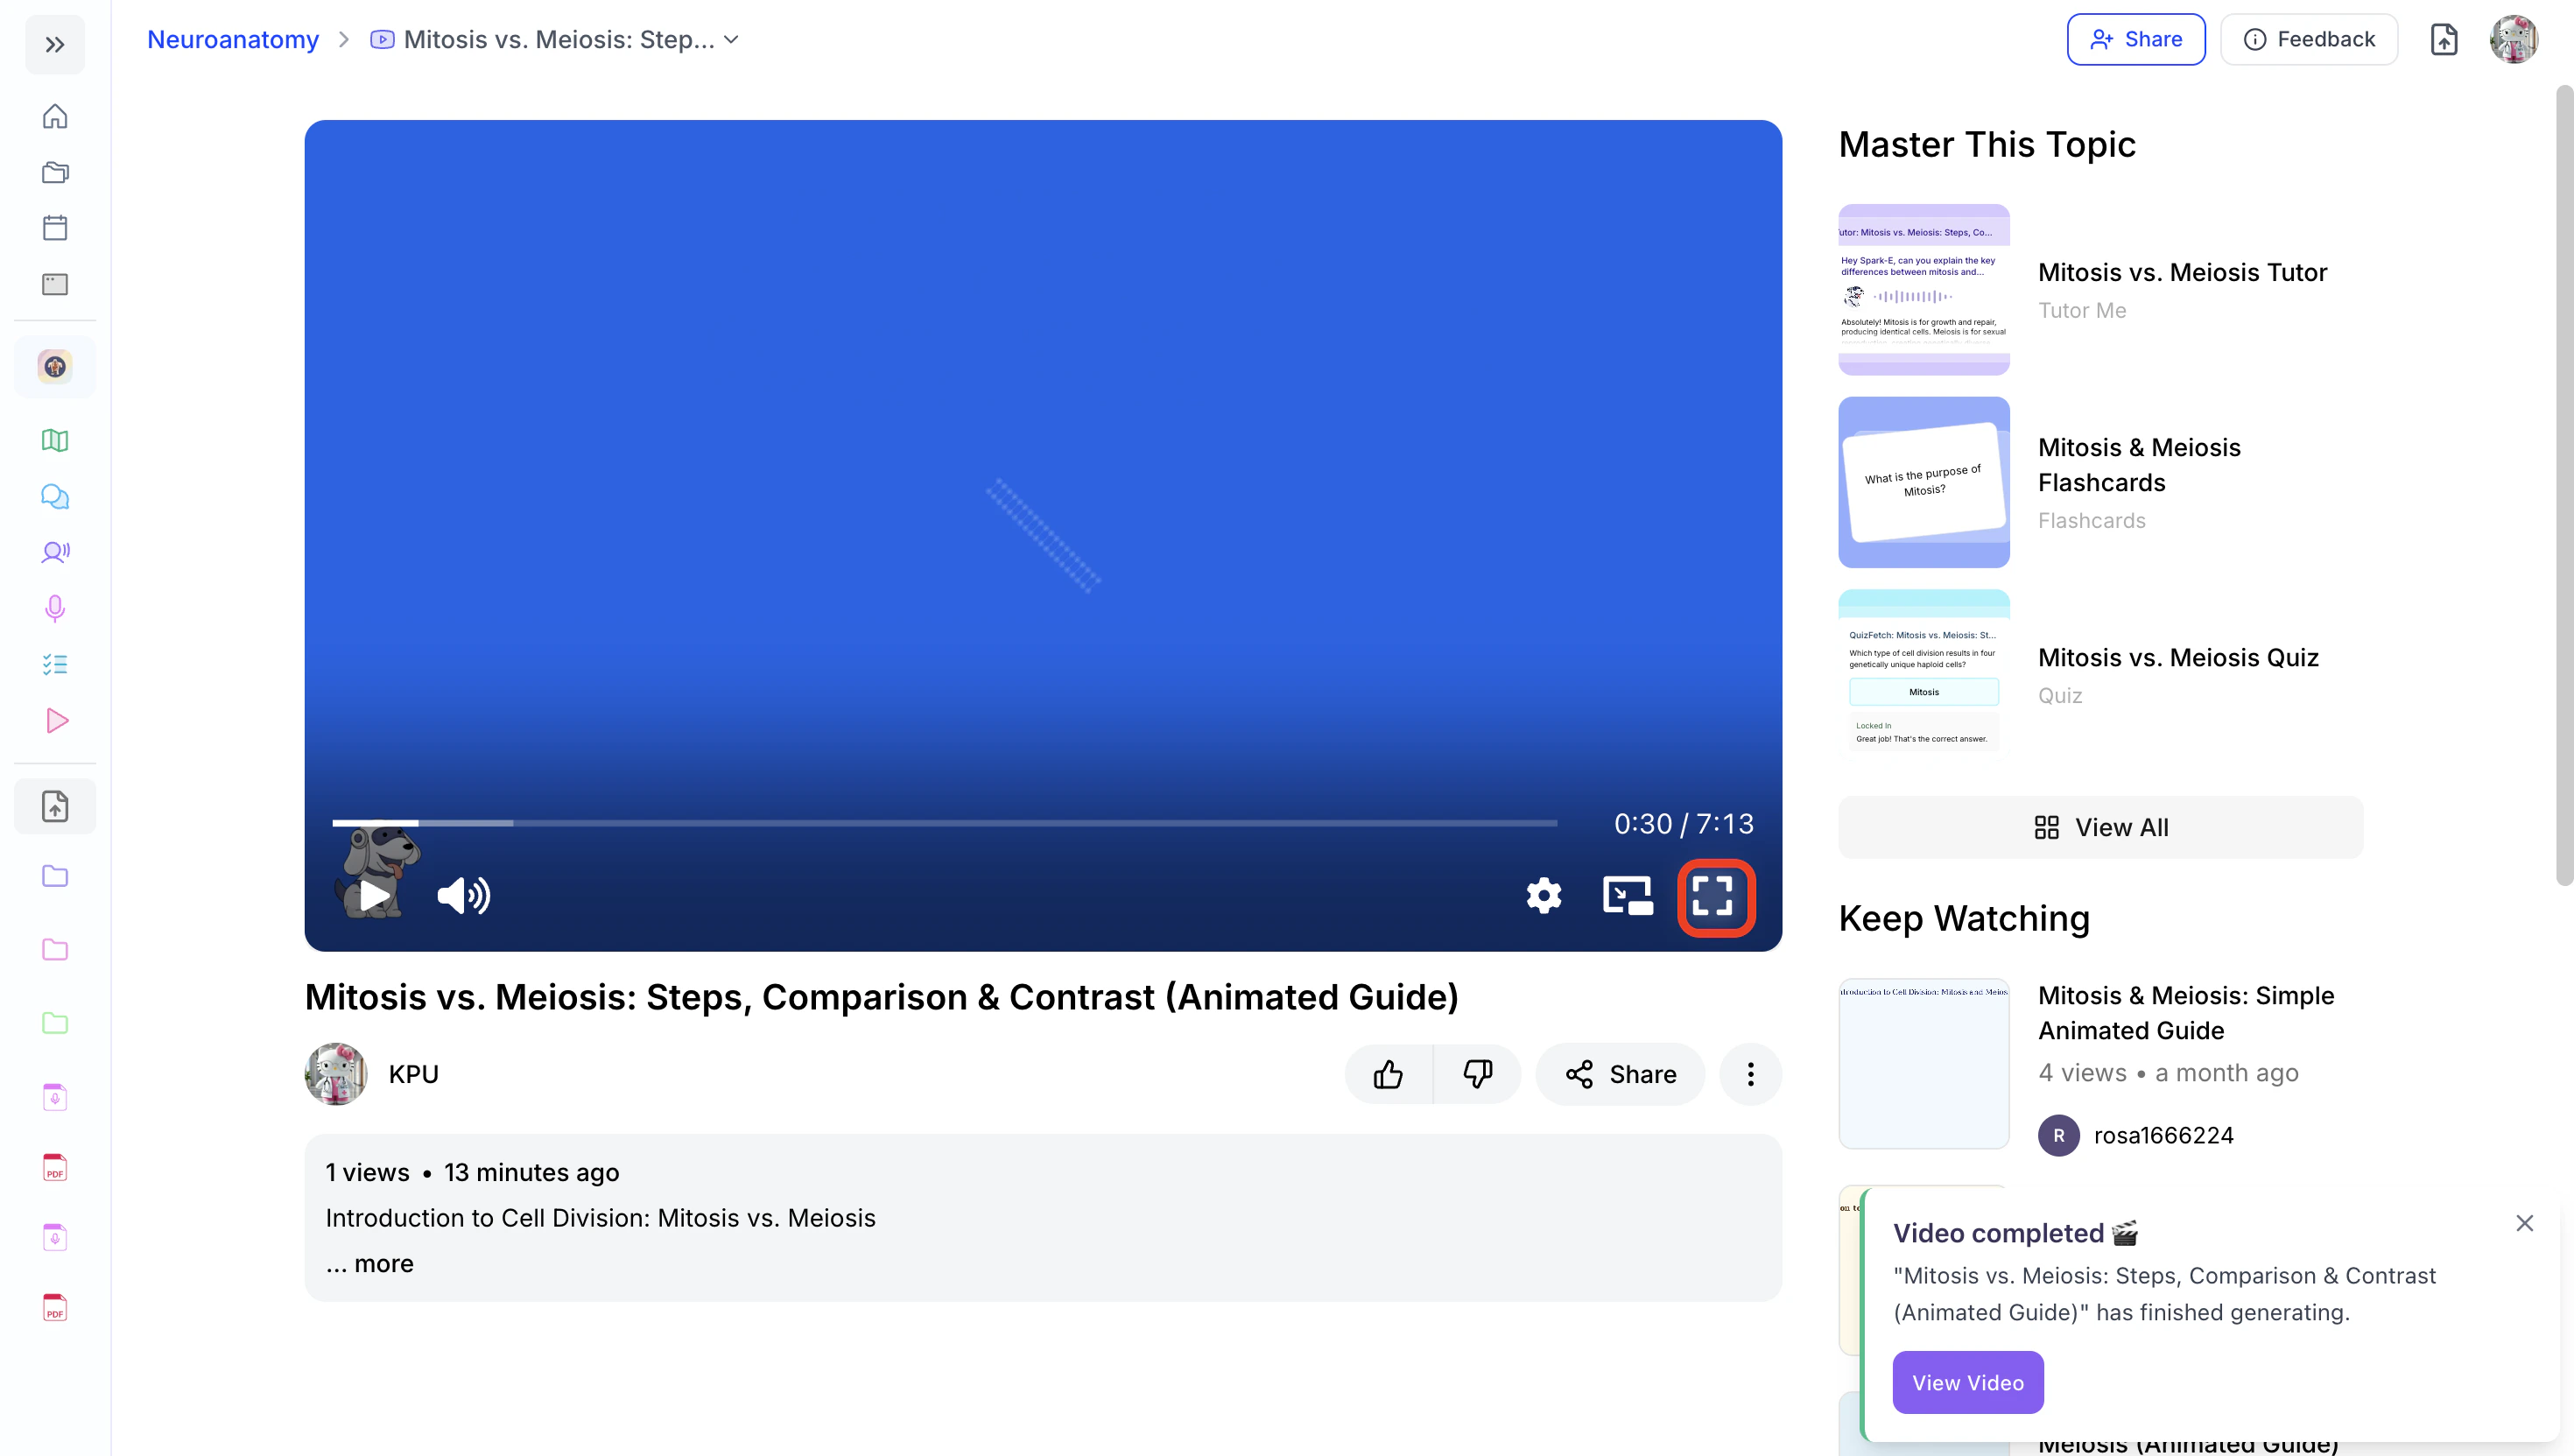
- Click the Minimize icon or select the esc key on your keyboard to exit full screen and return to the standard view.
Modifying Volume
- To adjust the volume, hover over the Sound icon and use the slider to set it to your preferred level.
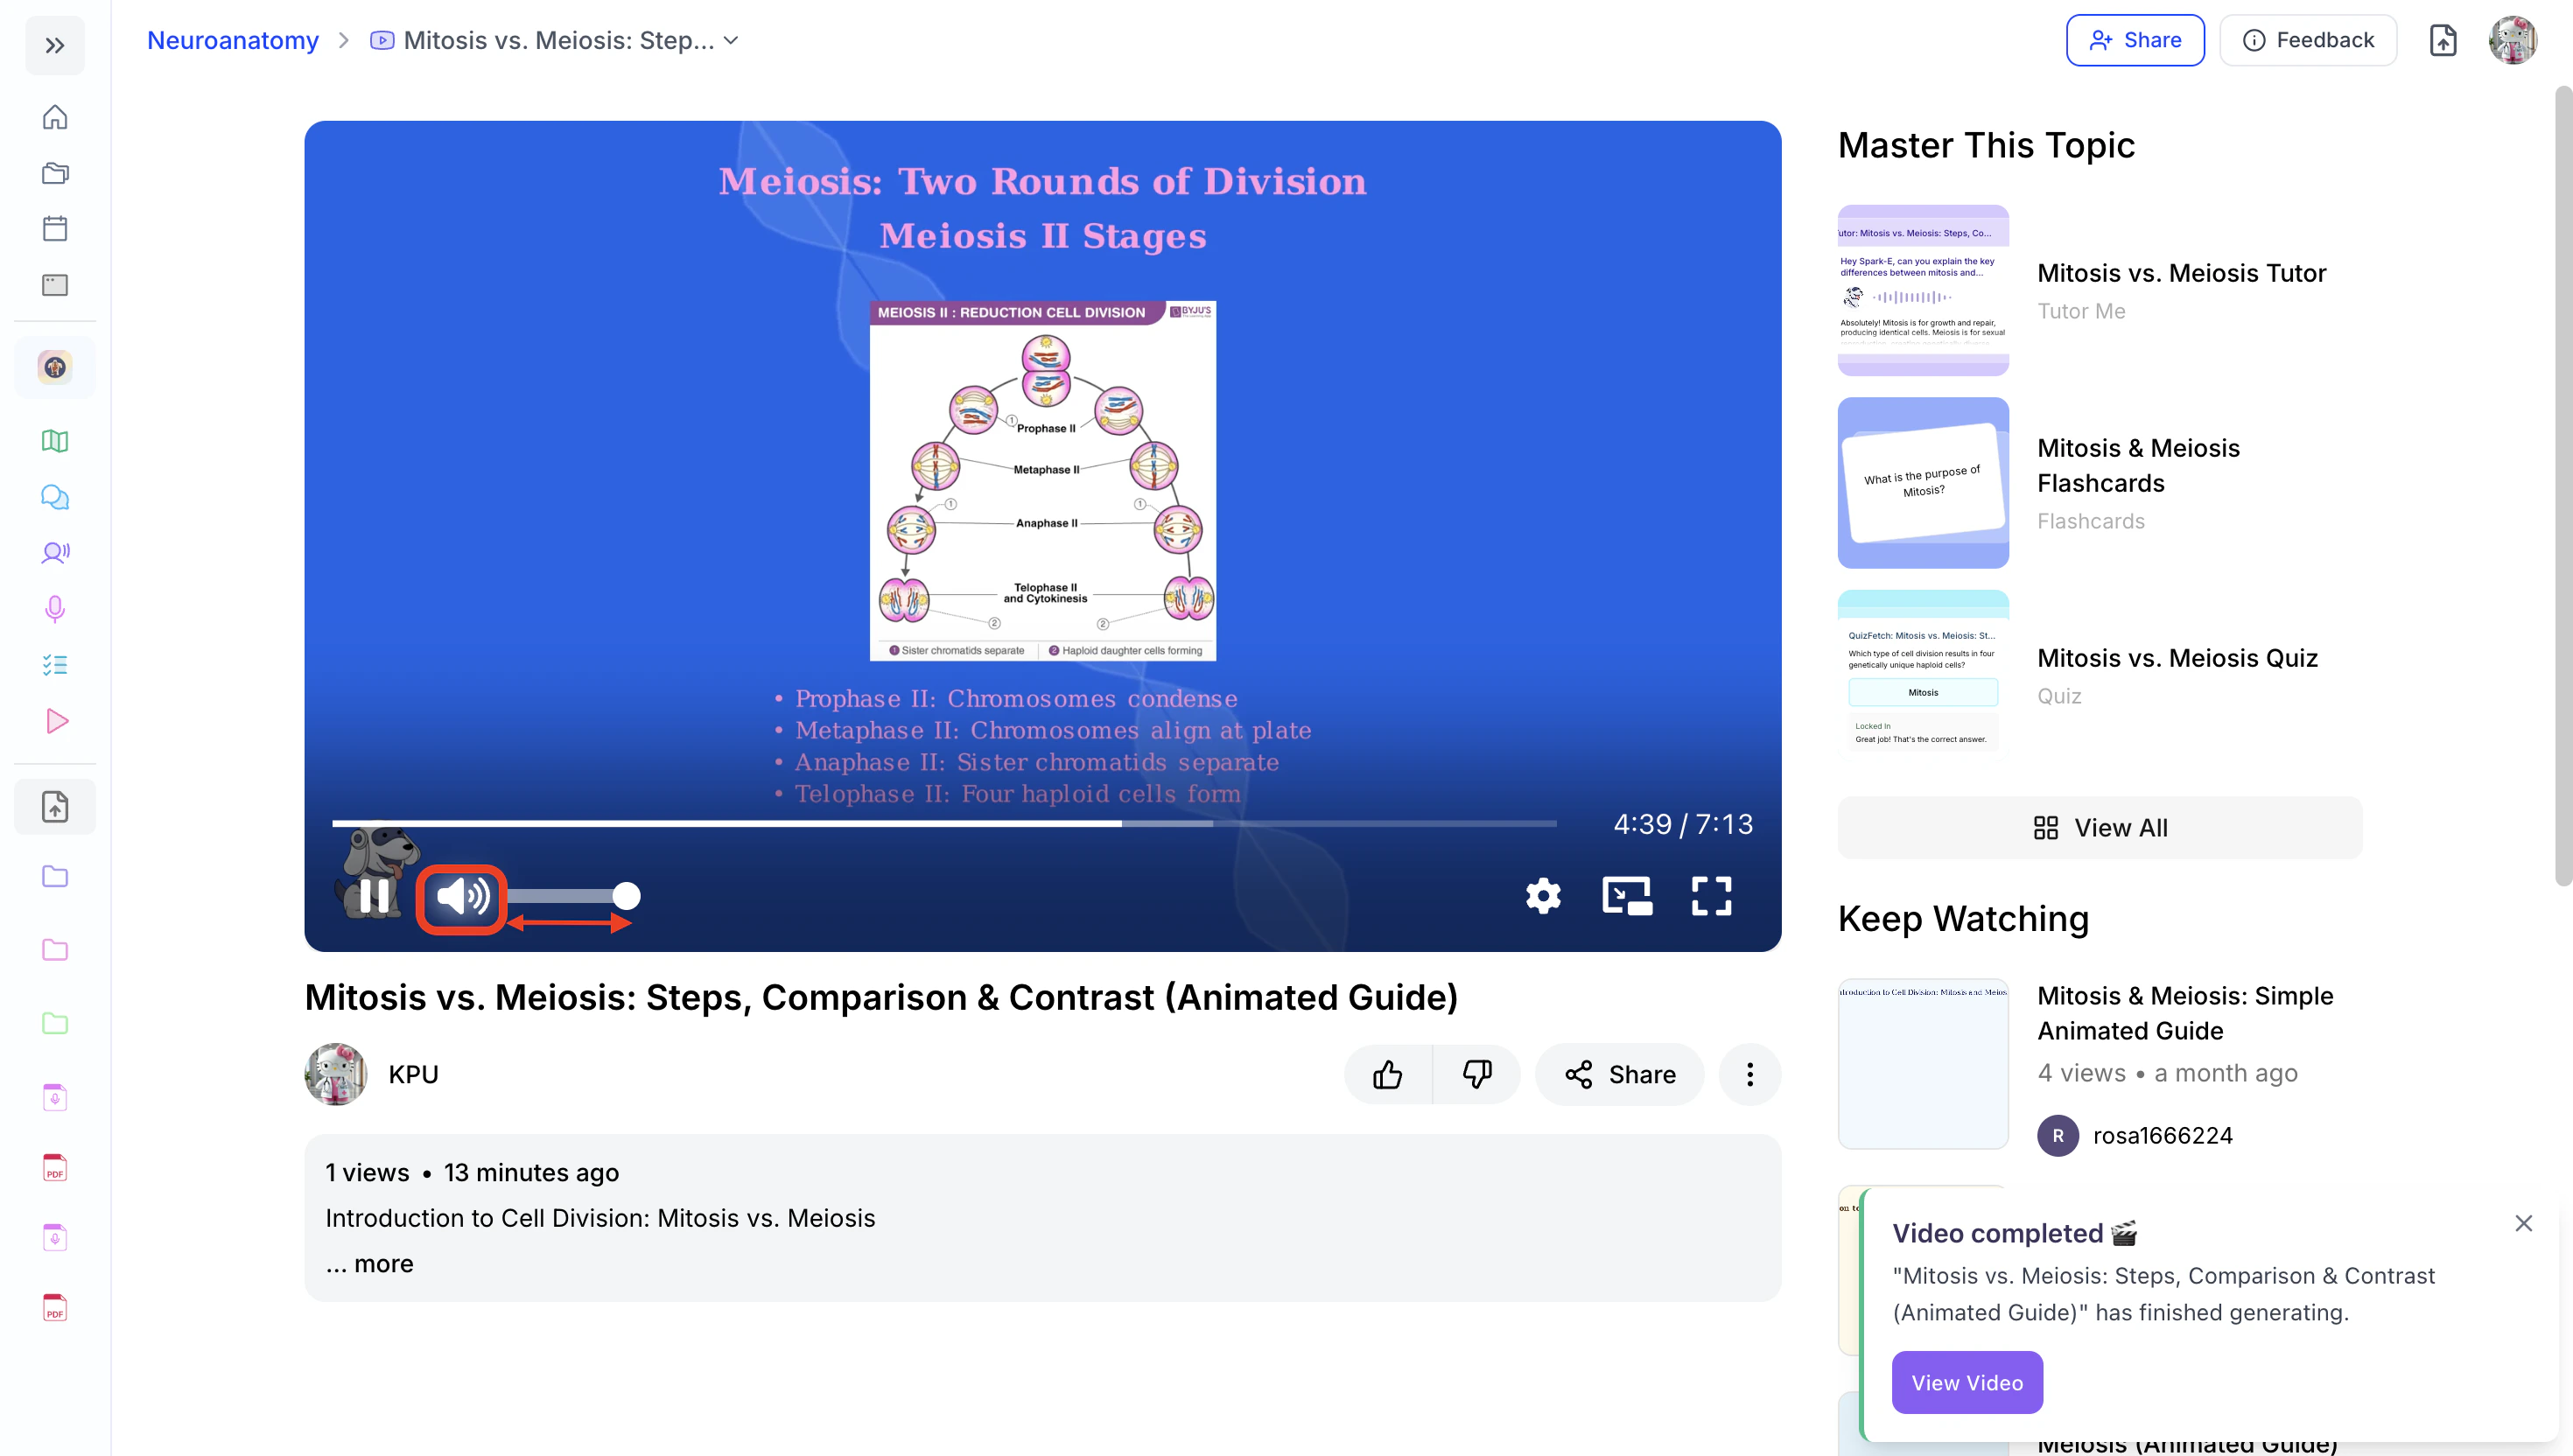
- Click and drag the bar to the right to increase the volume or,

- to the left to decrease it.

- Click and drag the bar to the right to increase the volume or,
- To mute your video explainer, click directly on the Sound icon.
When muted, an “x” will appear next to the icon, and the volume slider will appear unfilled.

- Click the Sound icon again to unmute the audio.
The volume slider will automatically restore to the last selected volume setting.

Rewinding and Fast Forwarding
Use the video playback controls to easily navigate to any point in the video you want to watch. To jump to a specific time, use the video progress bar above the playback controls by clicking and dragging the slider to the desired position.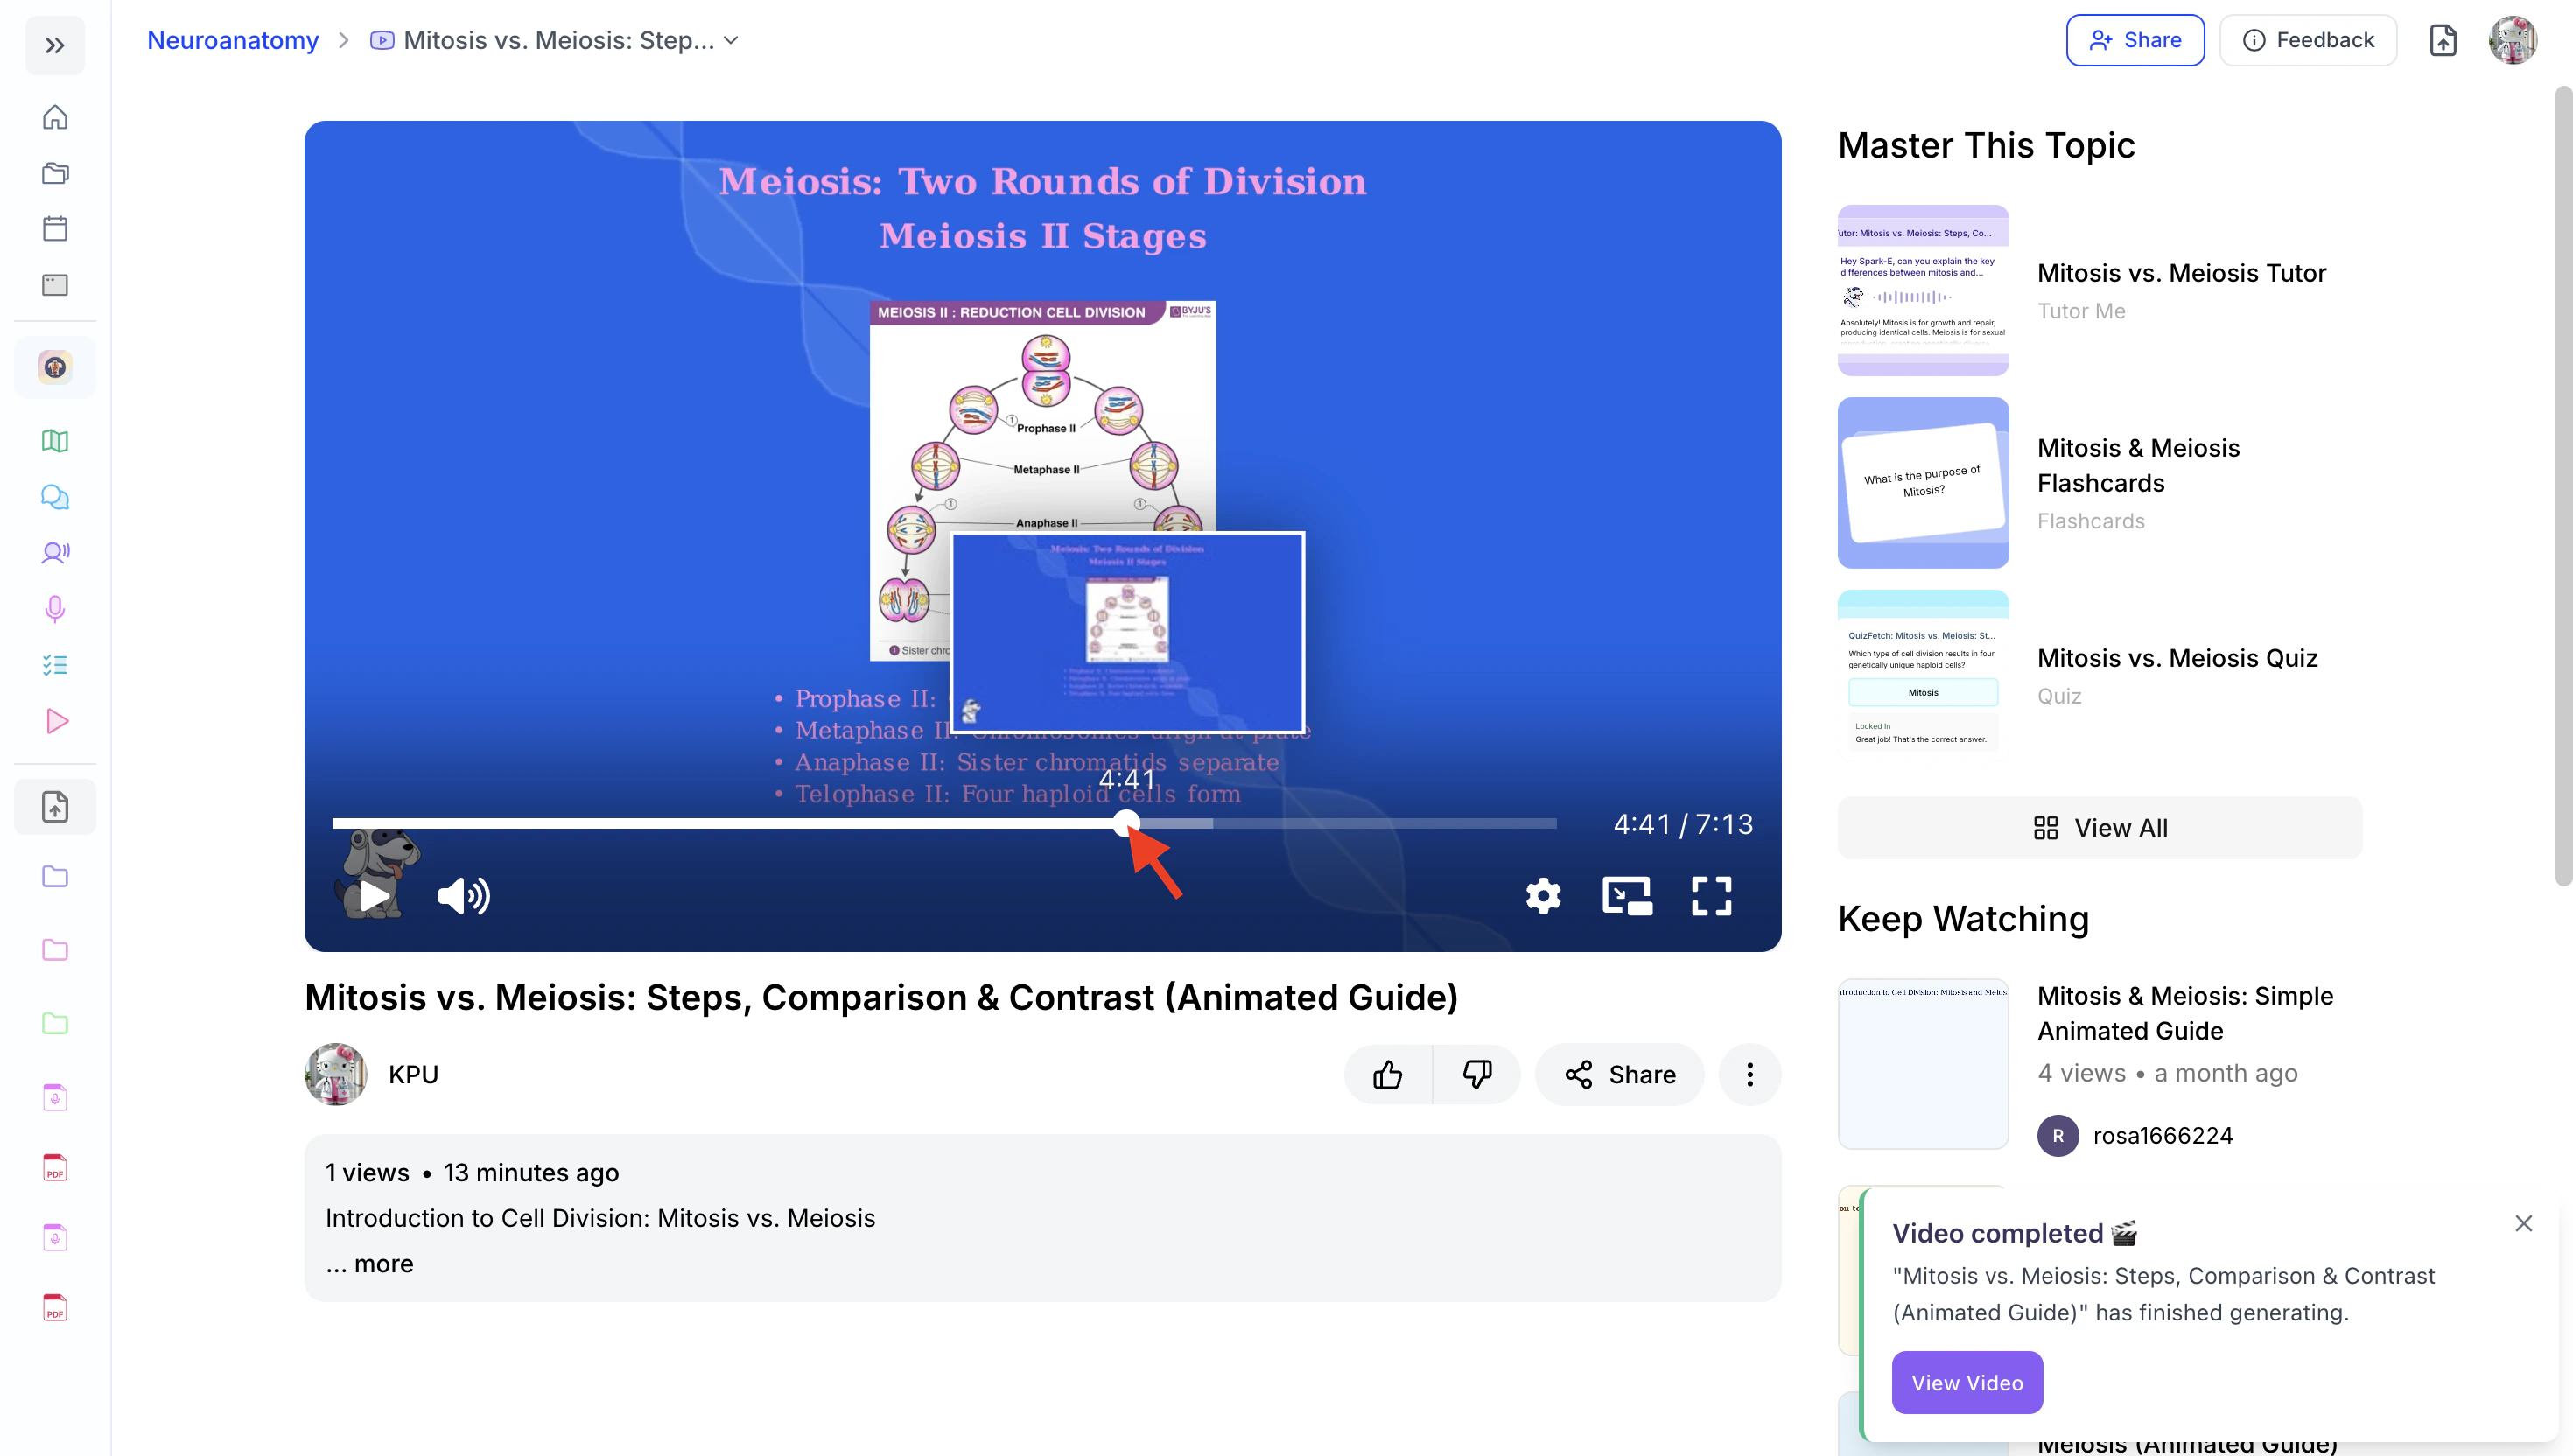
Adjusting Video Speed and Quality
- First select the Settings Icon from the playback controls.

Video Speed
- To adjust the video speed, click Speed.

- Next, select your preferred speed from the available options.

- Your speed selection will then be updated.

Video Quality
- To adjust the video quality, click Quality.

- Next, select your preferred quality from the available options.

- Your video quality selection will then be updated.

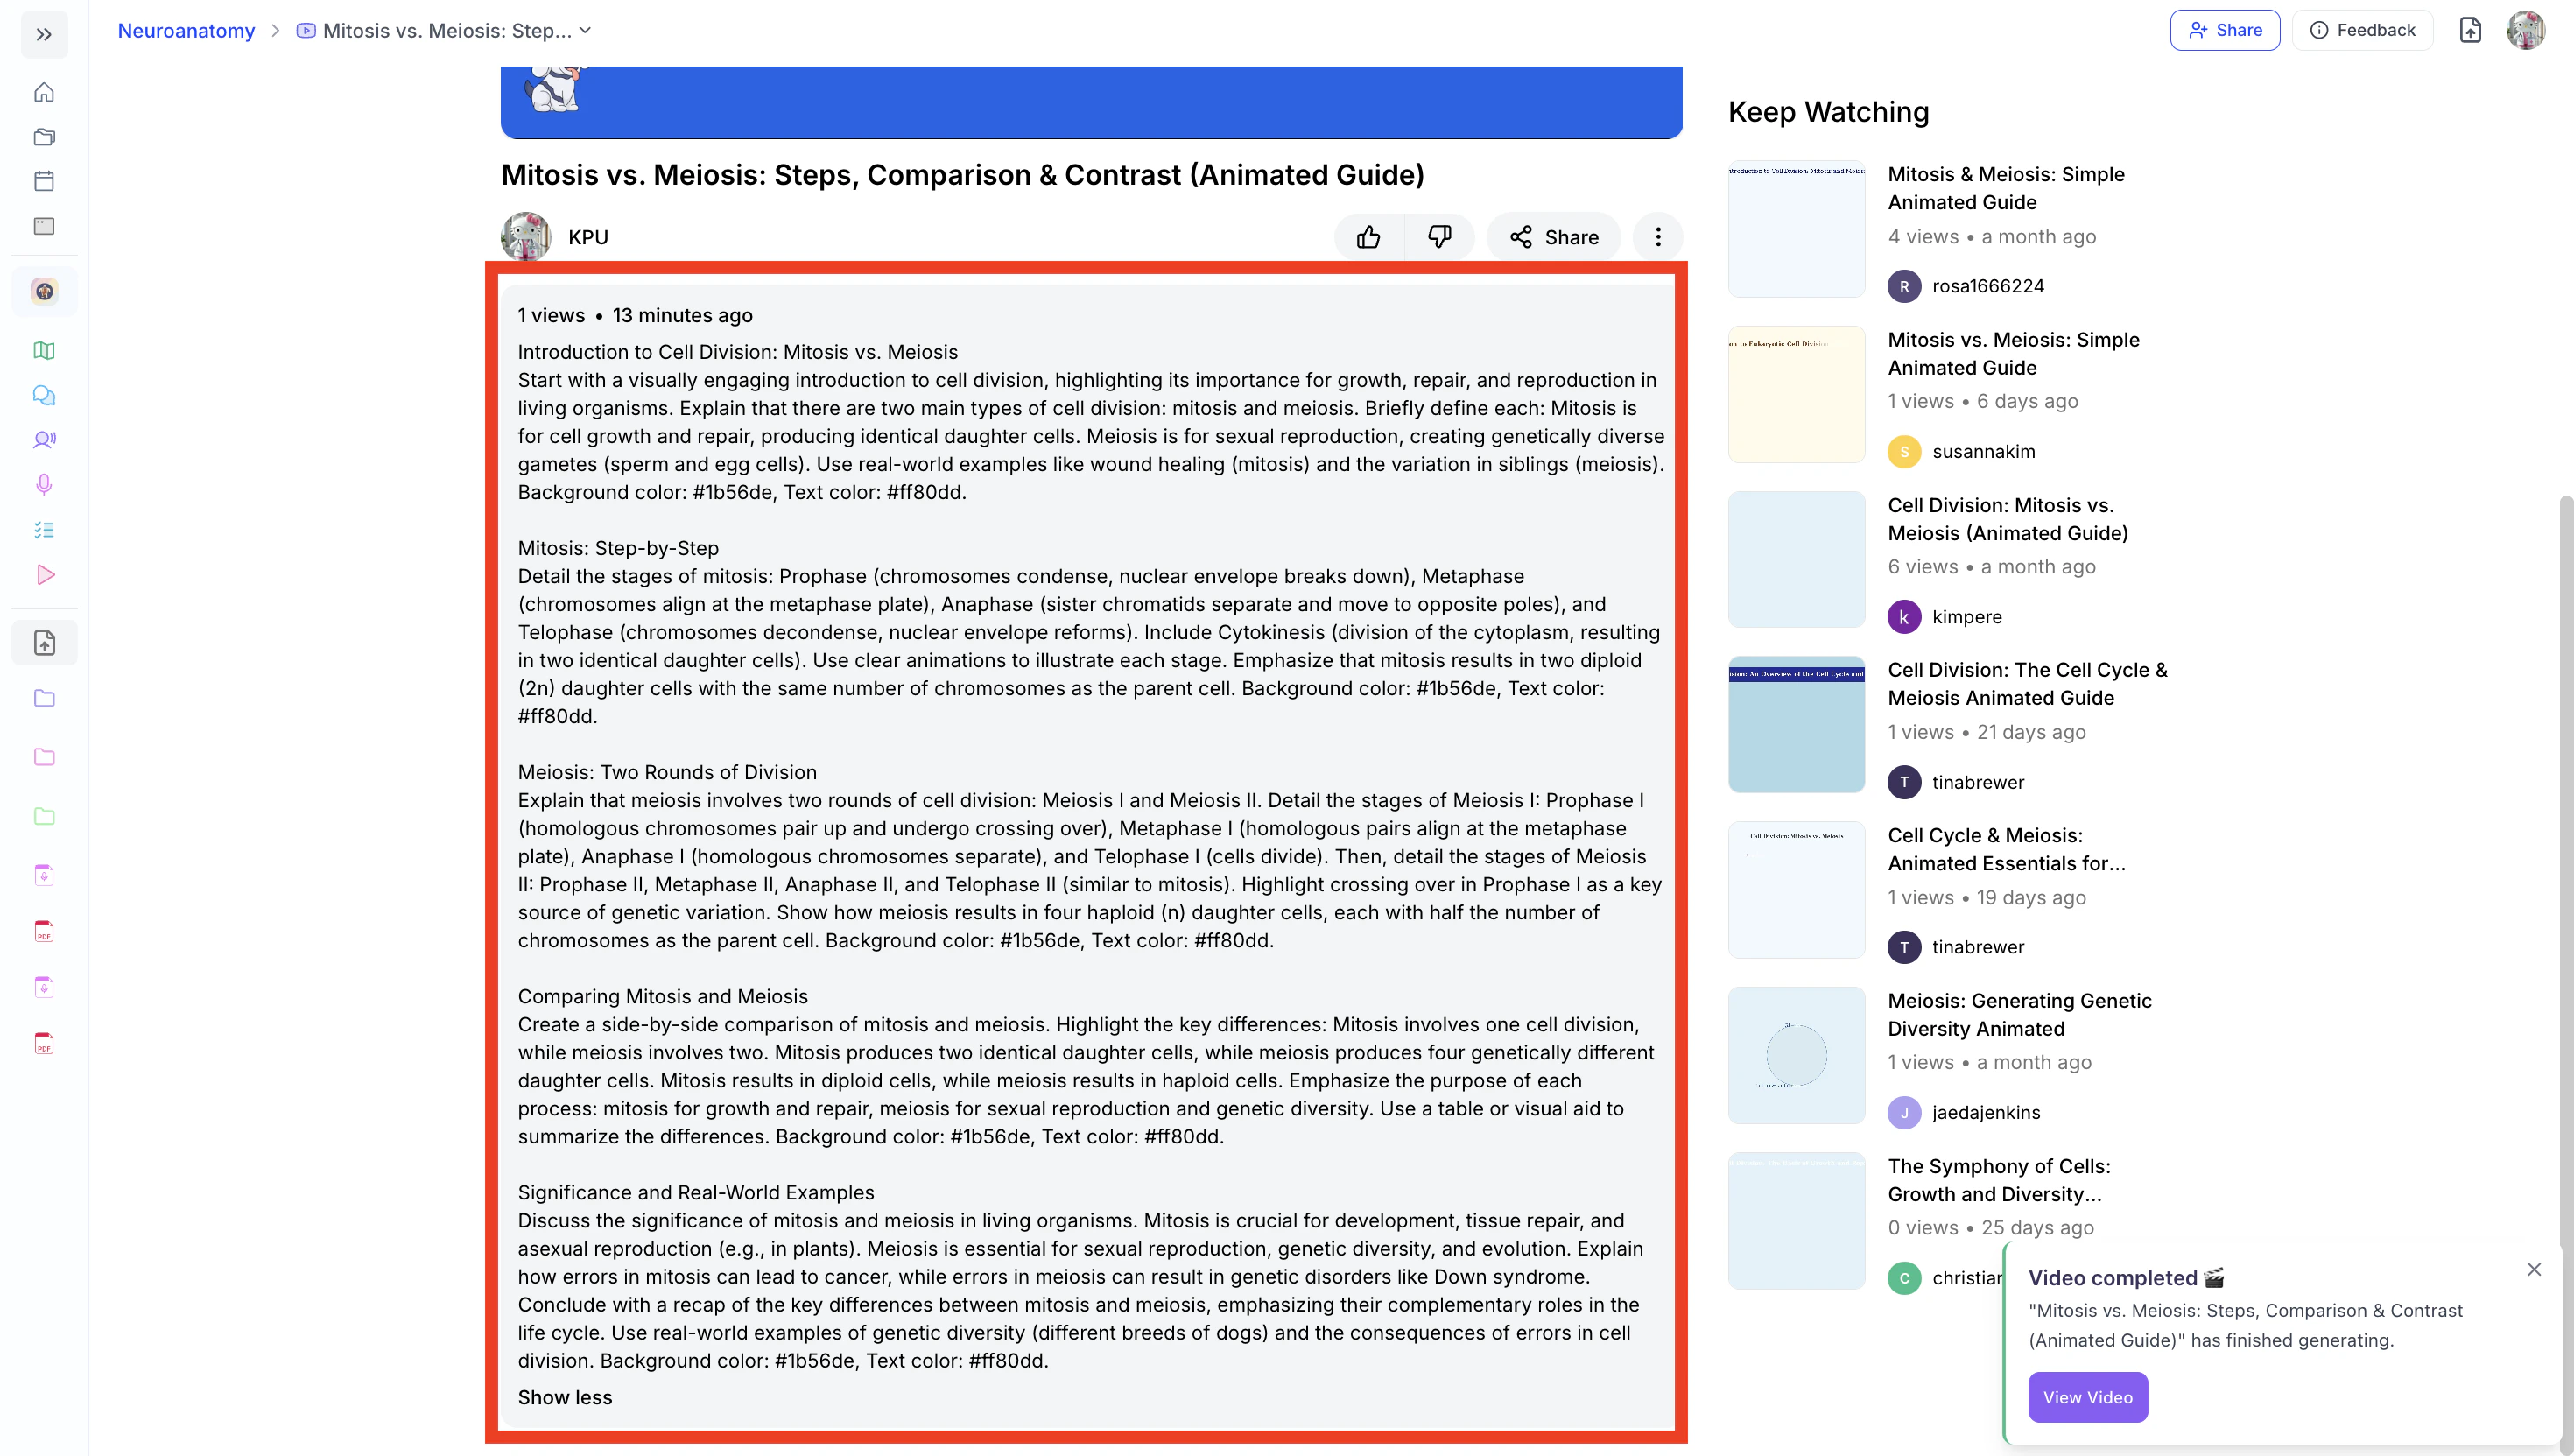
Viewing Your Video Outline
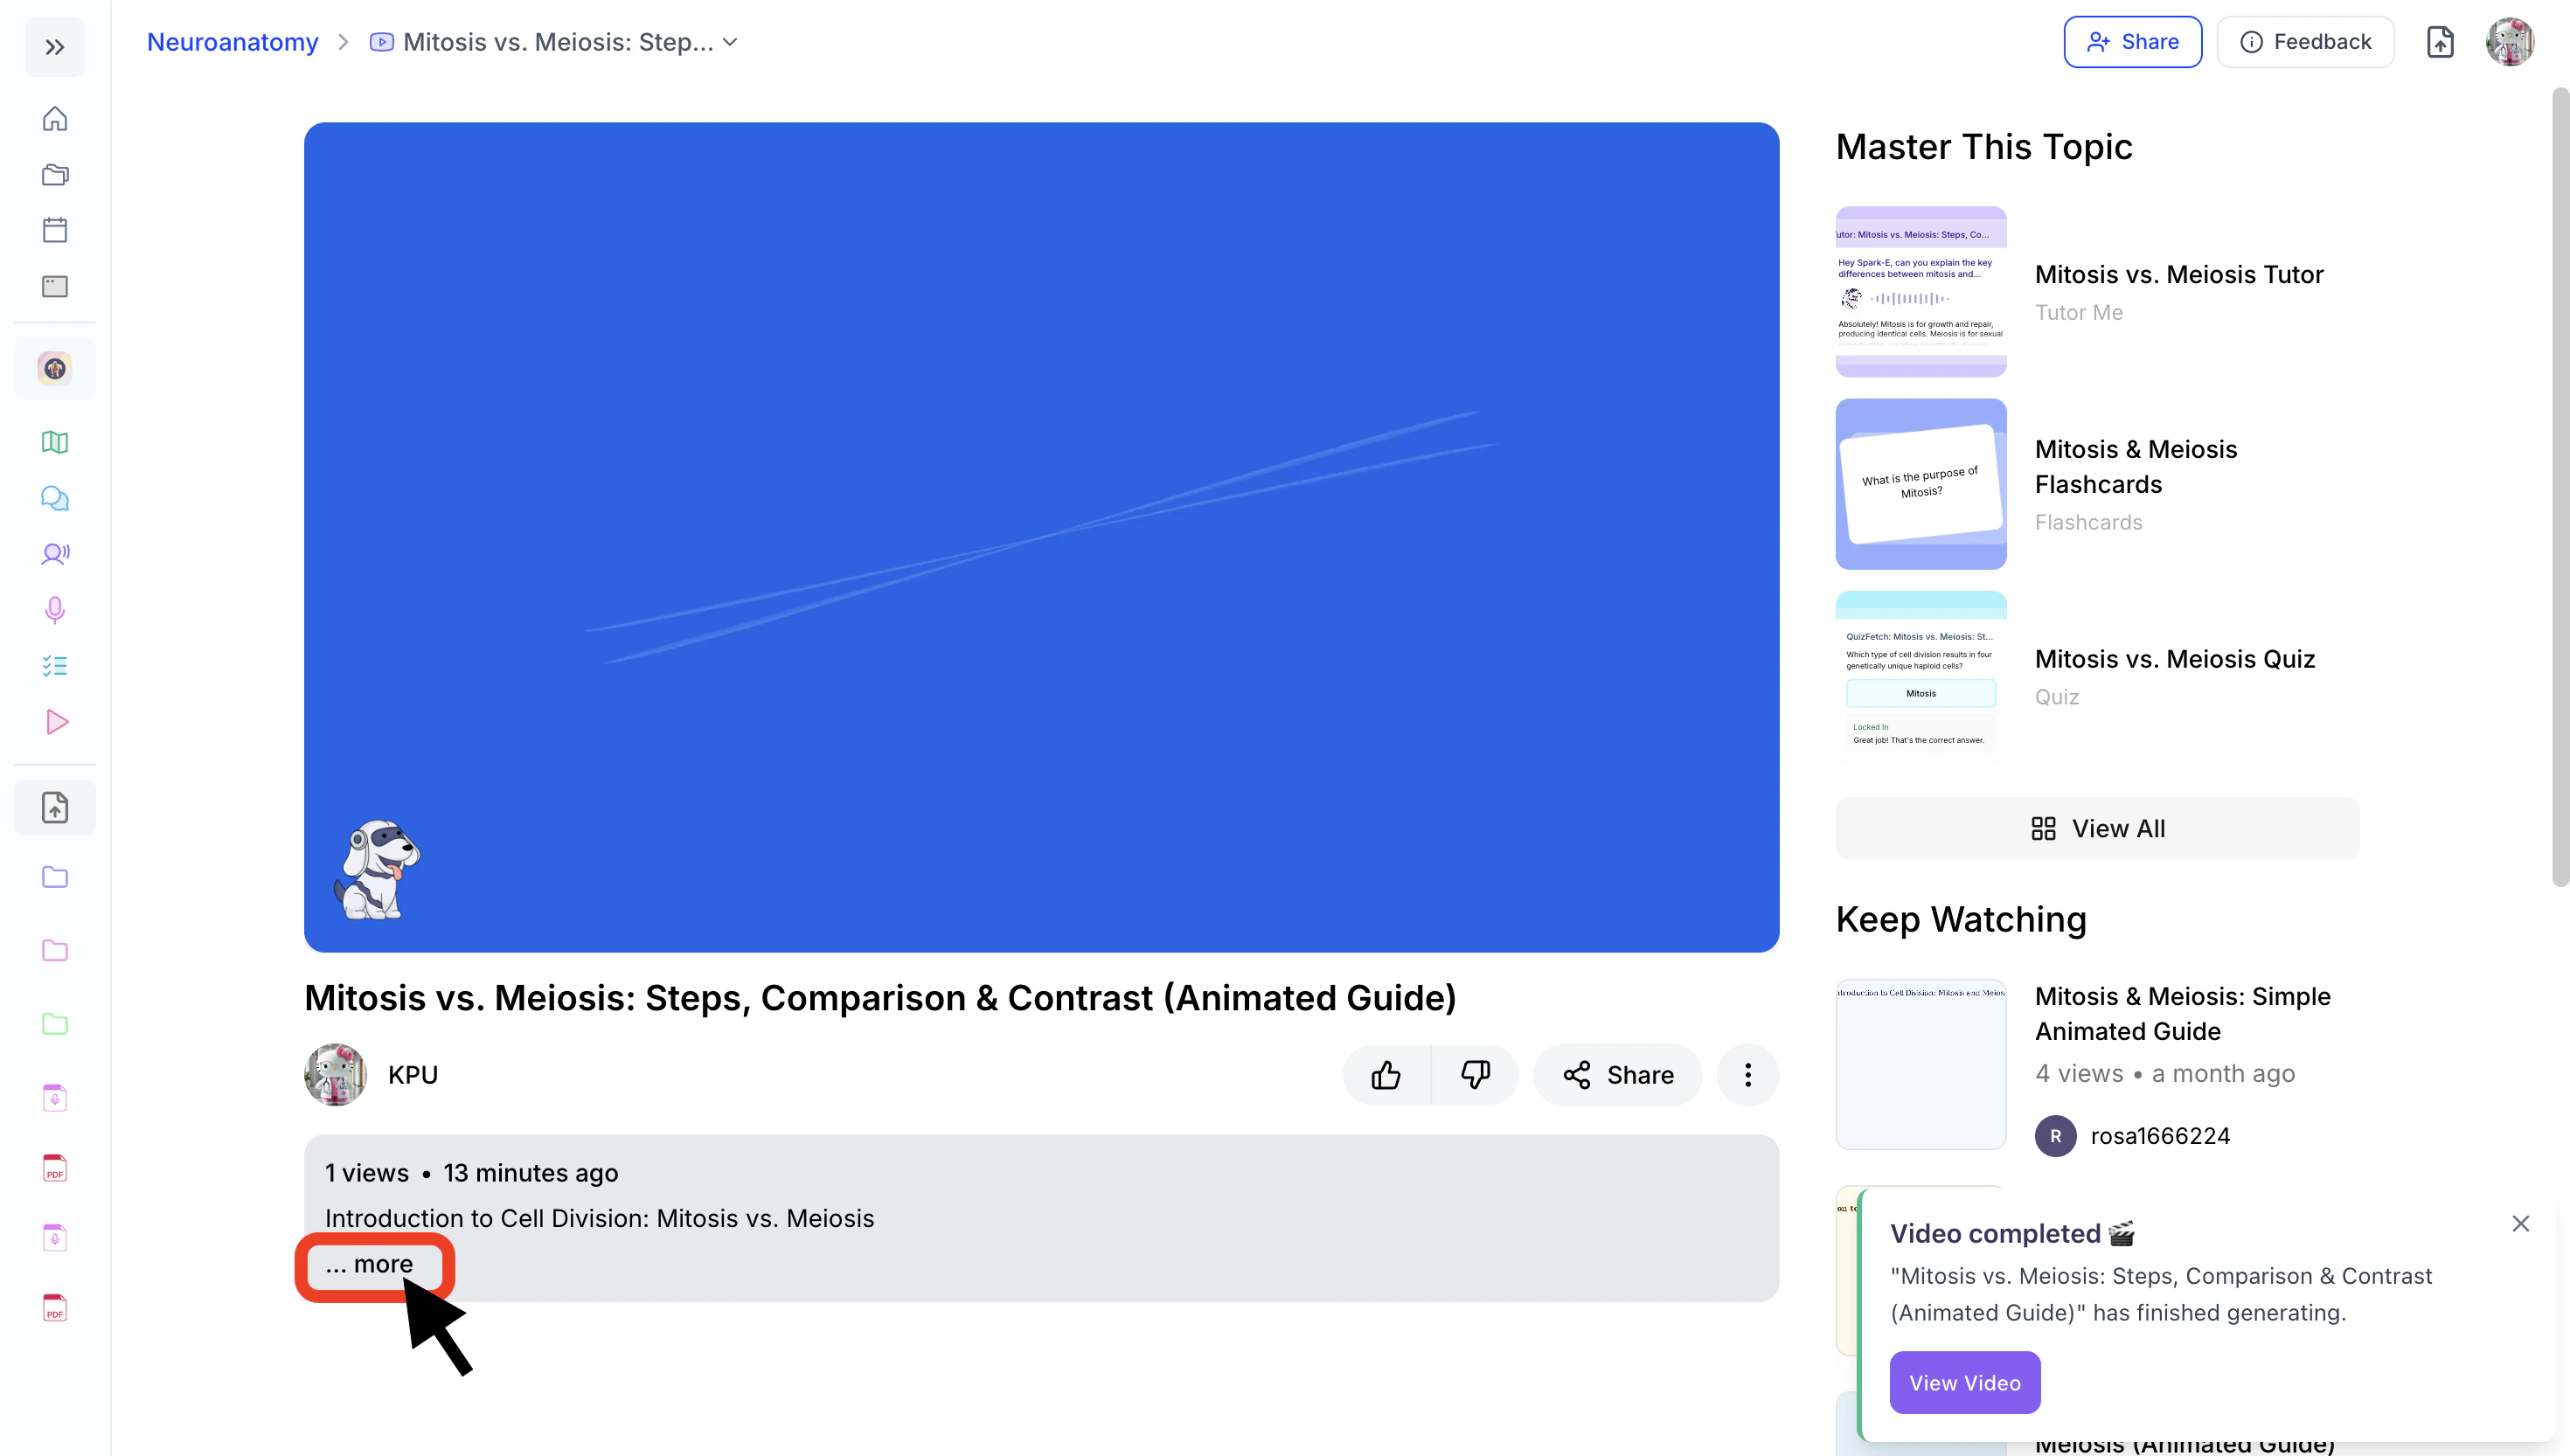
After your video is generated, you can access the video outline to review a detailed, structured breakdown of the material covered.- You can find your video outline right below the video—just click …more to expand it.
- To hide the outline, click Show less on the bottom left.
Managing your Explainer Video
Accessing Your Video Explainer
- On the left-hand side of your dashboard, click Audio & Video, then select Explainers.
- The Explainers page will load. To view the videos you’ve created, click My Videos.
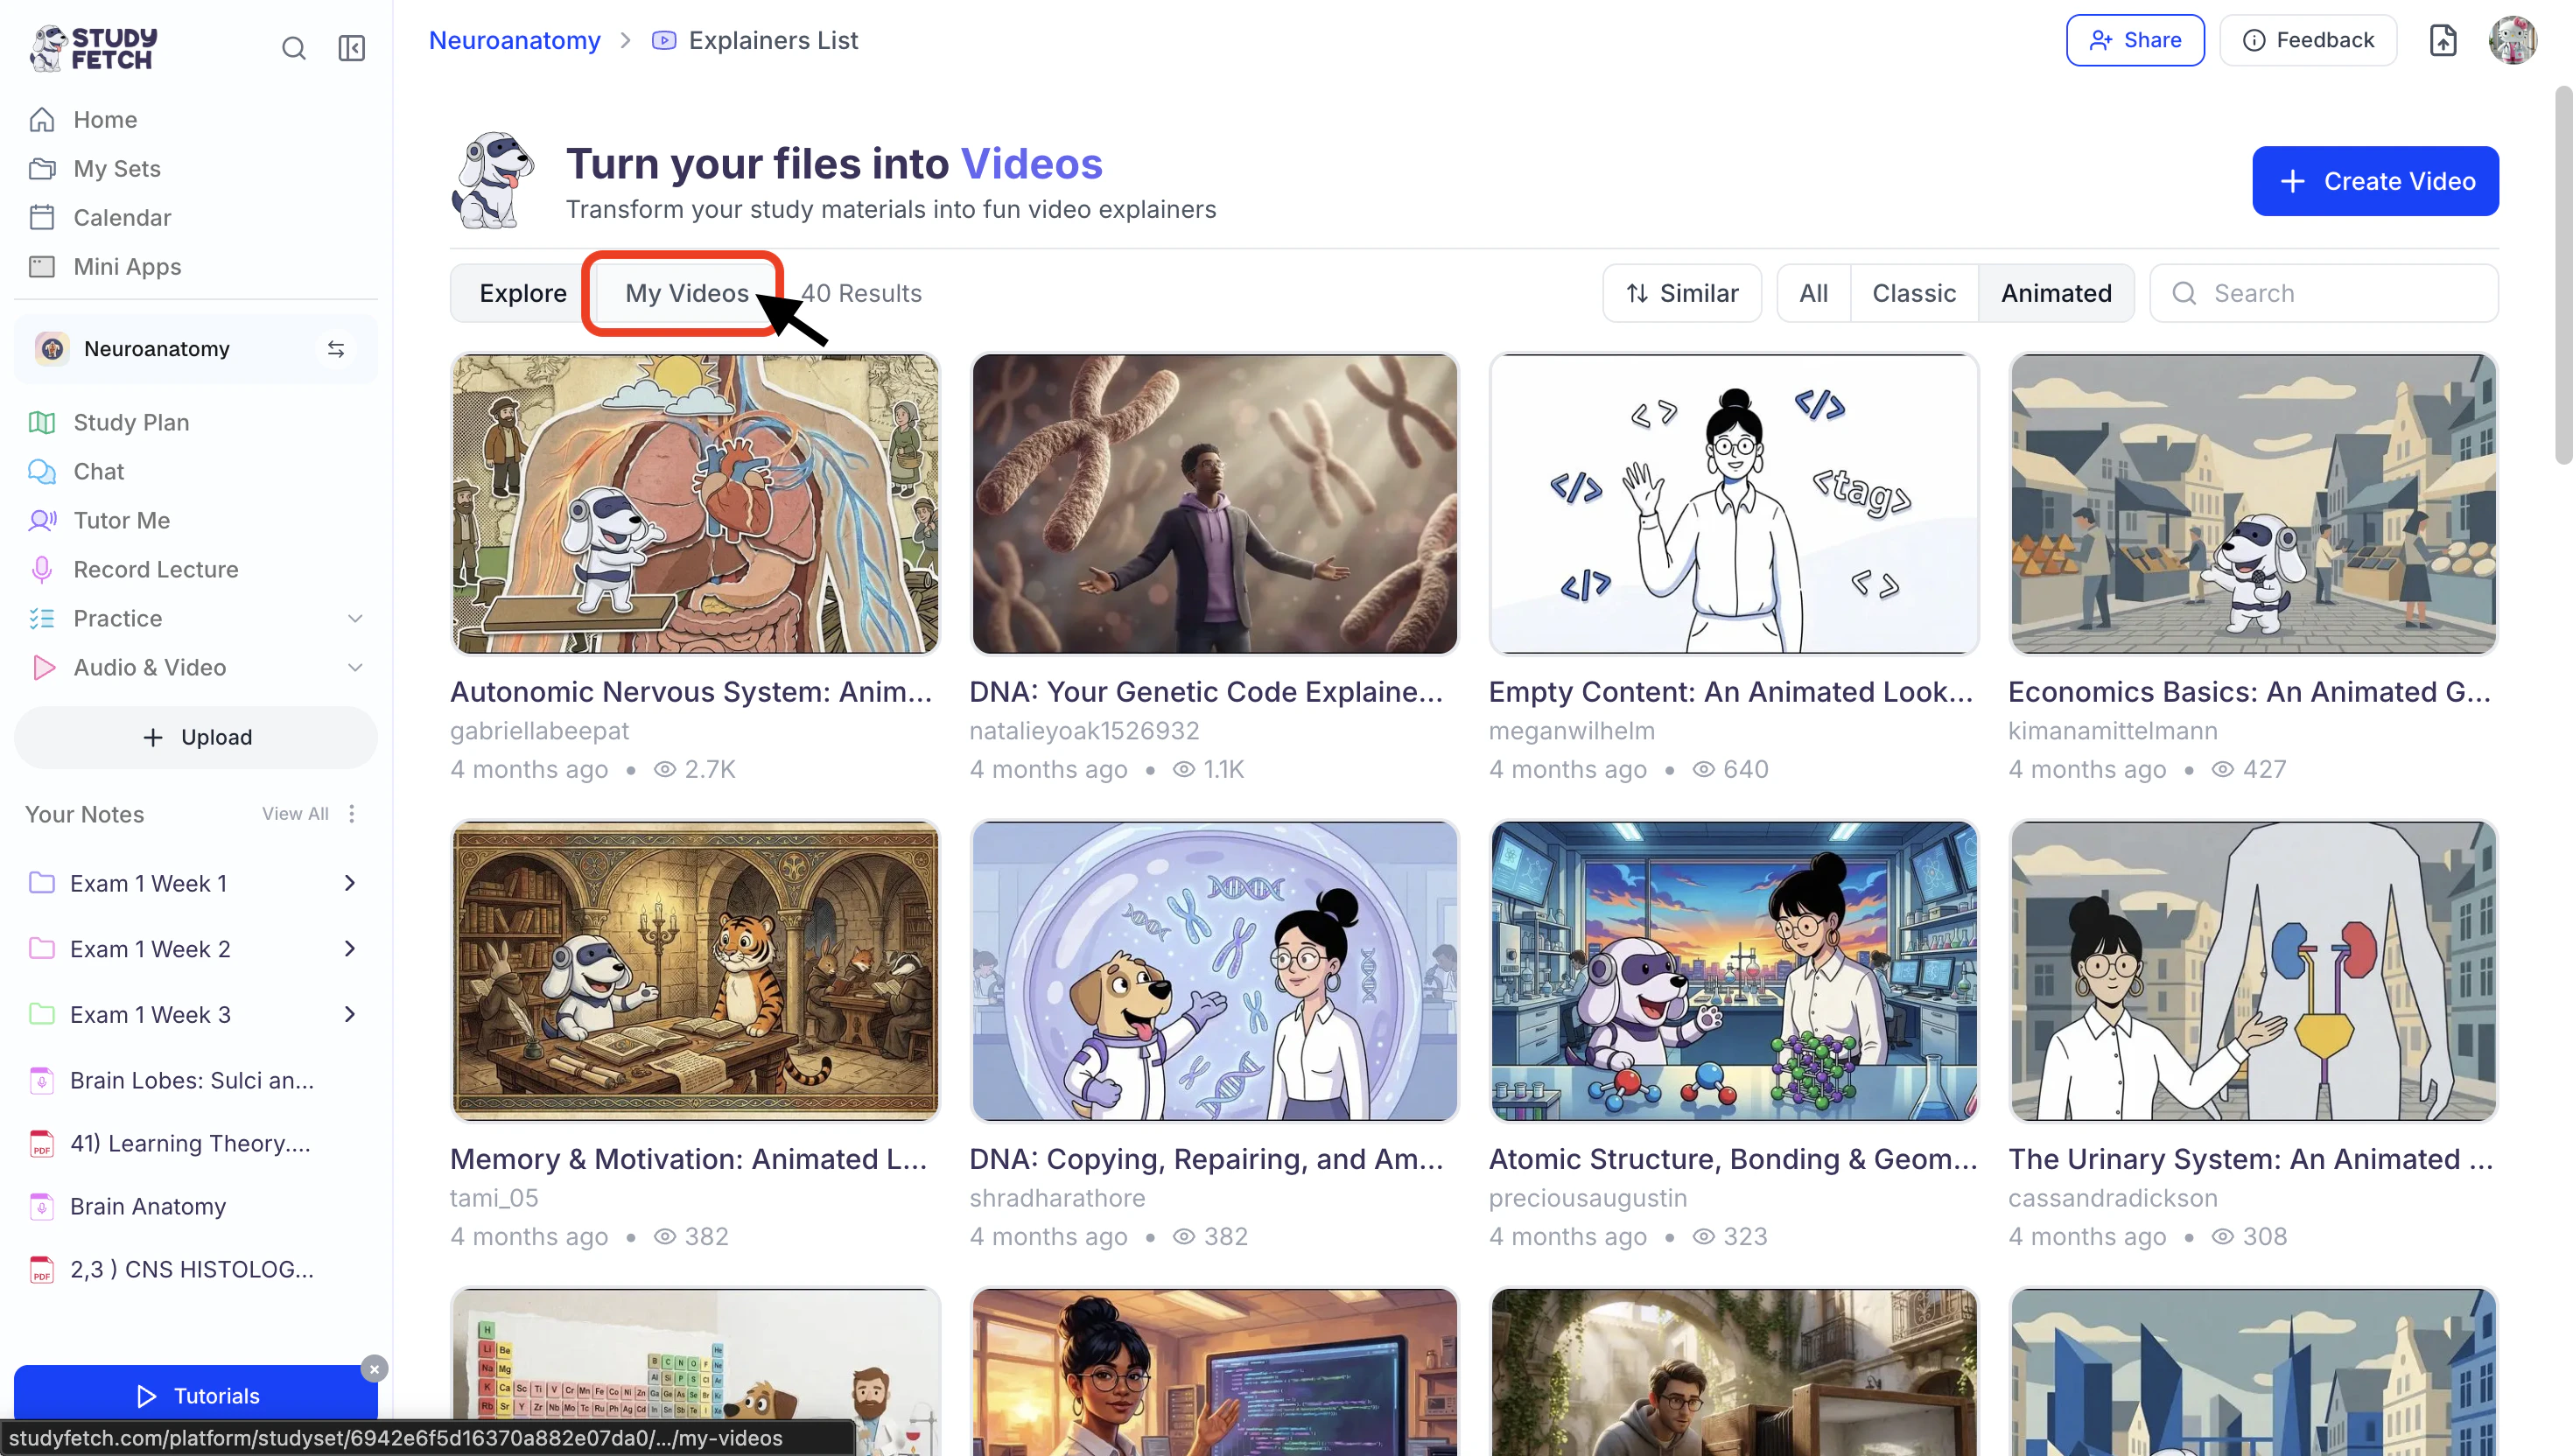
- This will display a filtered view of your video library, filtered by explainer type (All, Classic, and Animated).
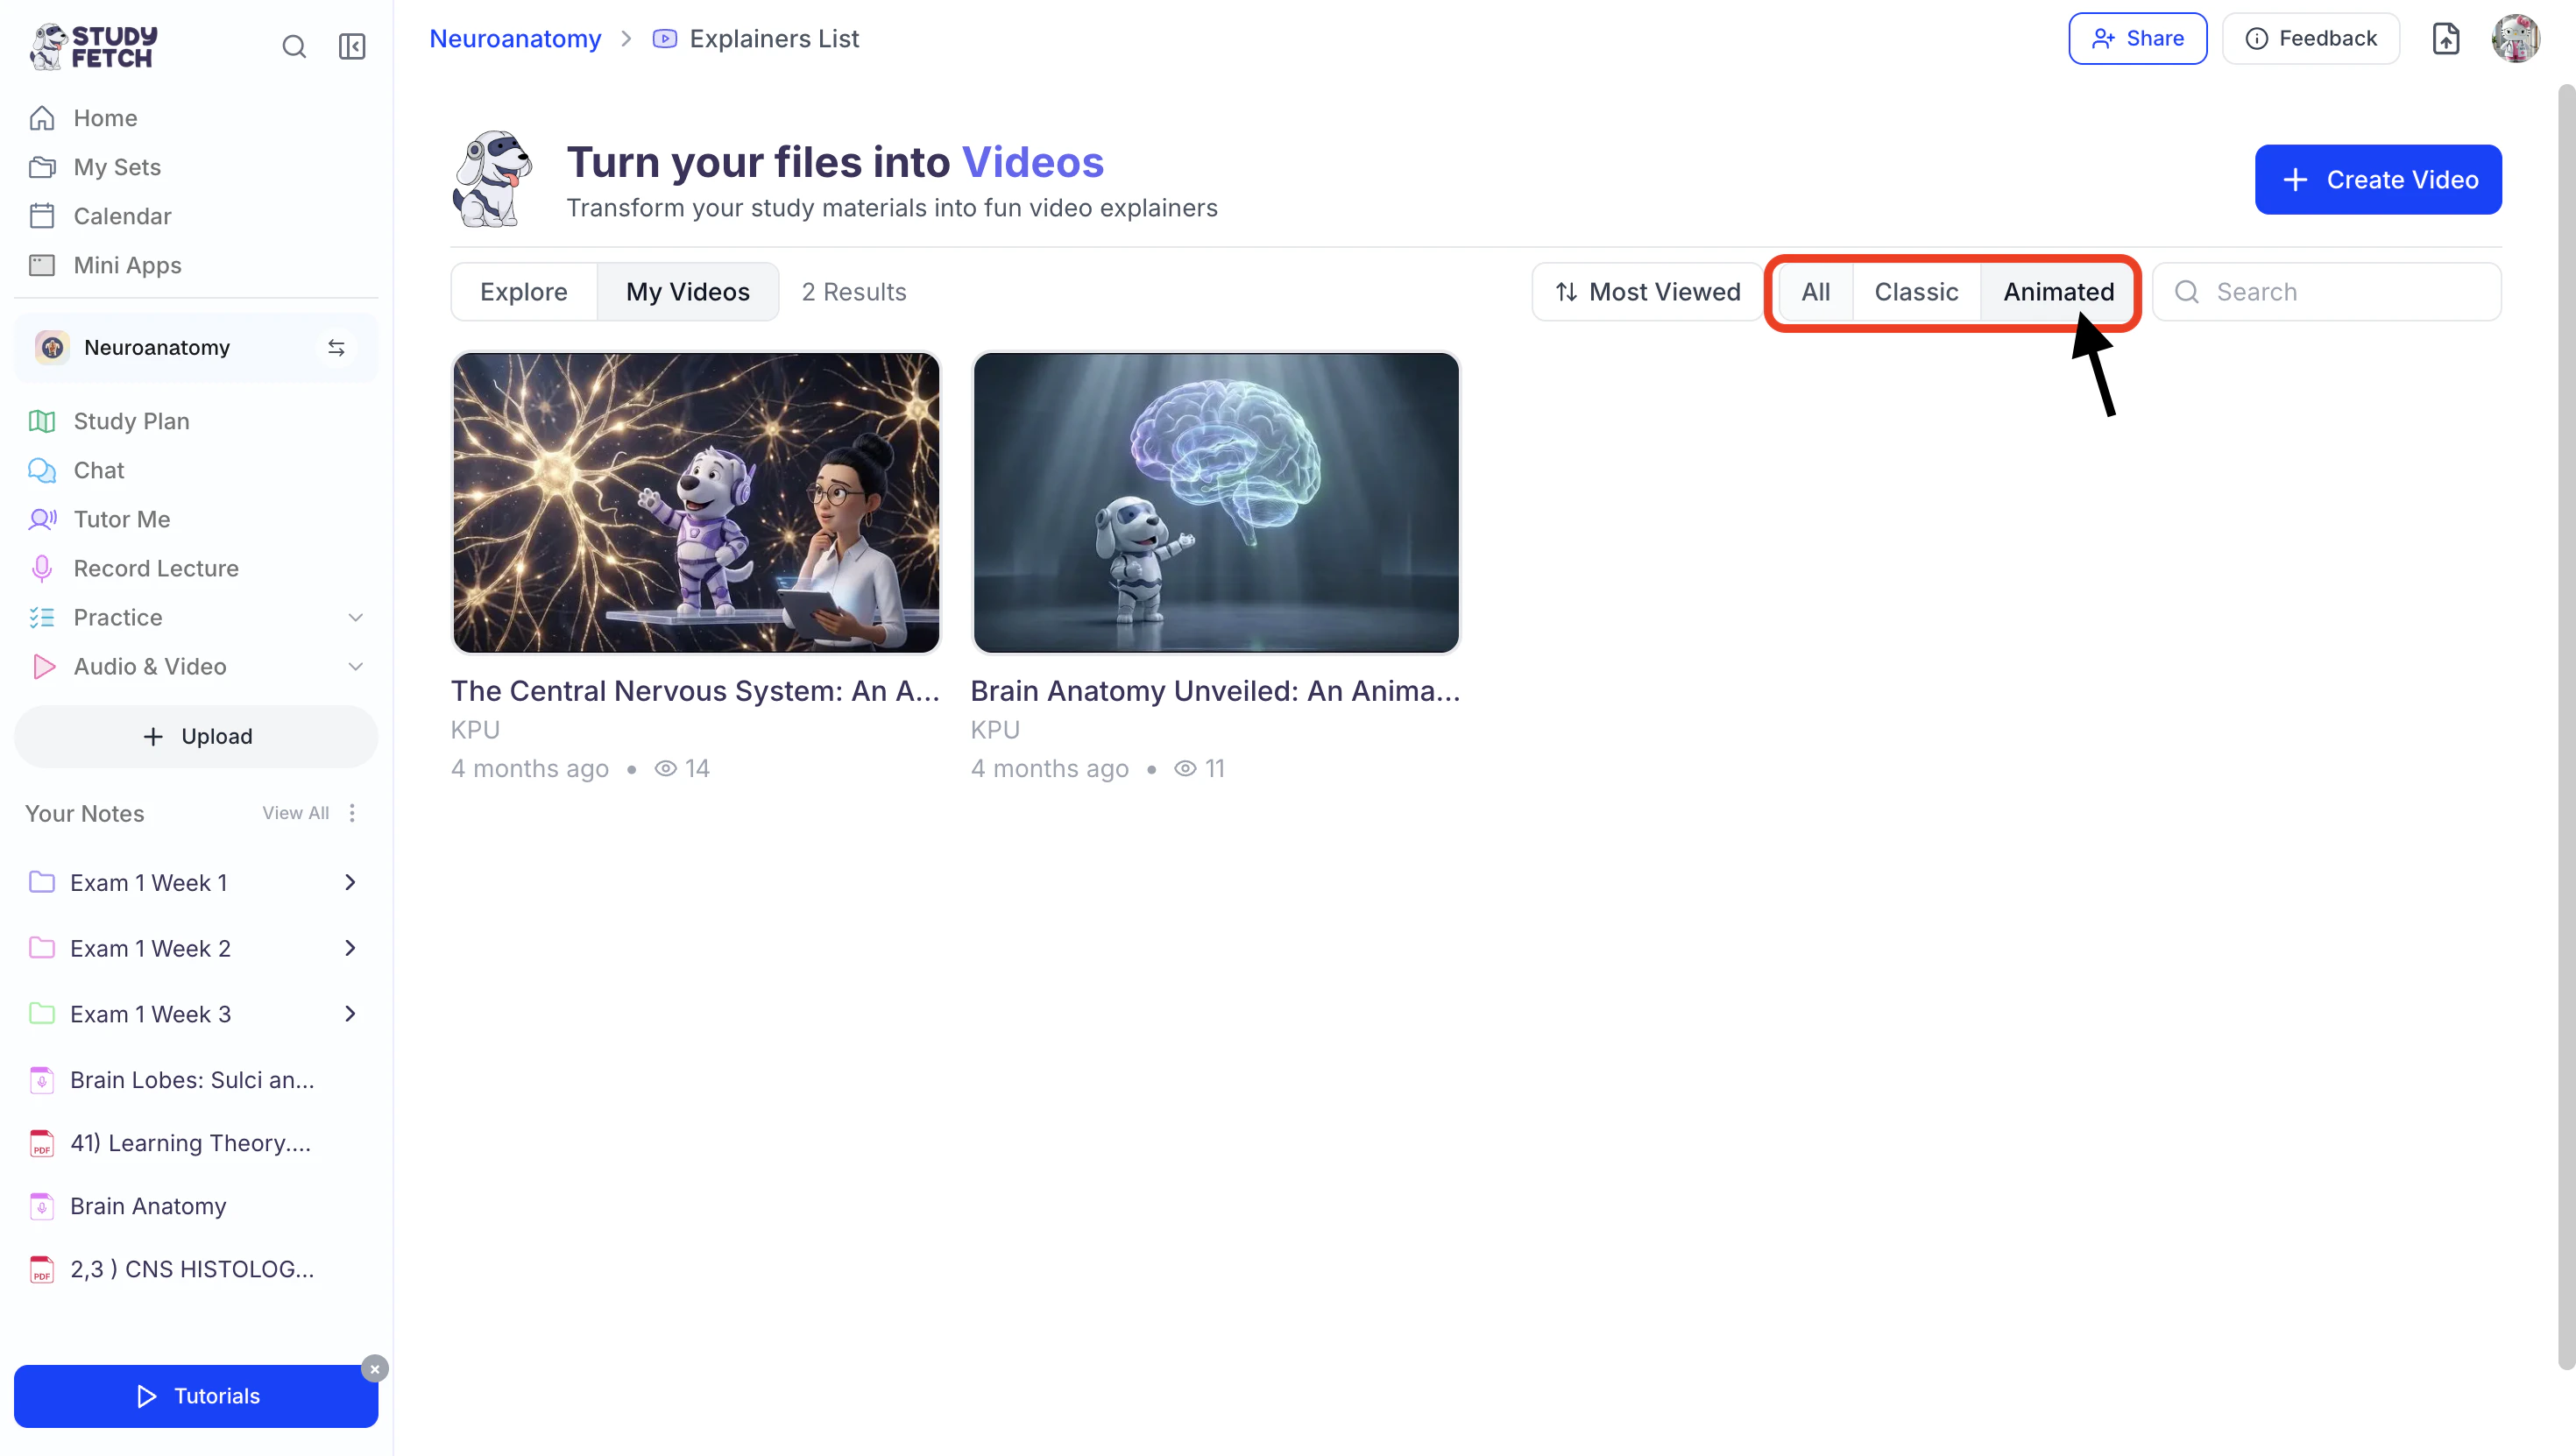
- To view All of your Explainer Videos, click All from the tab options in the top right corner.
- To view Classic Explainer Videos of your explainer videos, click Classic from the tab options in the top right corner.
- To view Animated Explainer Videos of your explainer videos, click Animated from the tab options in the top right corner.
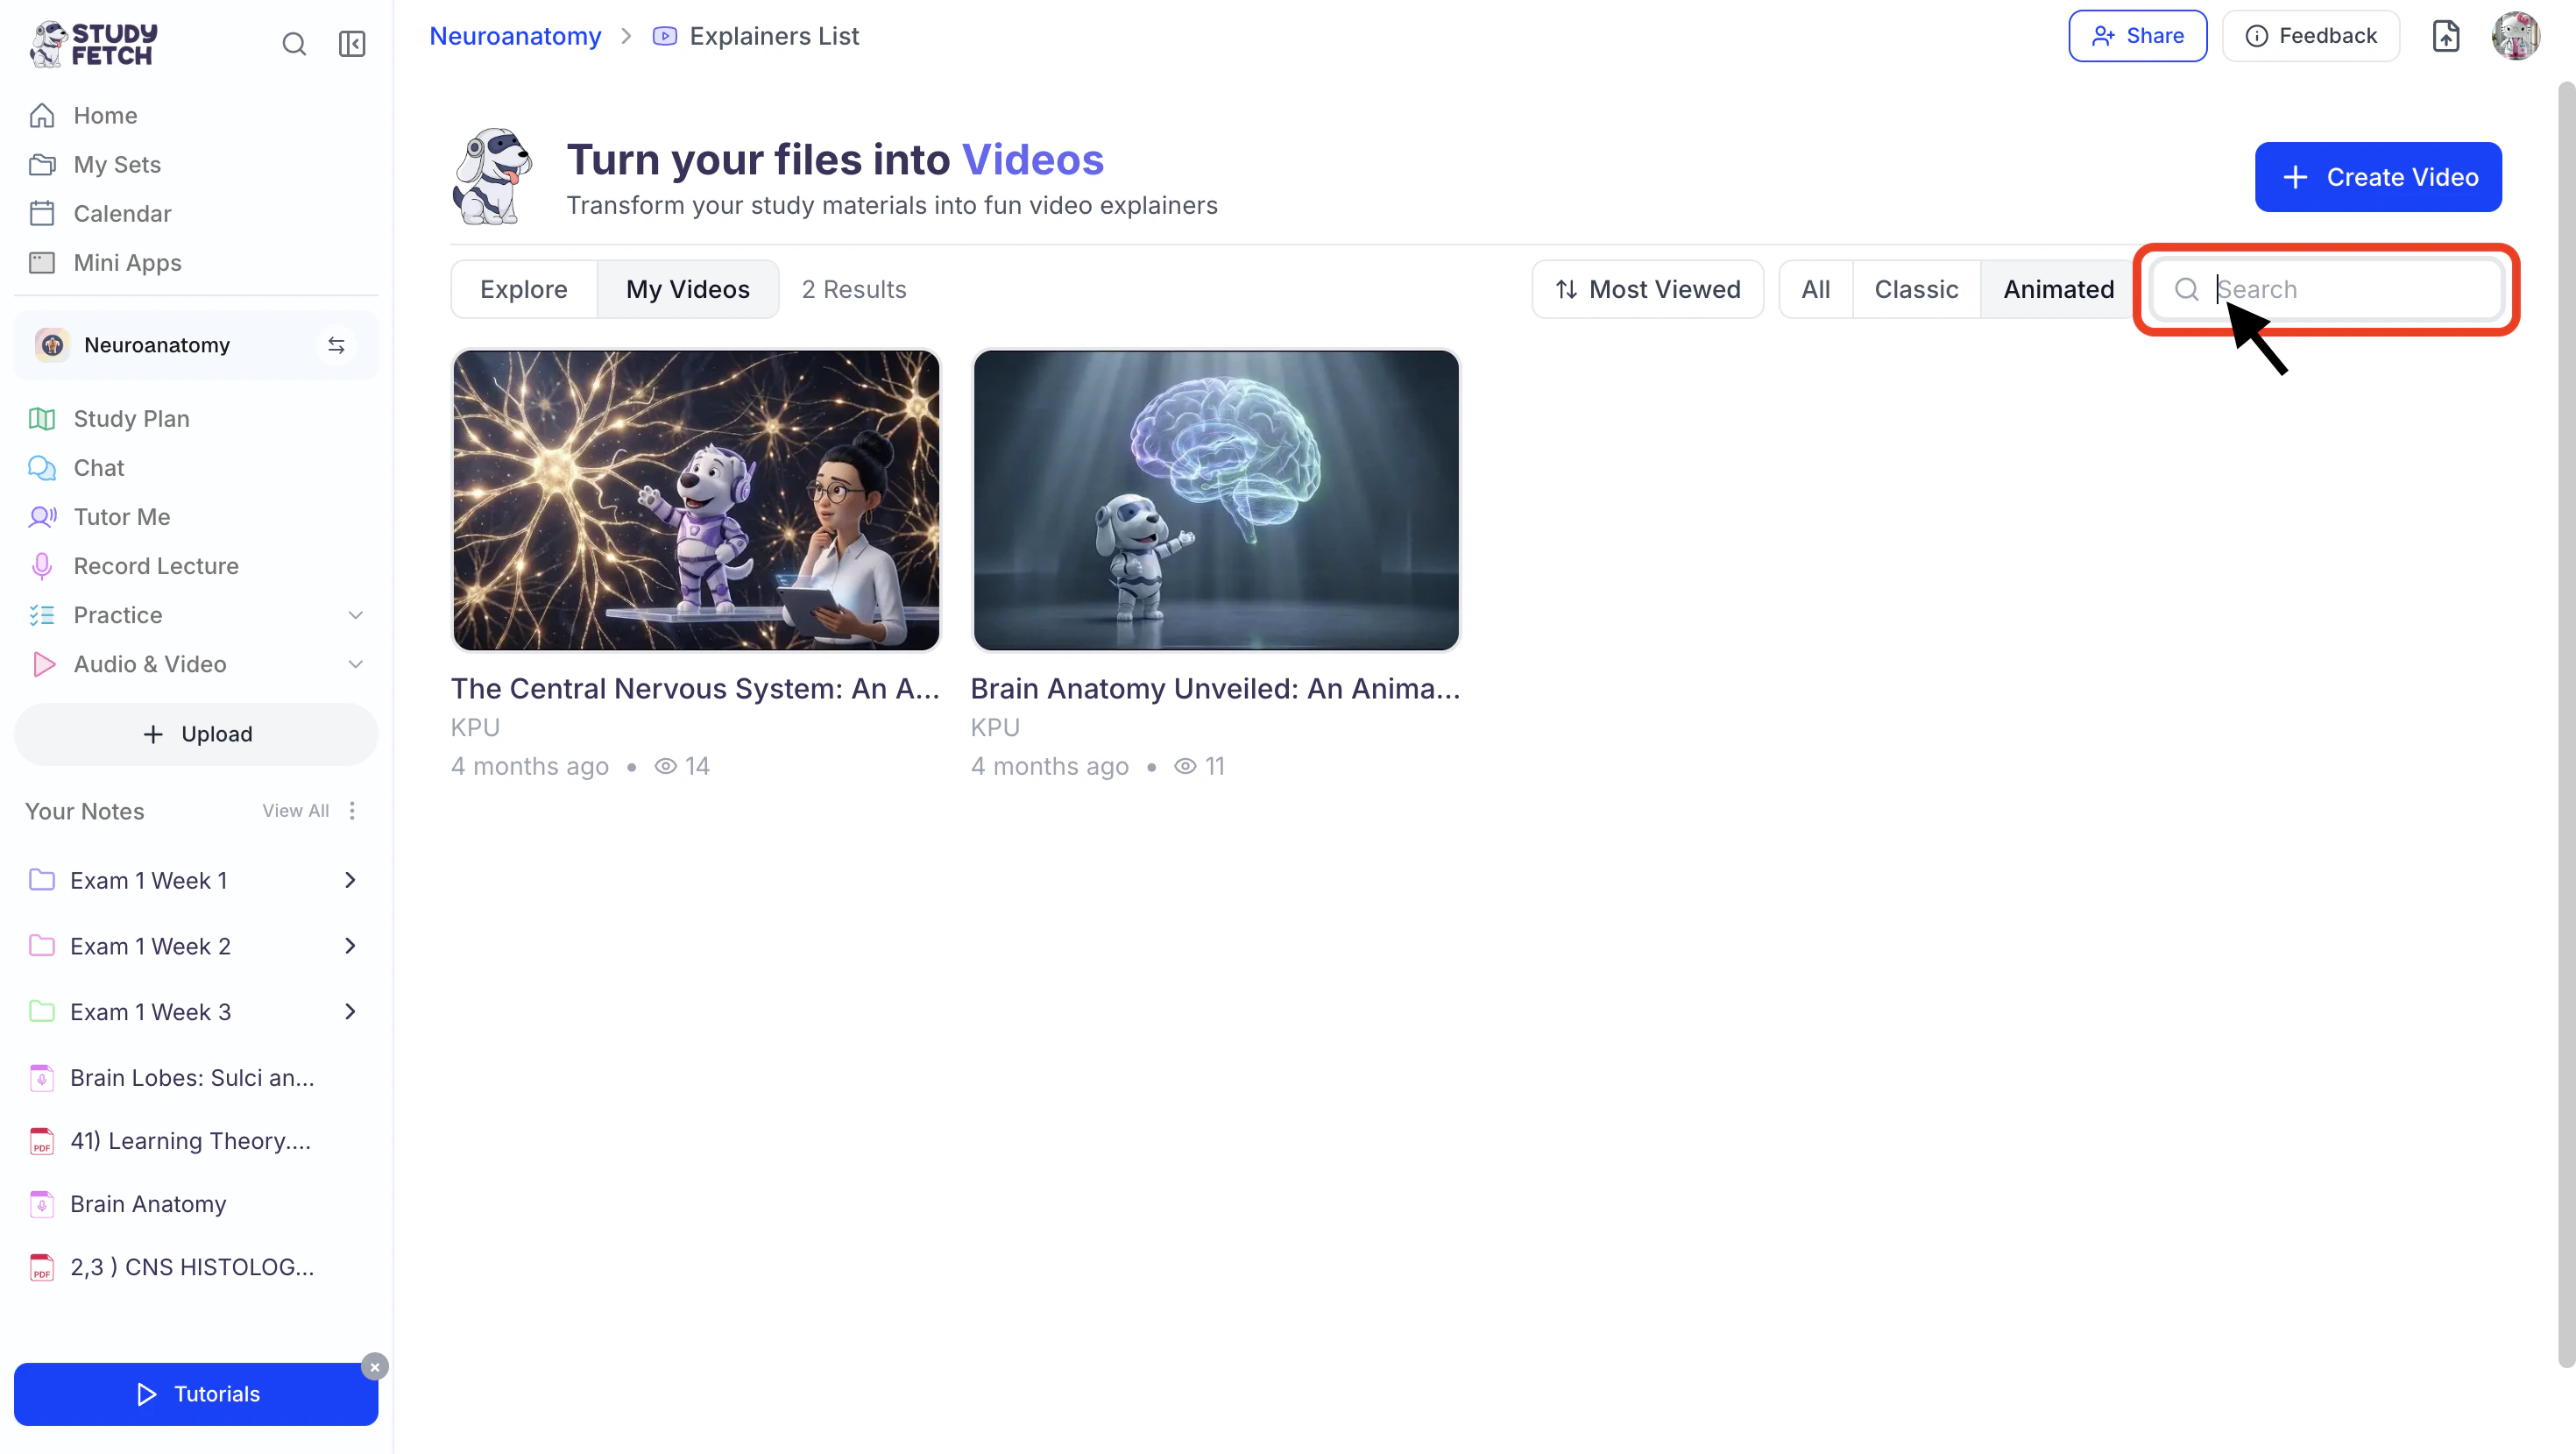
- Or use the search field in the top right corner to find a specific explainer.
- When you find the explainer video you want to watch simply click on it to start playing.
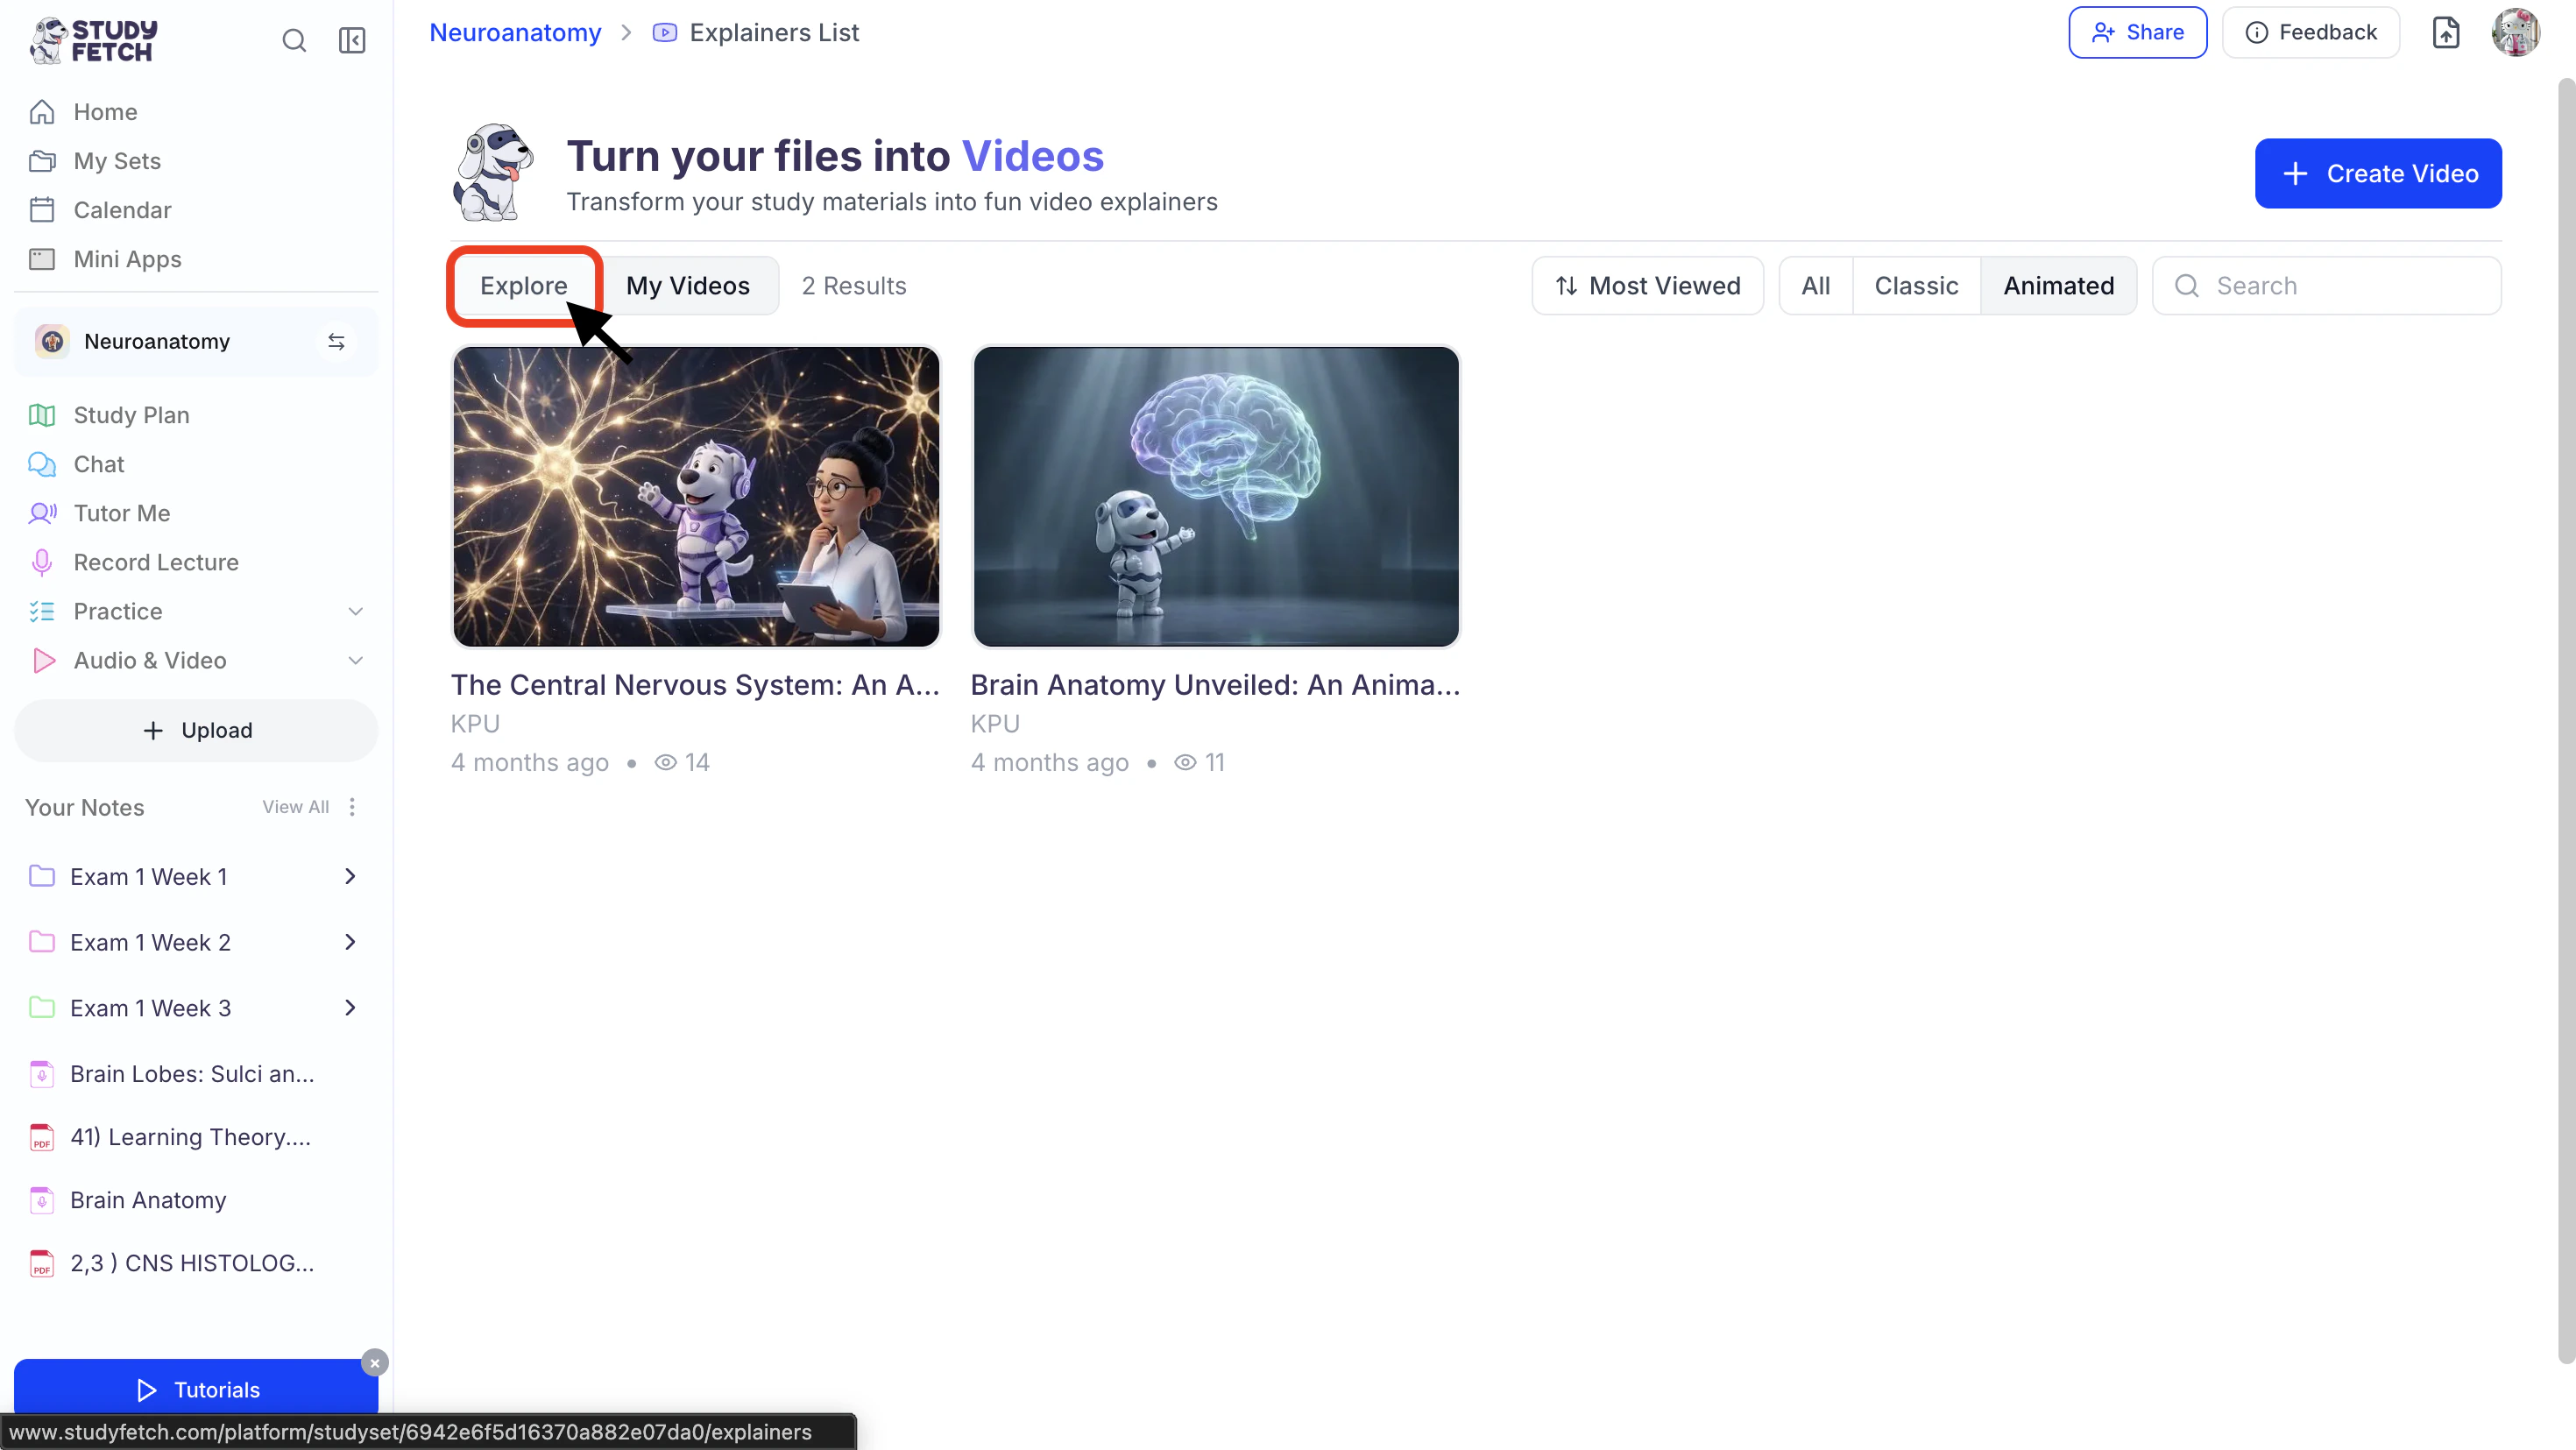
- To return to the main library, click Explore.
Changing the Name of Your Video Explainer
To rename your explainer video, choose from the two available options based on your preference.Option 1
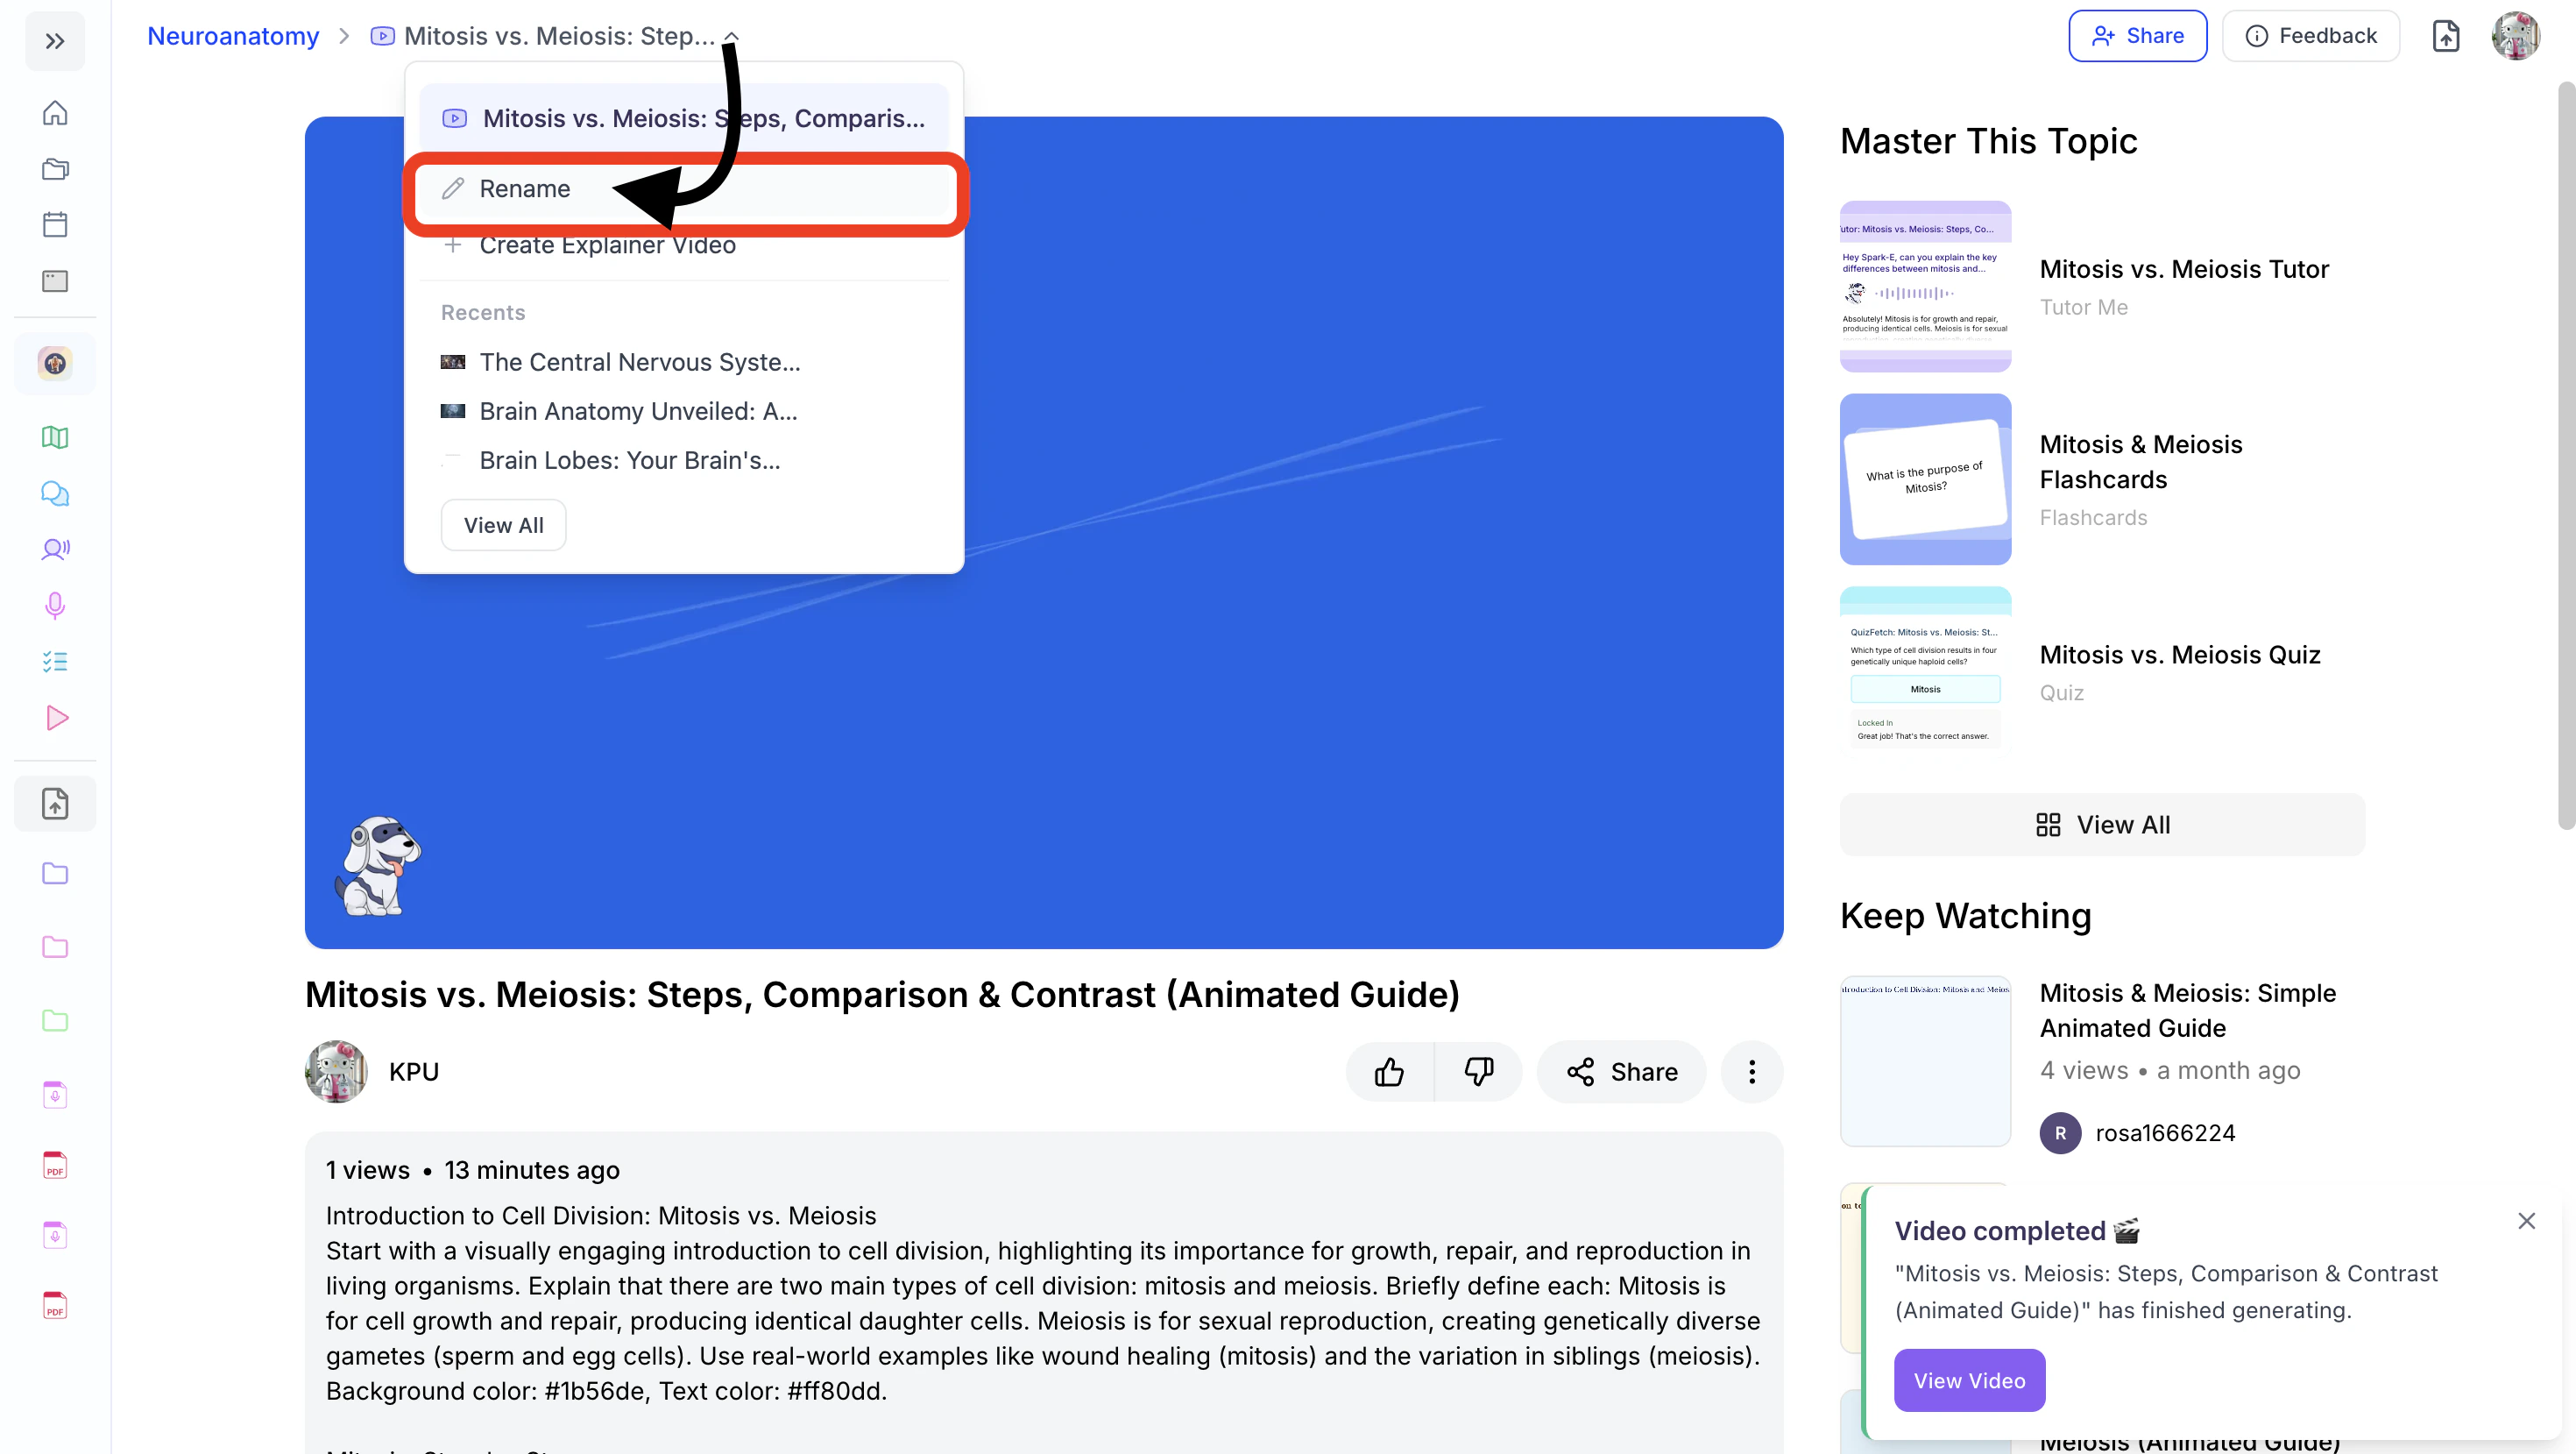
- After opening the desired video explainer, click the downward arrow to the right of your video explainer name and then click Rename.
- You can edit the existing name or enter a new name in the Name field.
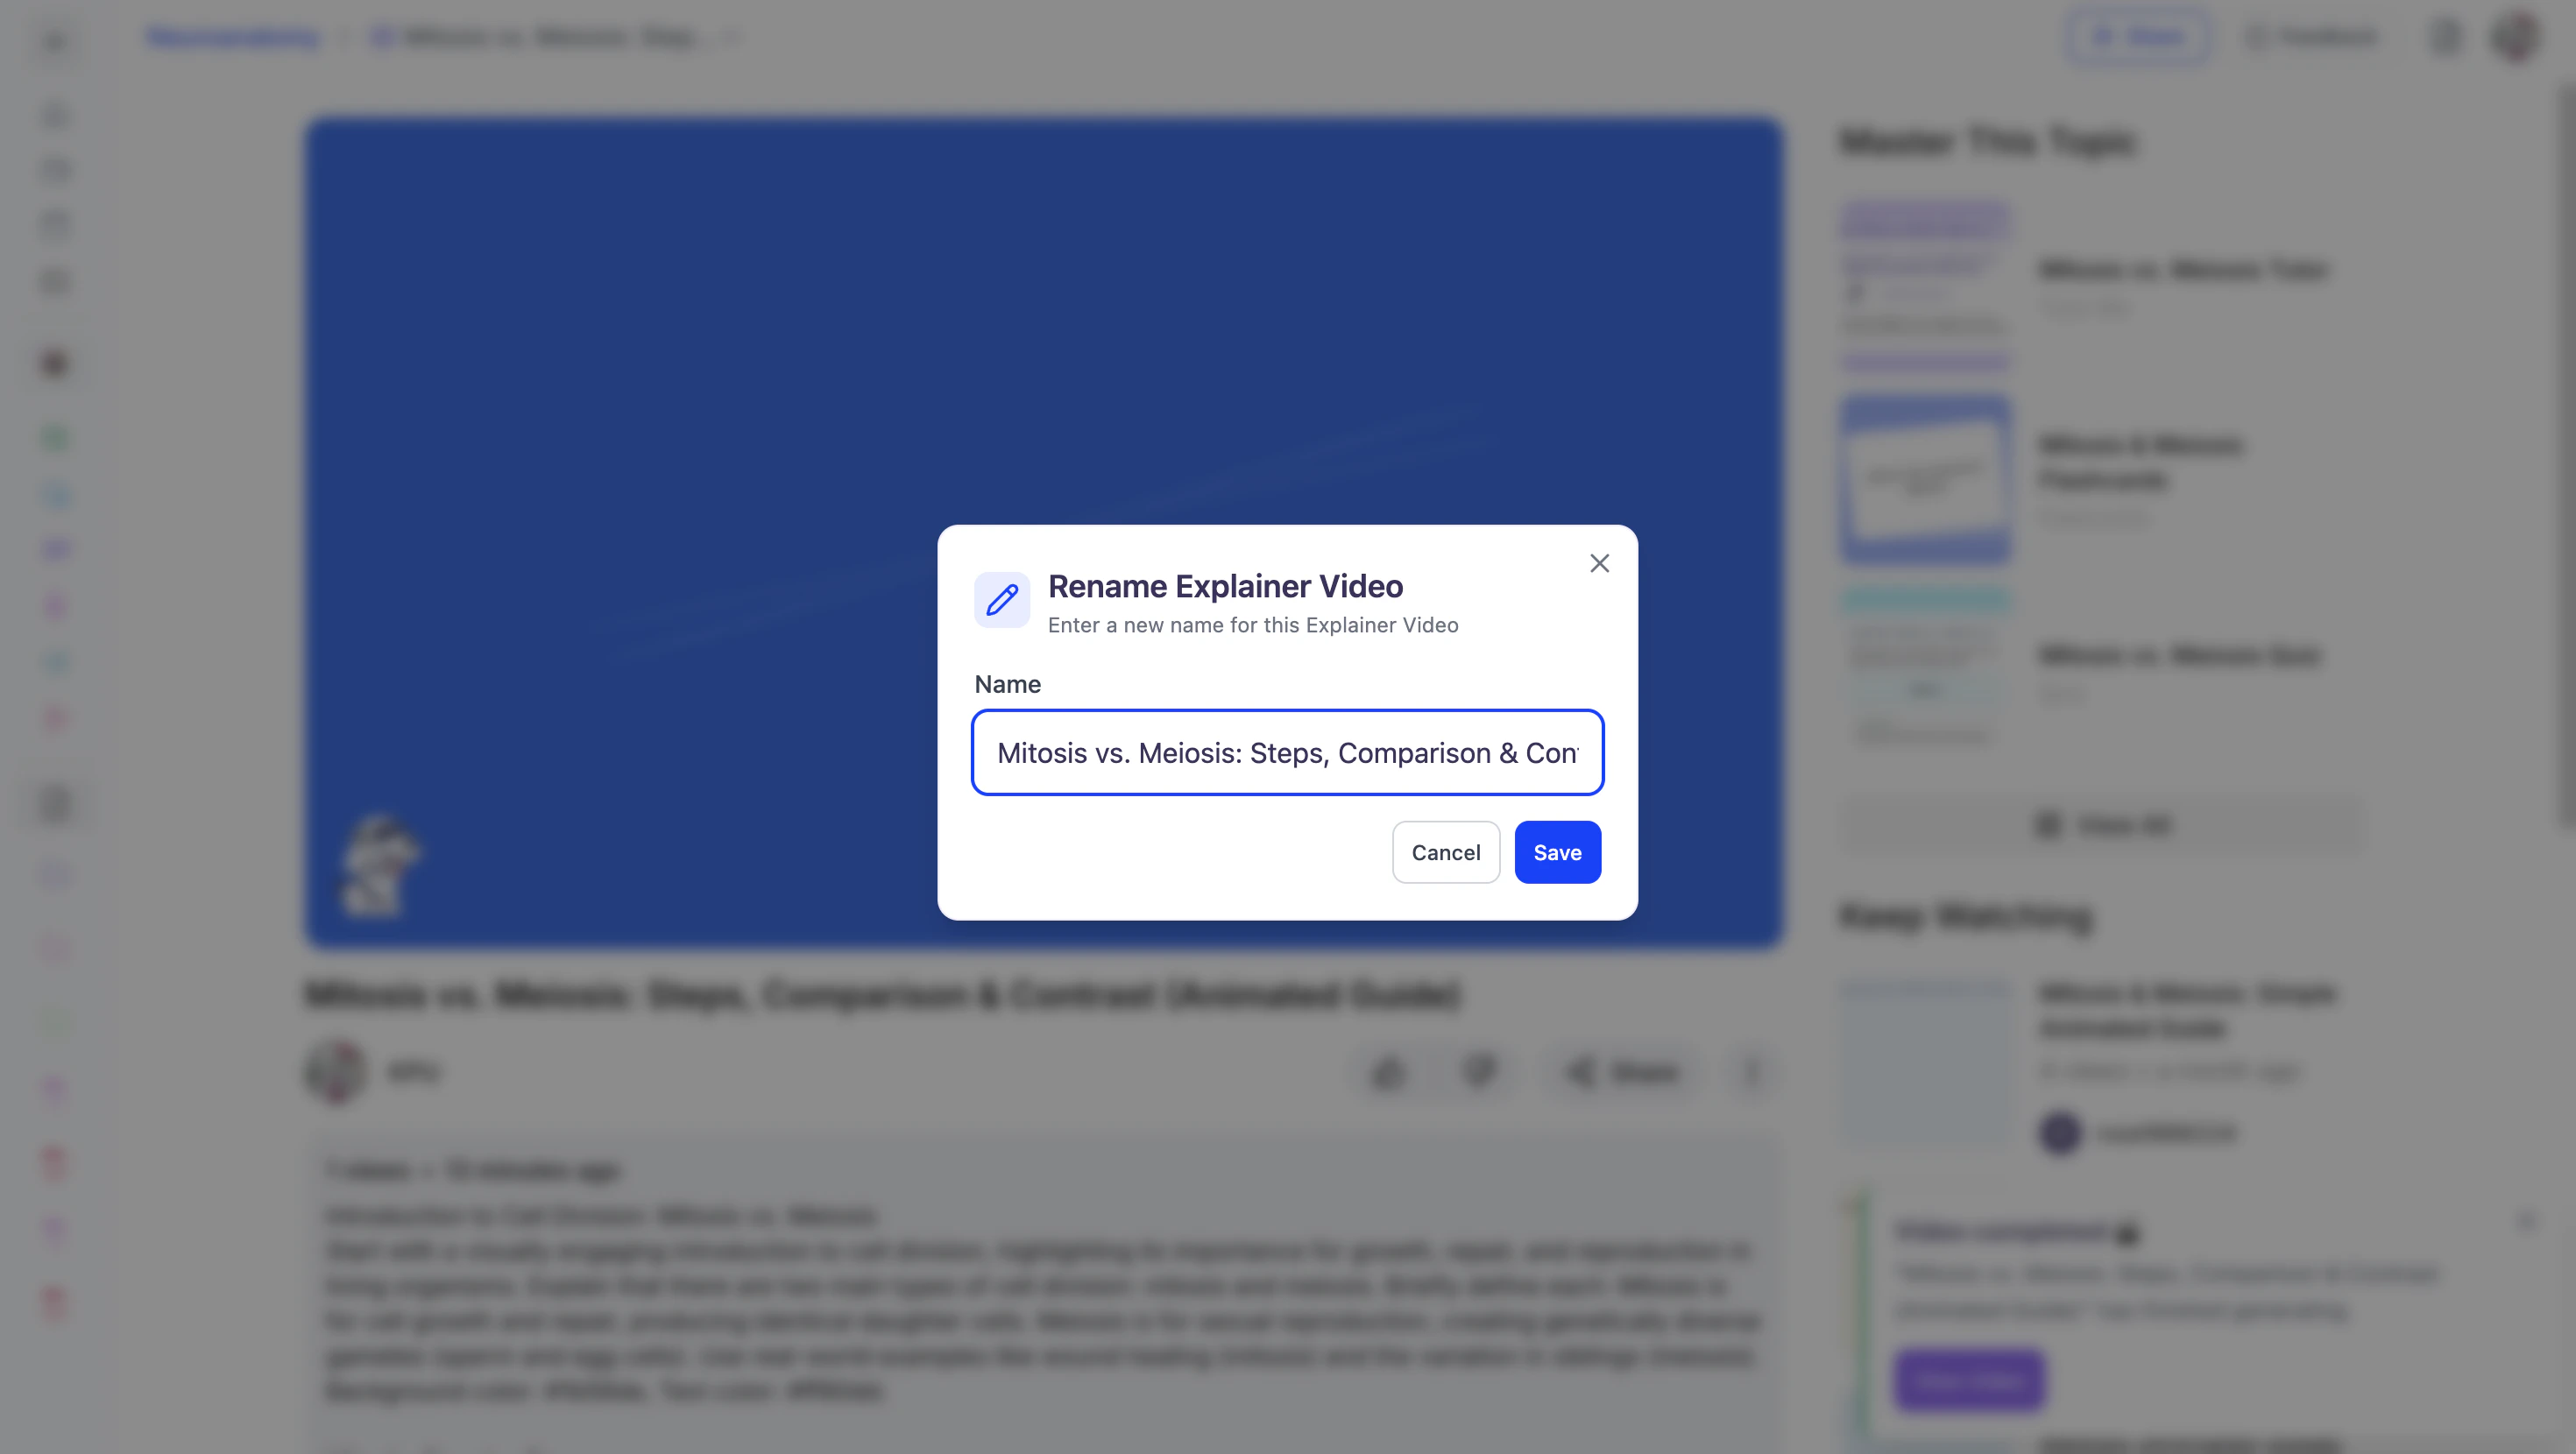
- When done click Save.
Option 2
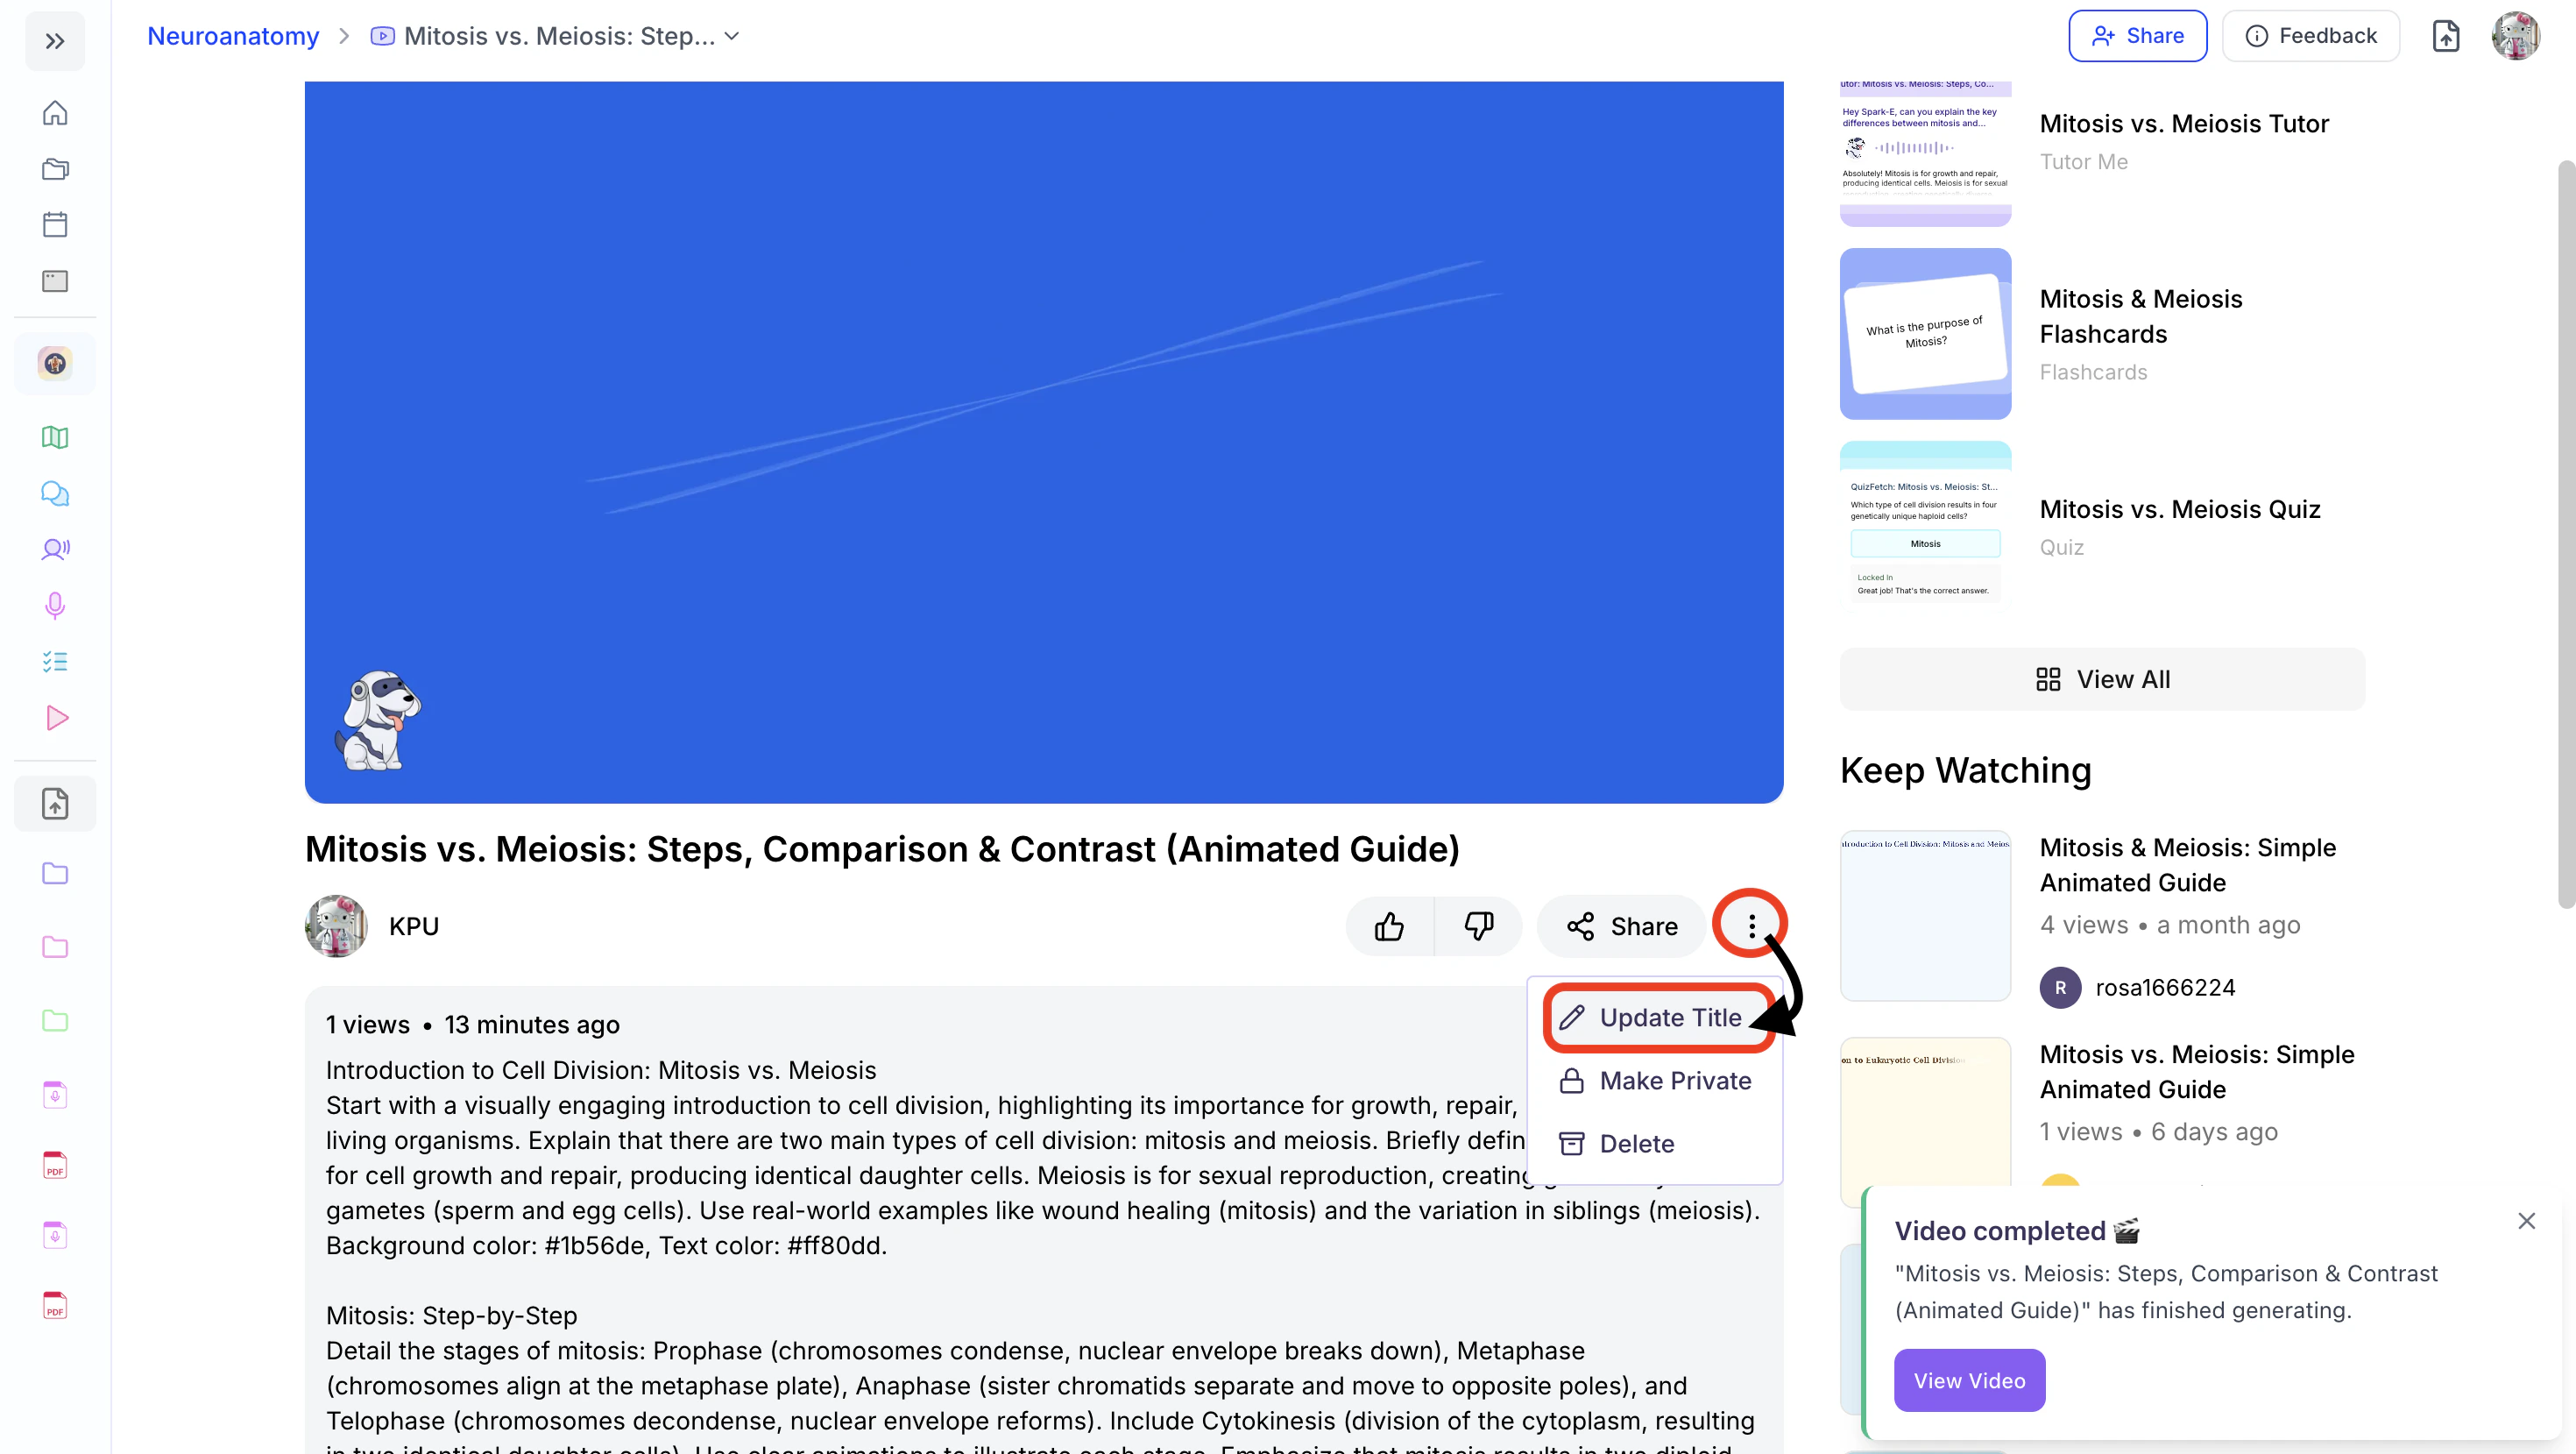
- After opening the desired video explainer, click the ⋮ icon on the bottom right and then click Update Title.
- You can edit the existing name or enter a new name in the Video Title field.
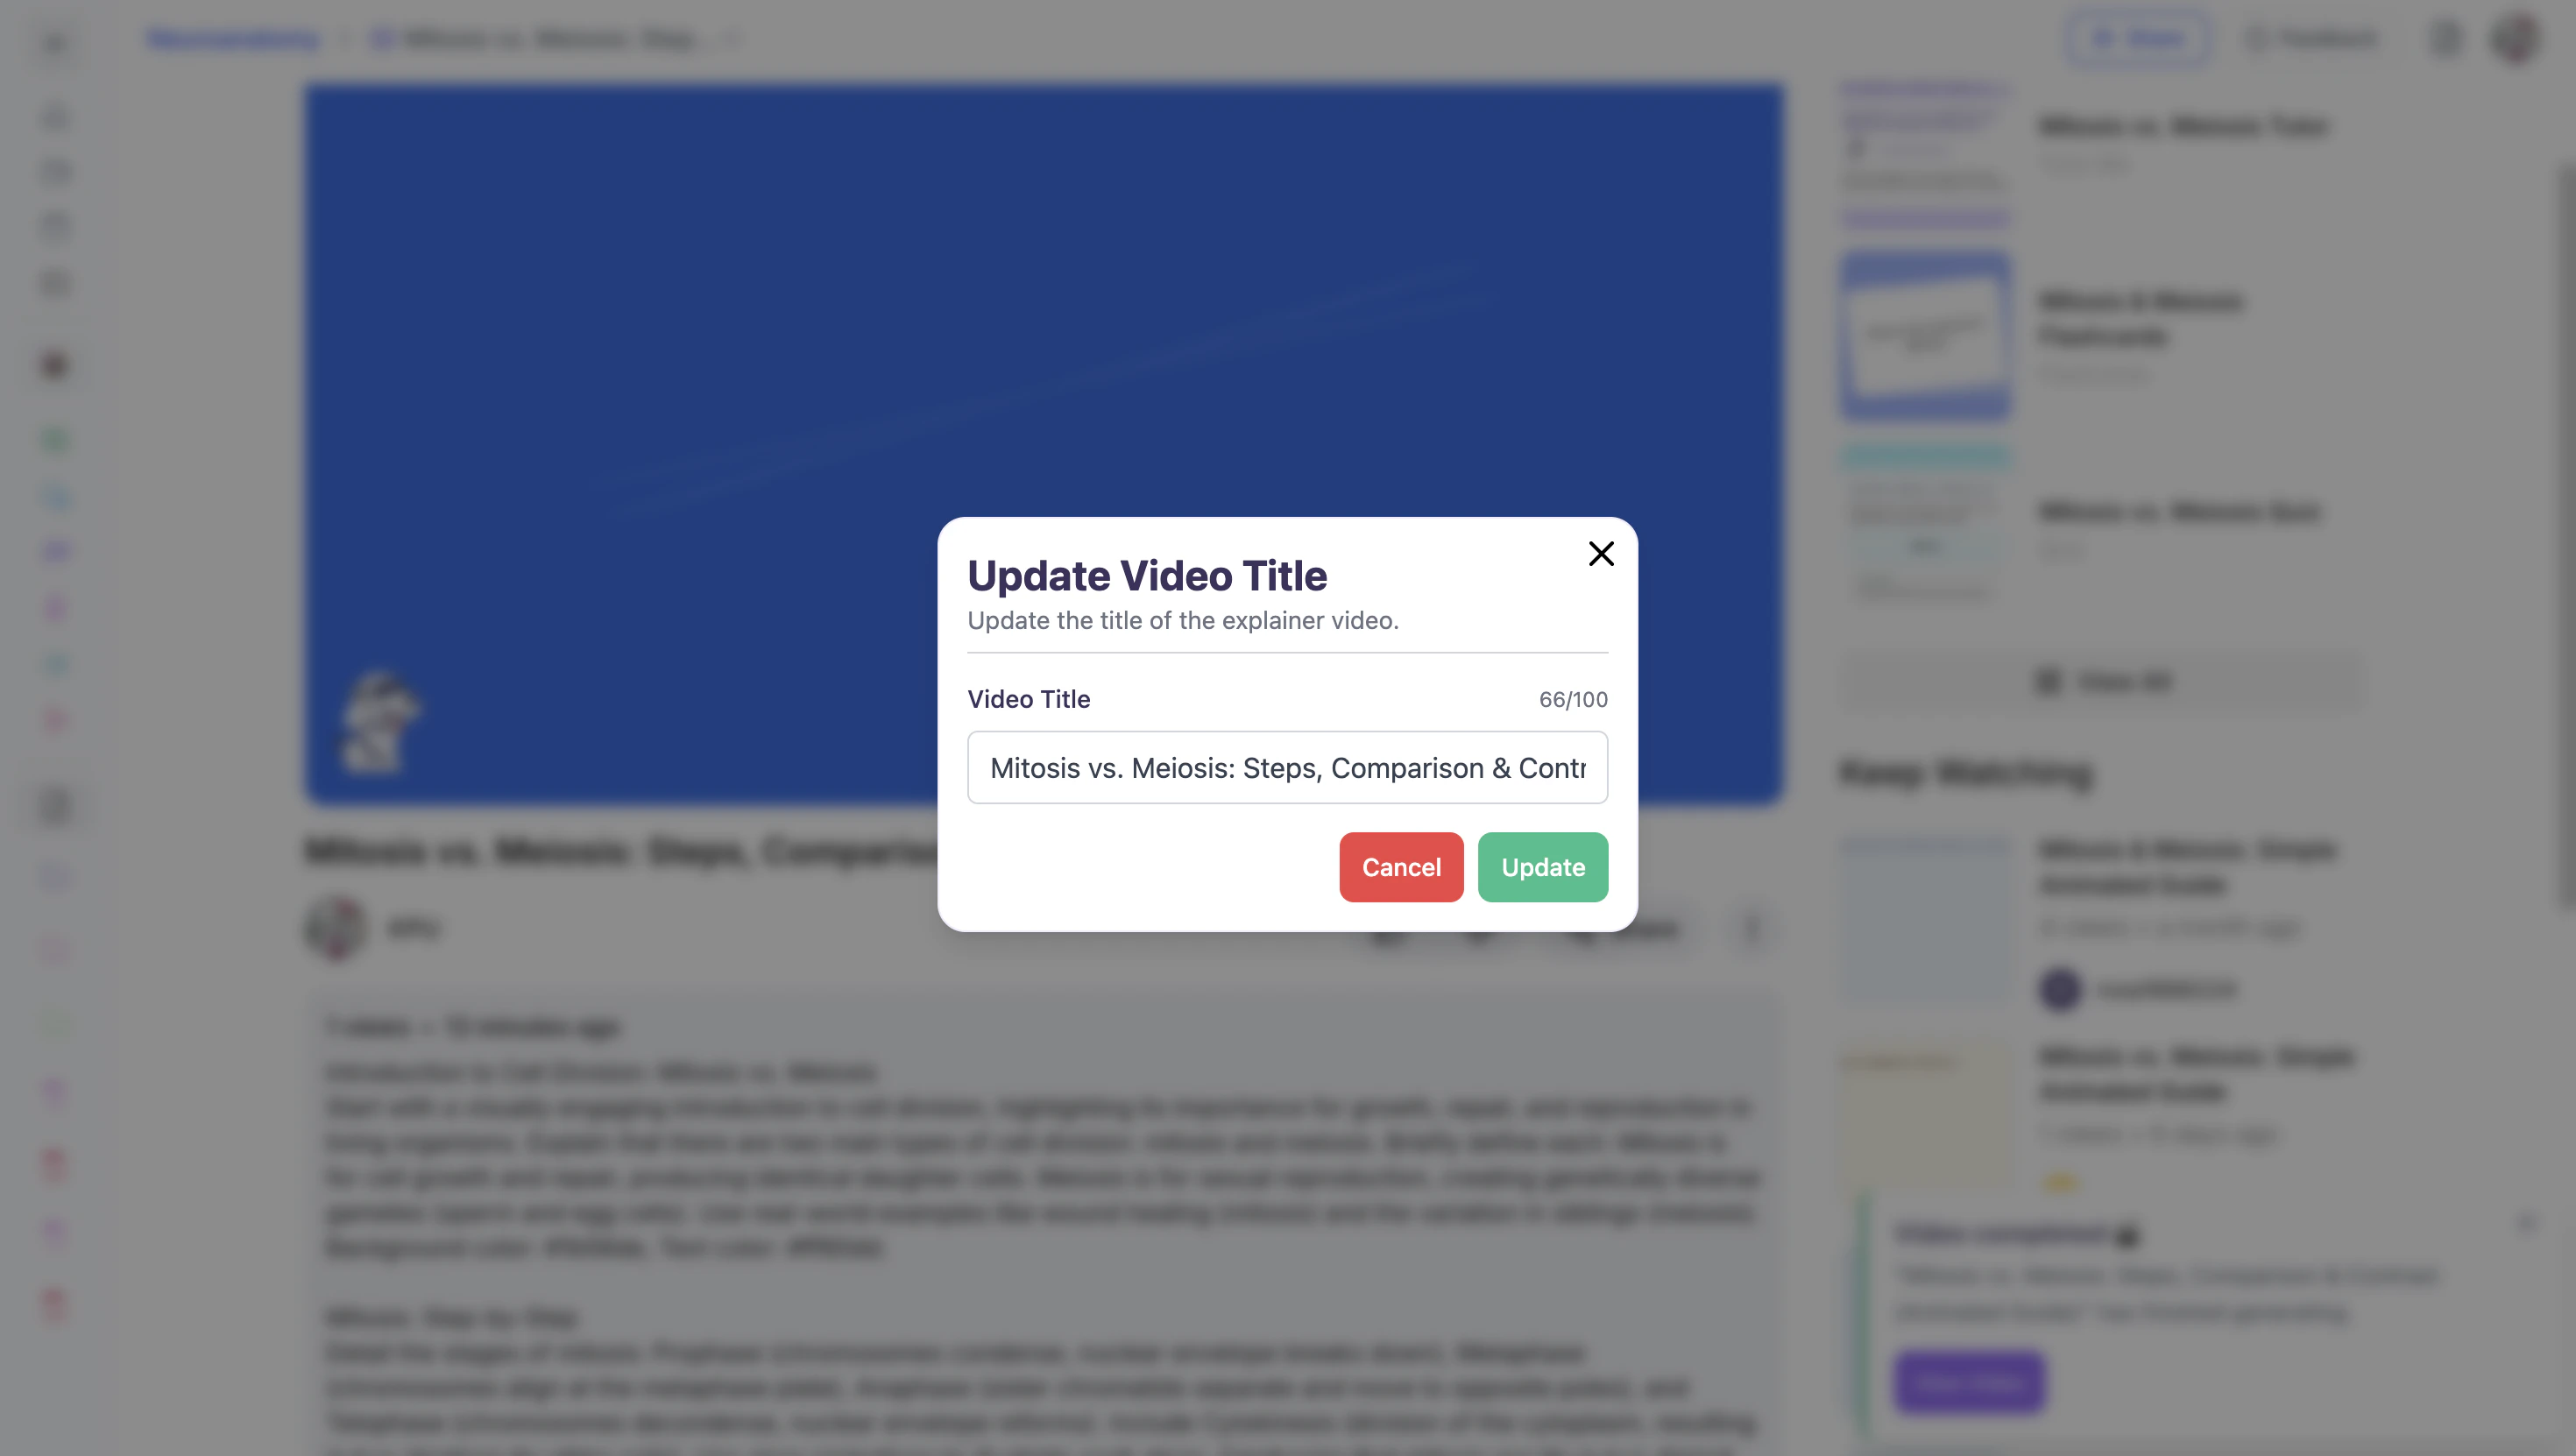
- When done click Update.
Share Your Explainer Video
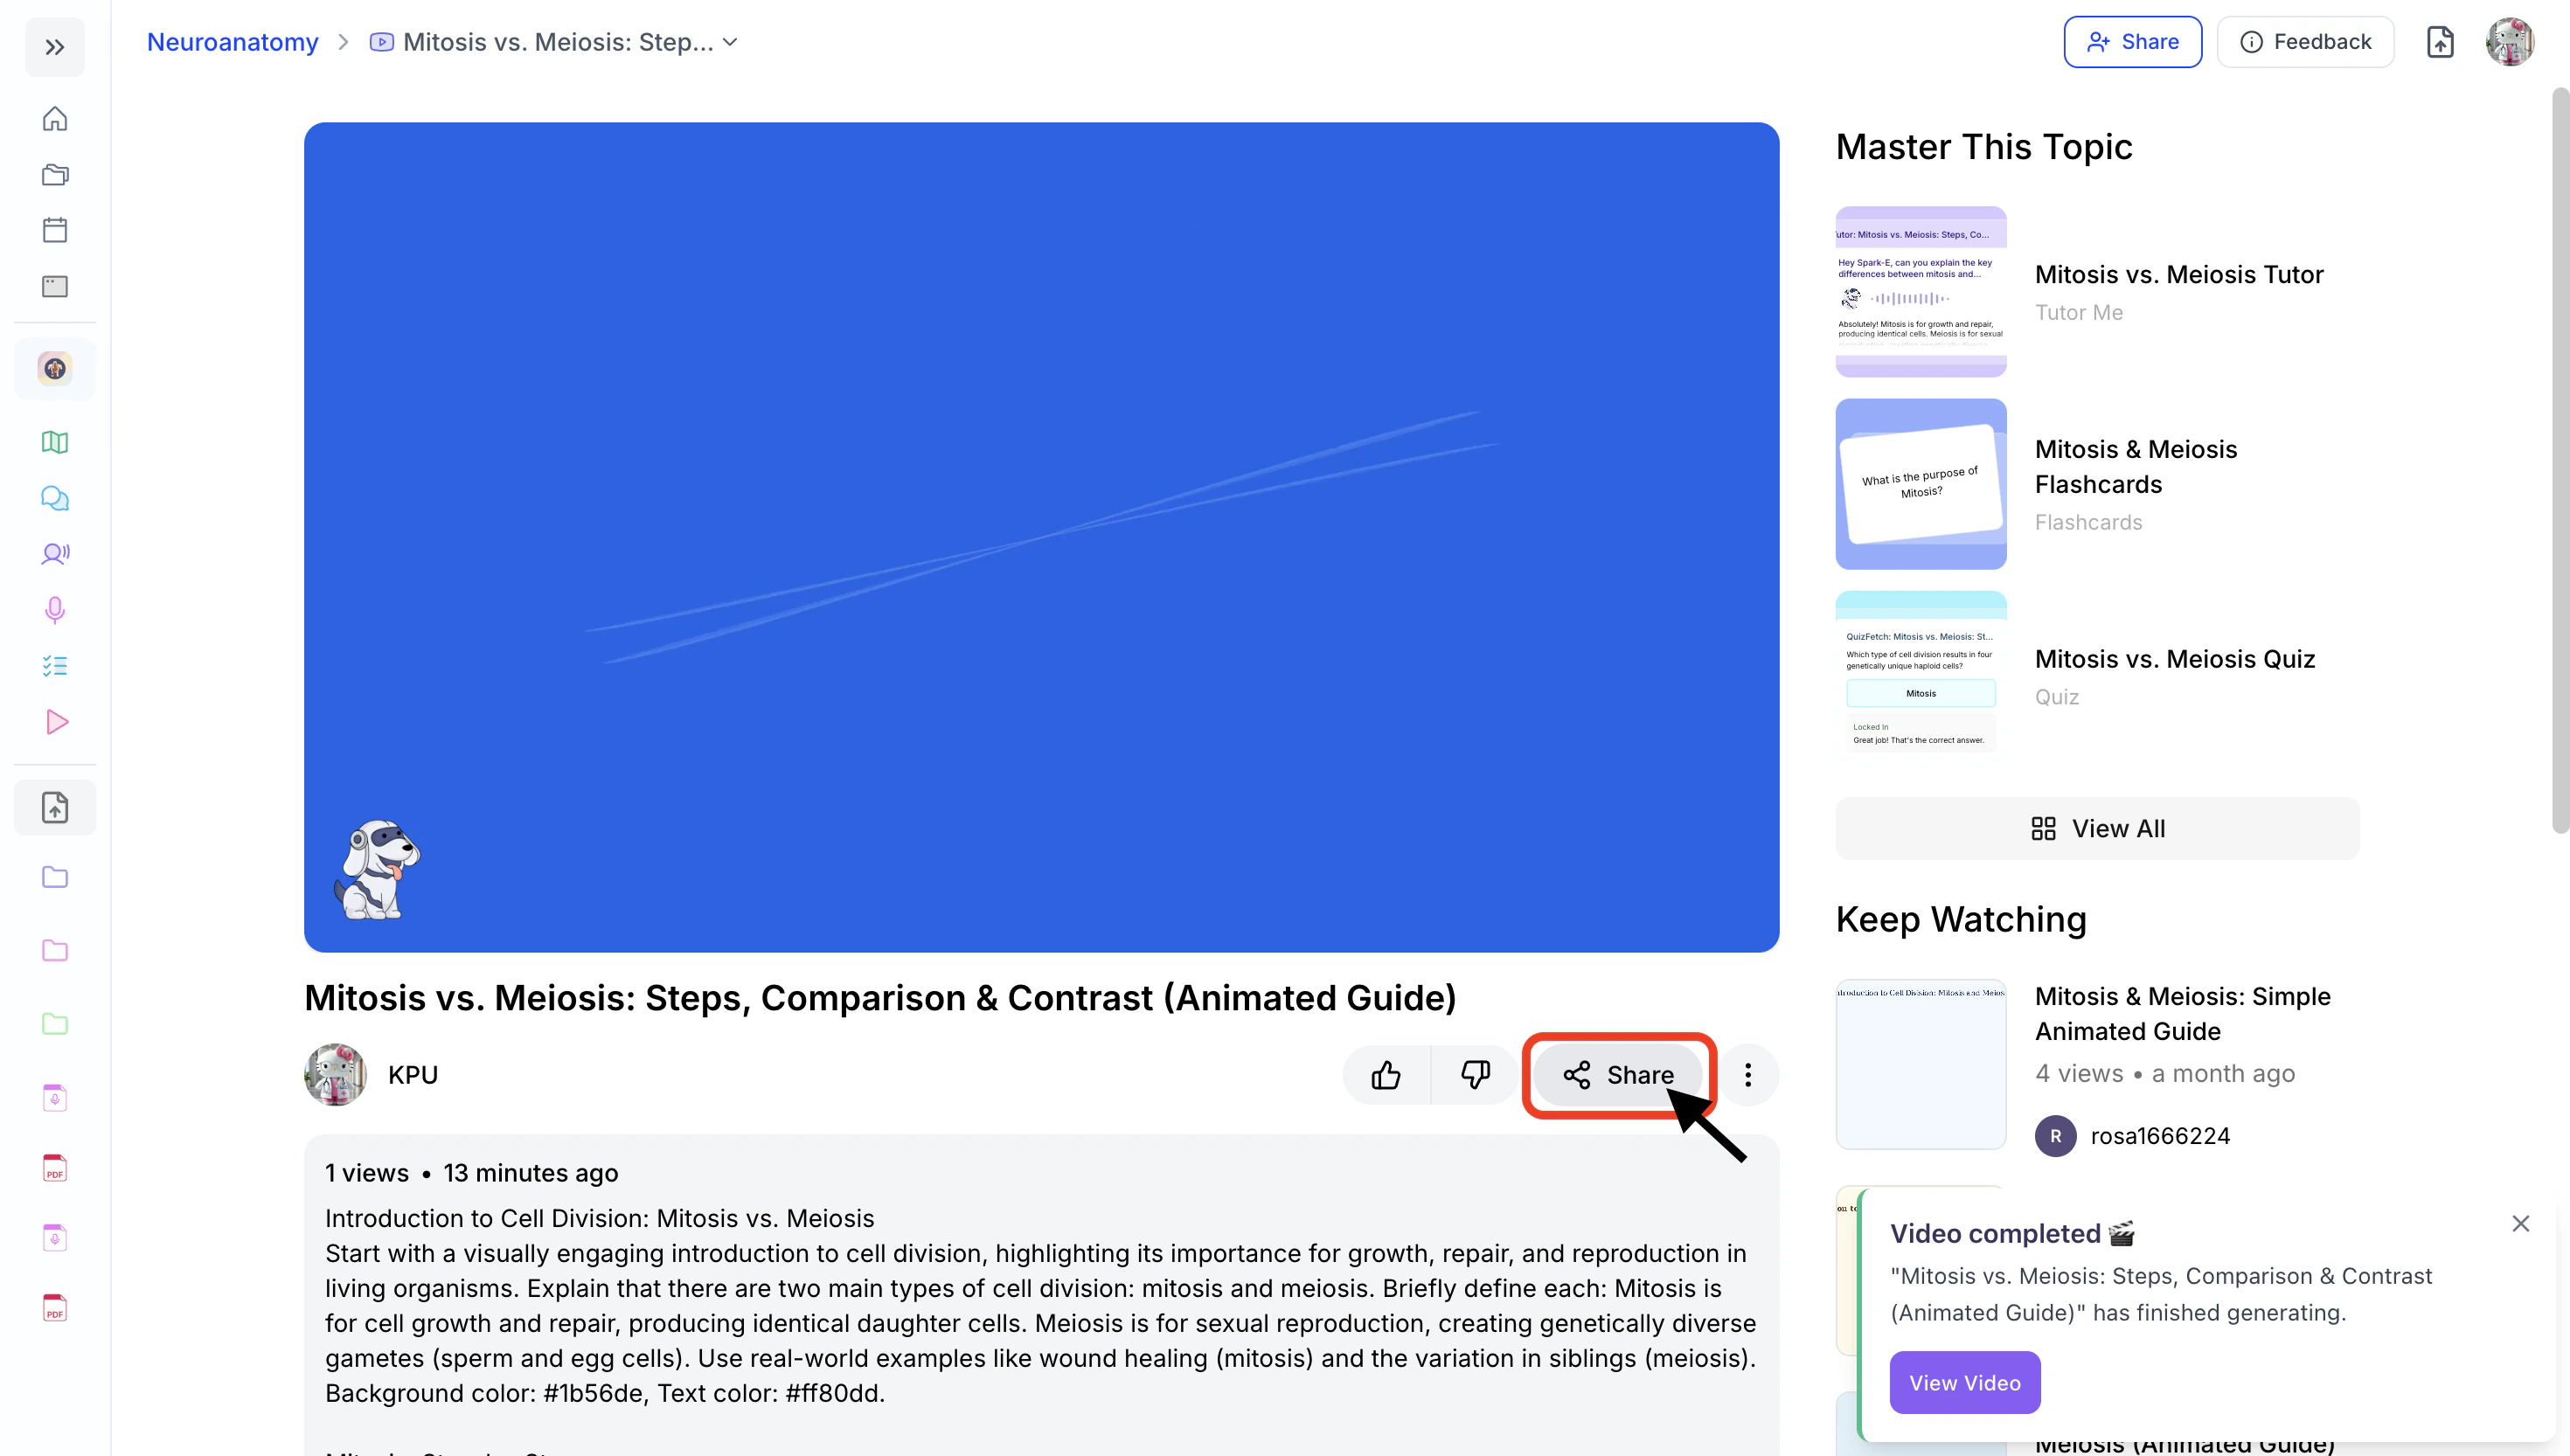
Found your explainer video helpful? Feel free to share it with friends or classmates who may benefit from it as well.- To share your video, click the Share button found below your video.
- Copy the link by clicking the Copy Link button from the bottom left corner. You can now share the copied link.
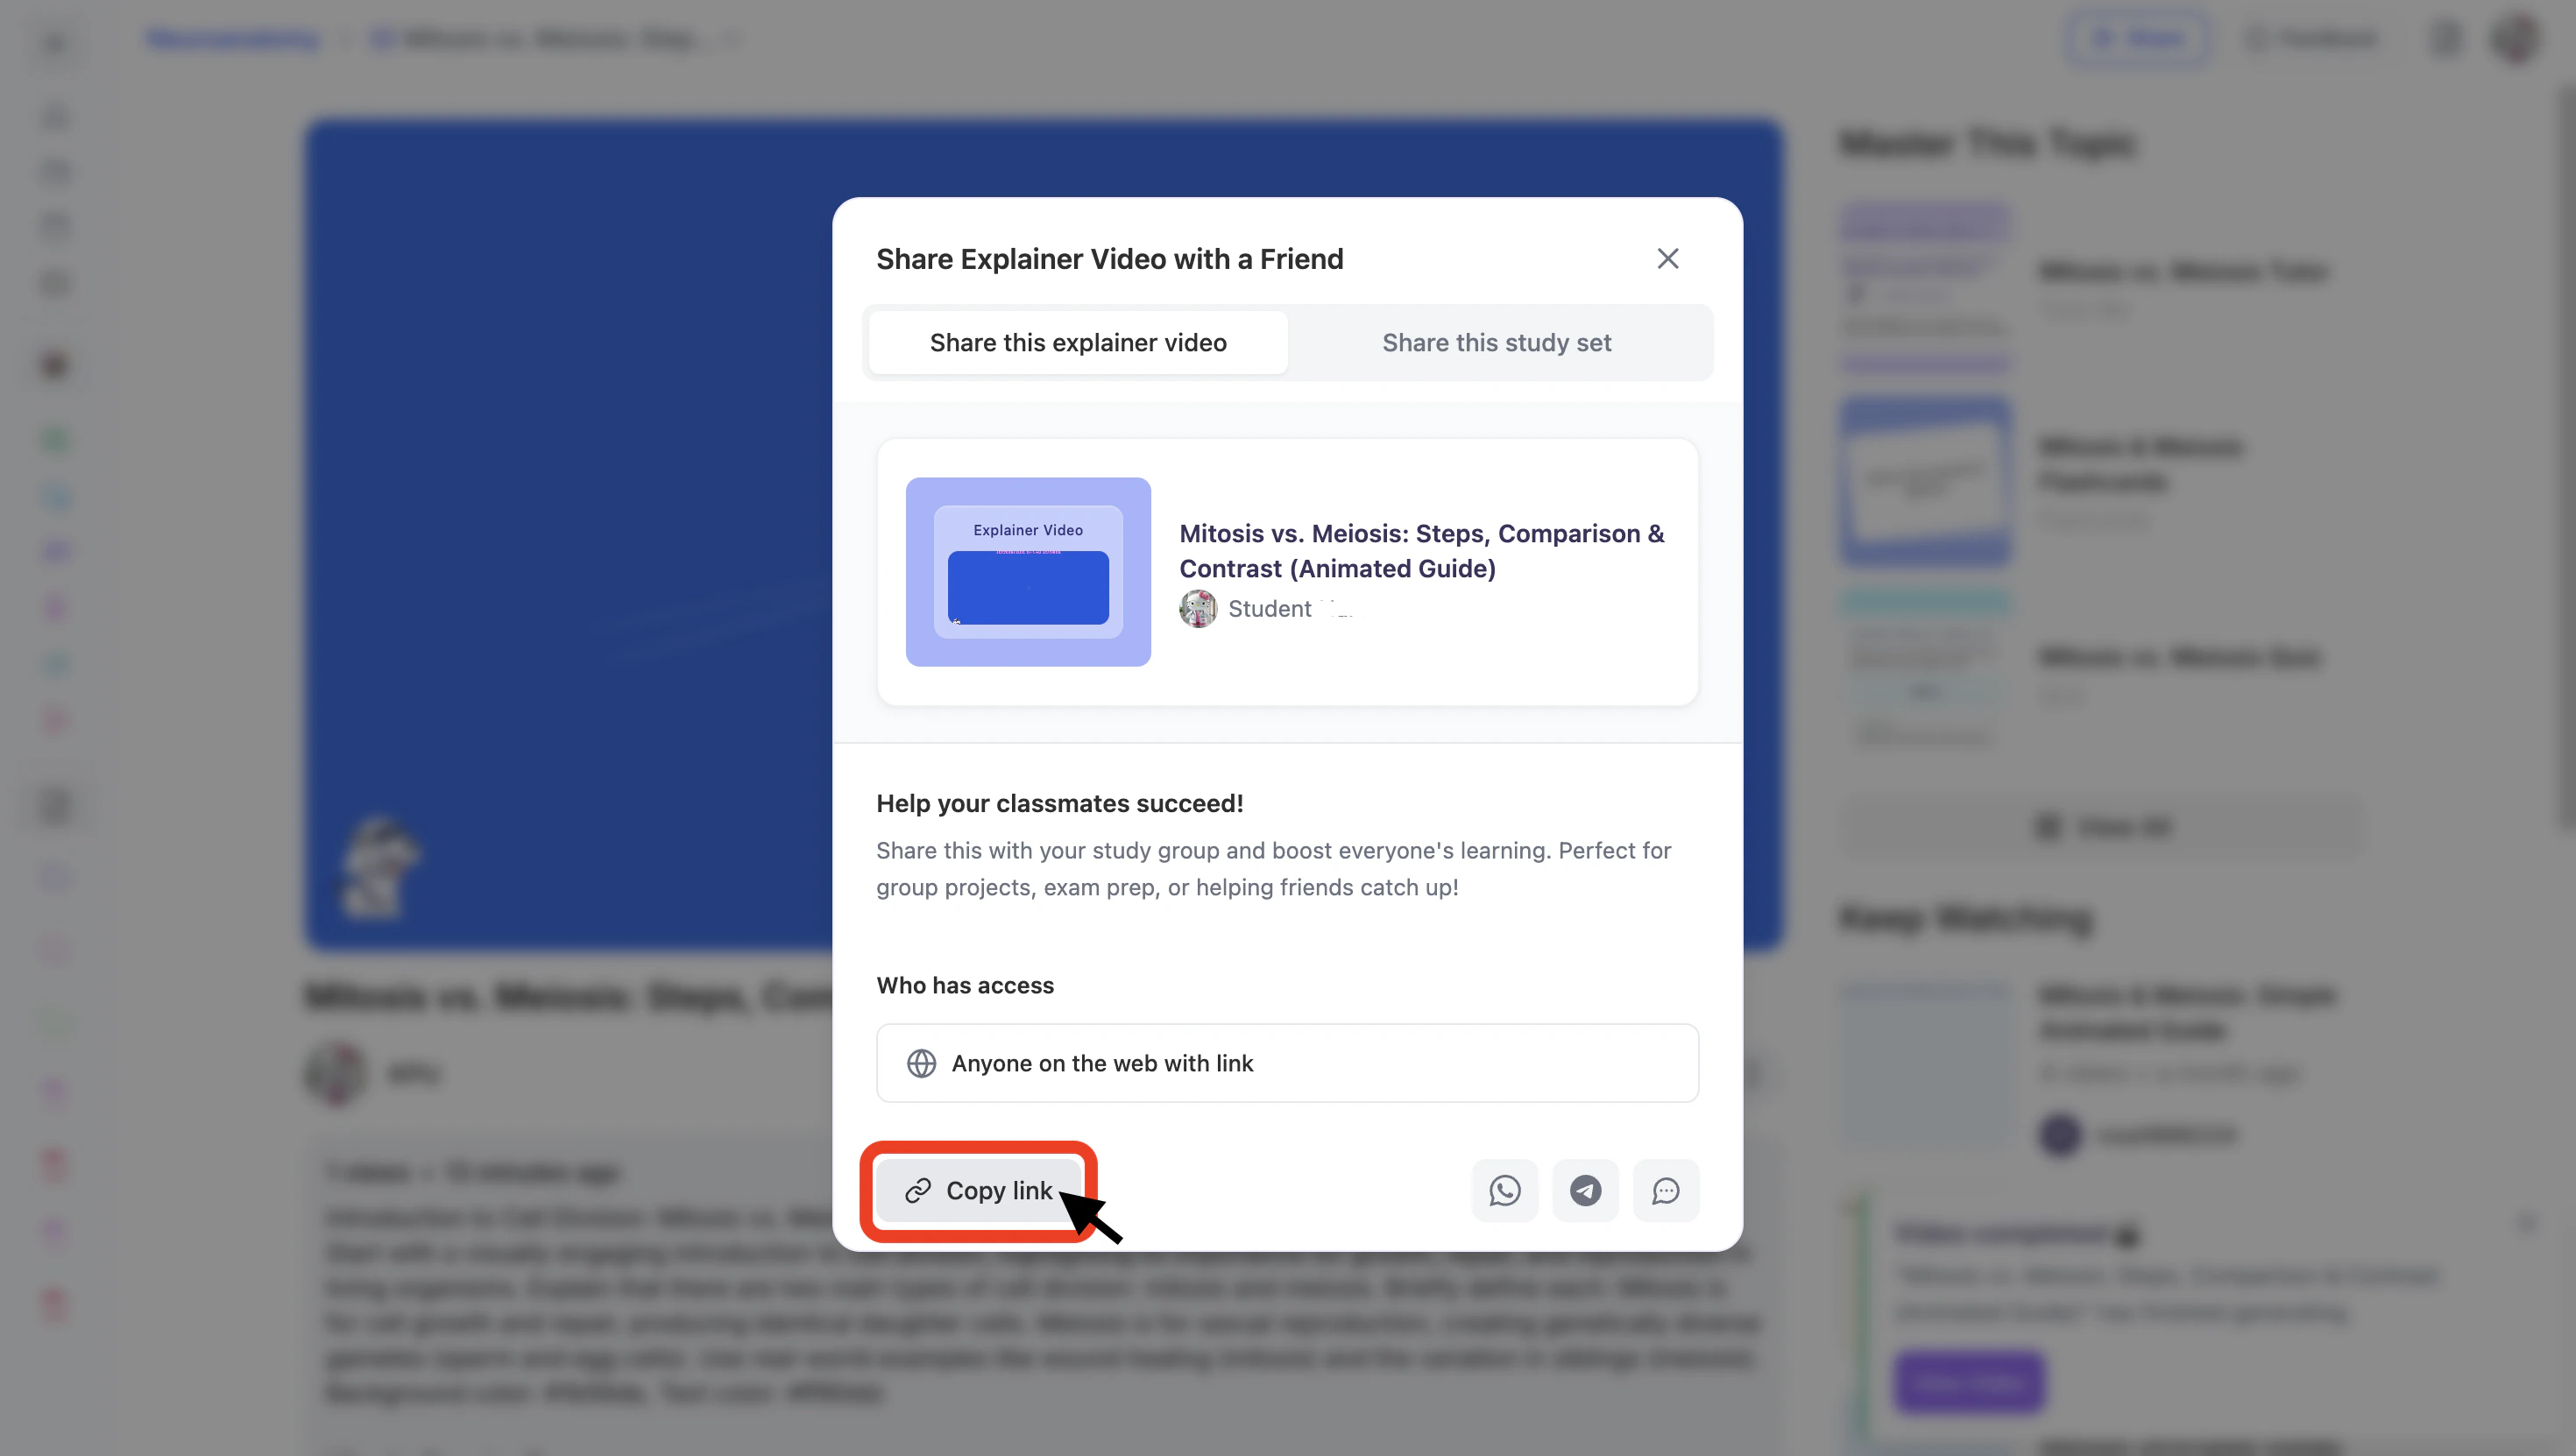
- To share directly through supported apps:
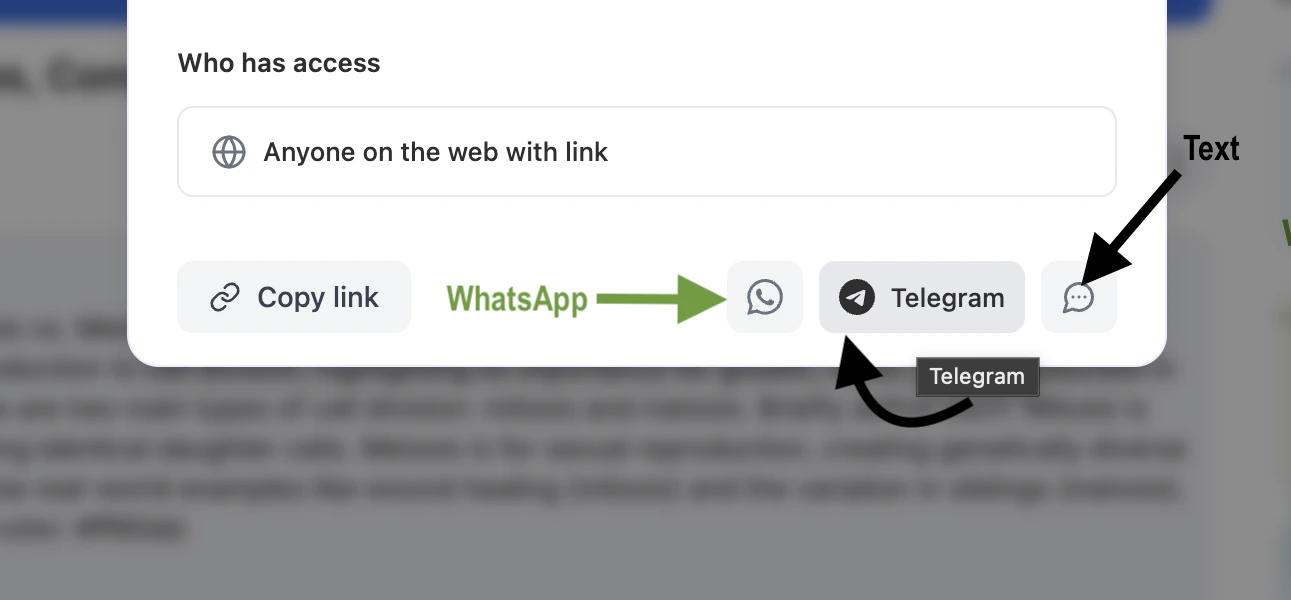
- Select the WhatsApp icon to share via WhatsApp.
- Select the Telegram icon to share via Telegram.
- Select the Text icon to share through your preferred messaging app.
Rate your Explainer Video
How do you like your Explainer Video? The more feedback you provide, the better your Explainer Videos become over time.- Use the thumbs up or thumbs down buttons located below your explainer video to share your feedback.
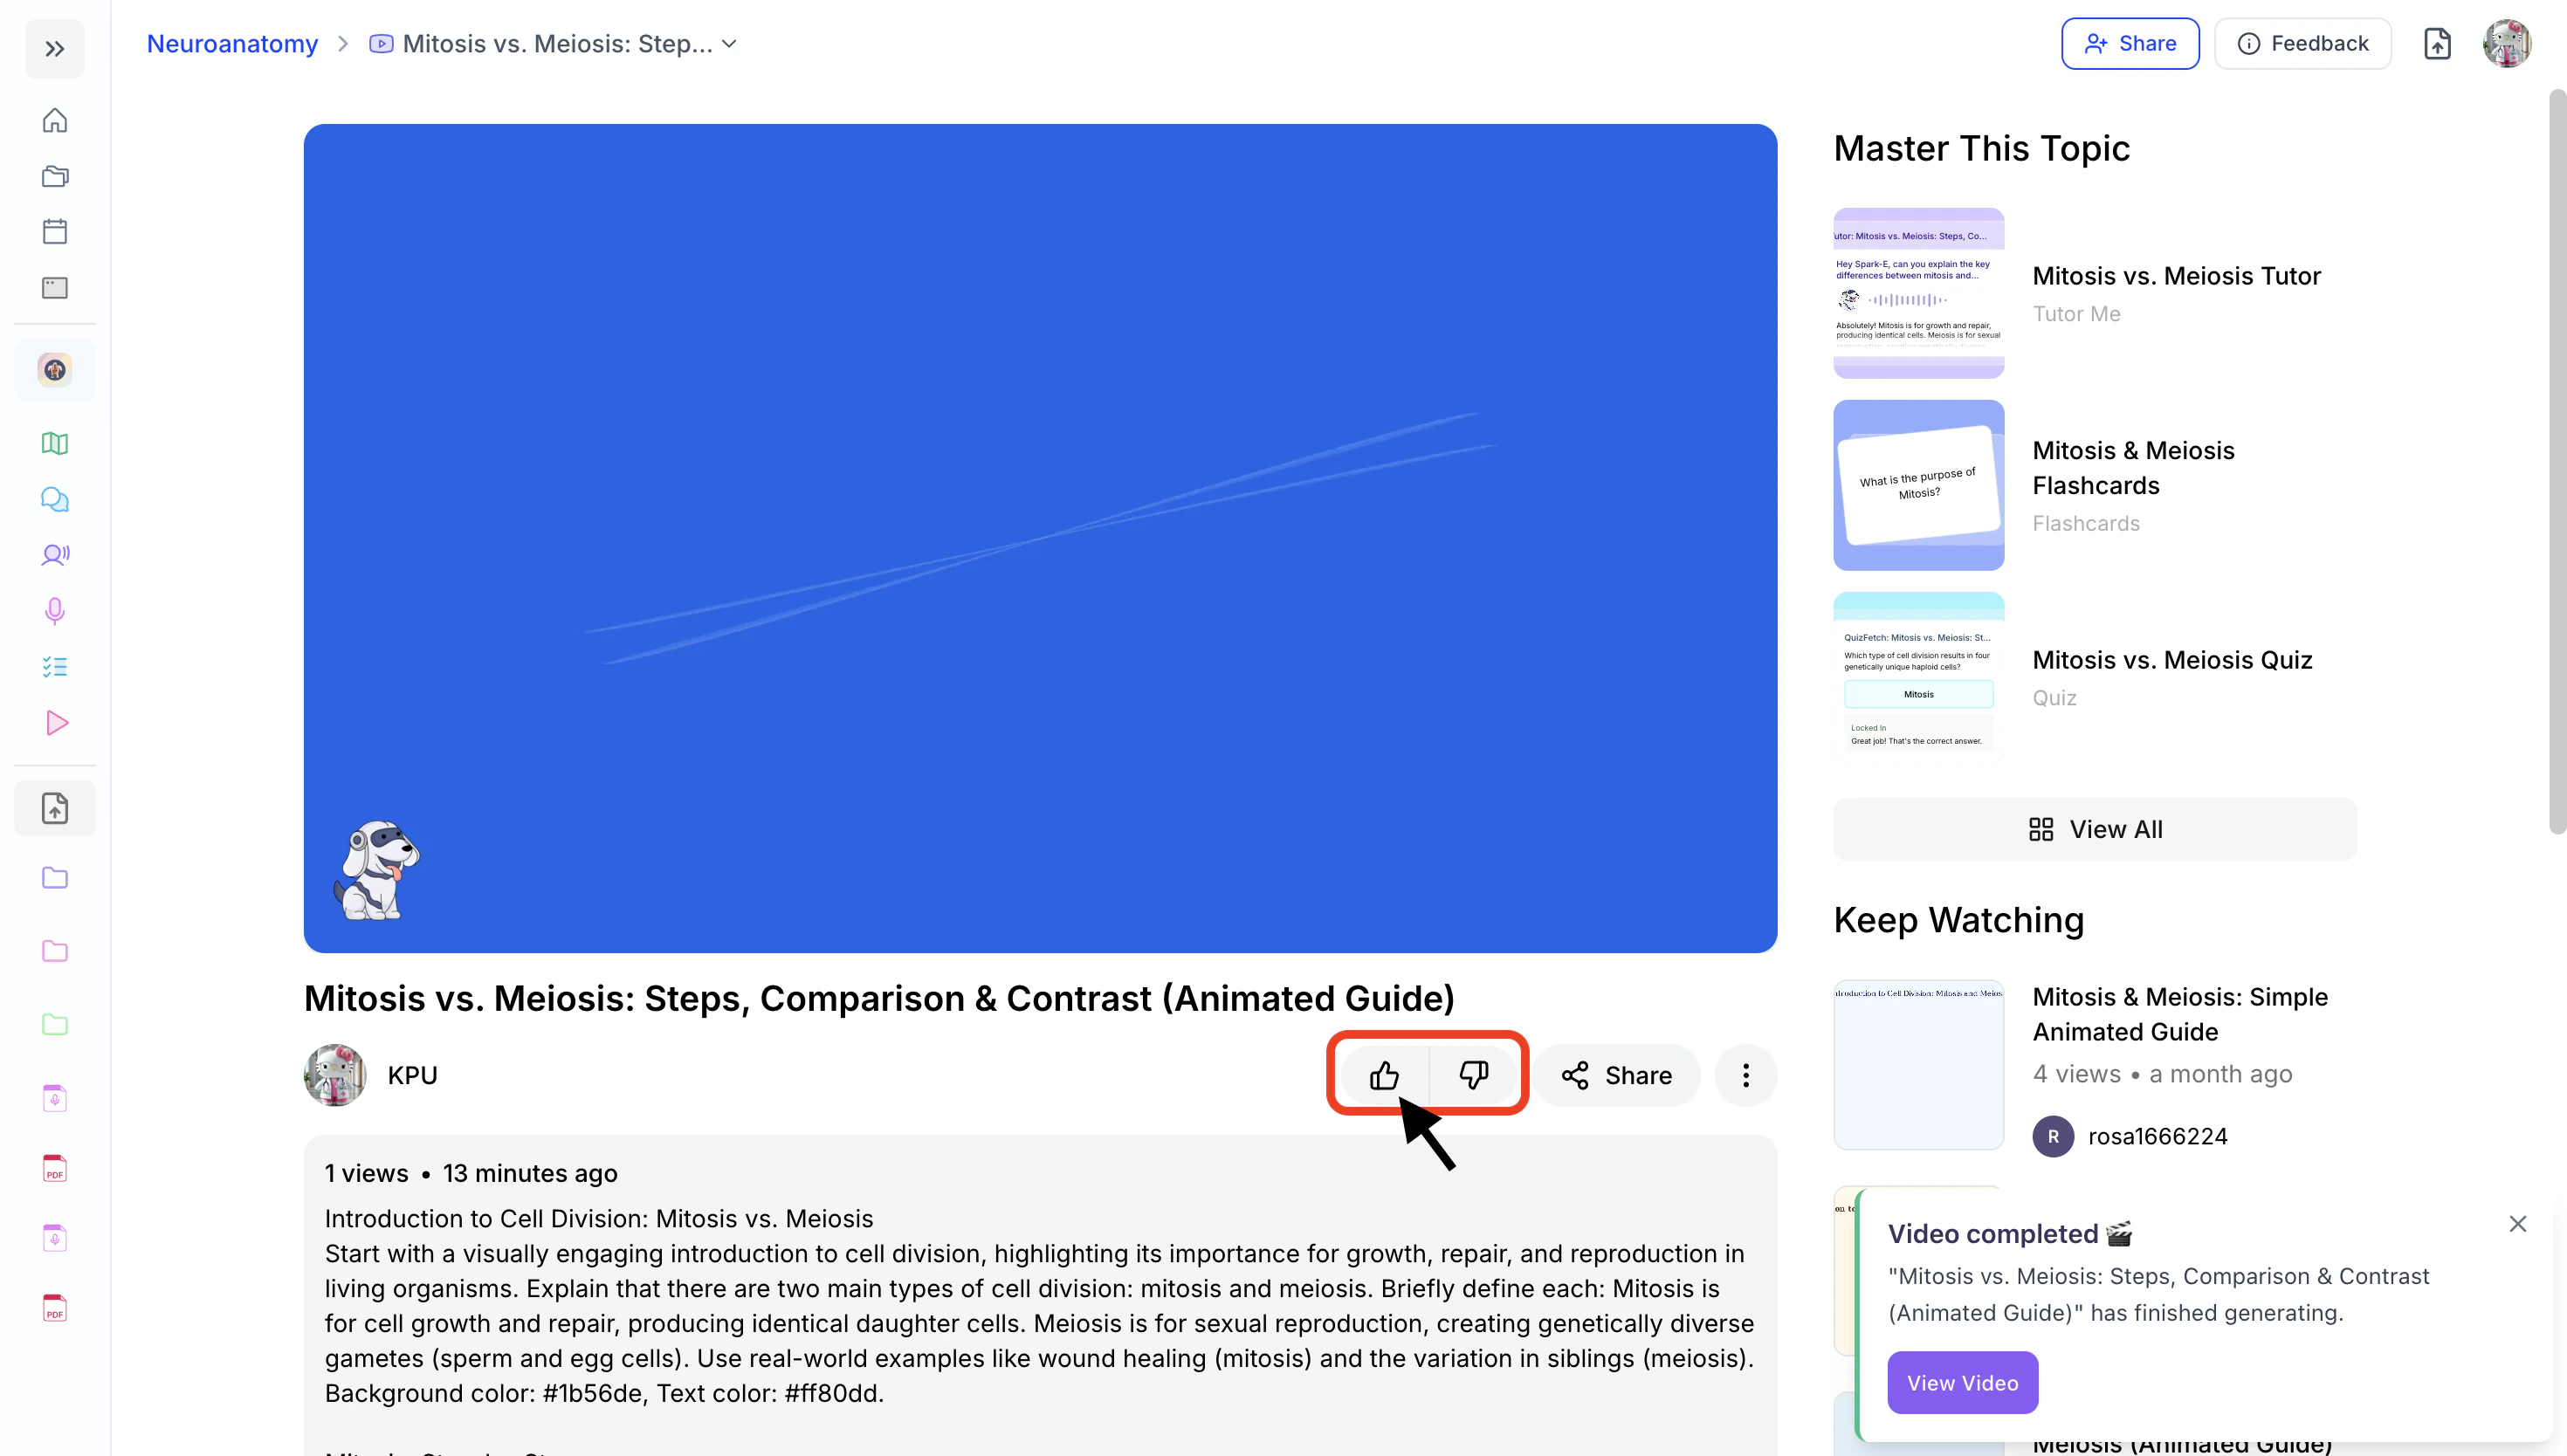
- A thumbs up indicates the video content was helpful
- A thumbs down indicates the content needs improvement
Change Your Explainer Video Privacy Settings
Want to make your explainer video private or public?- After opening your explainer video, click the ⋮ icon in the bottom right corner and select Make Private to remove it from the public explainer library.

- To make it public again, click the ⋮ icon and select Make Public.
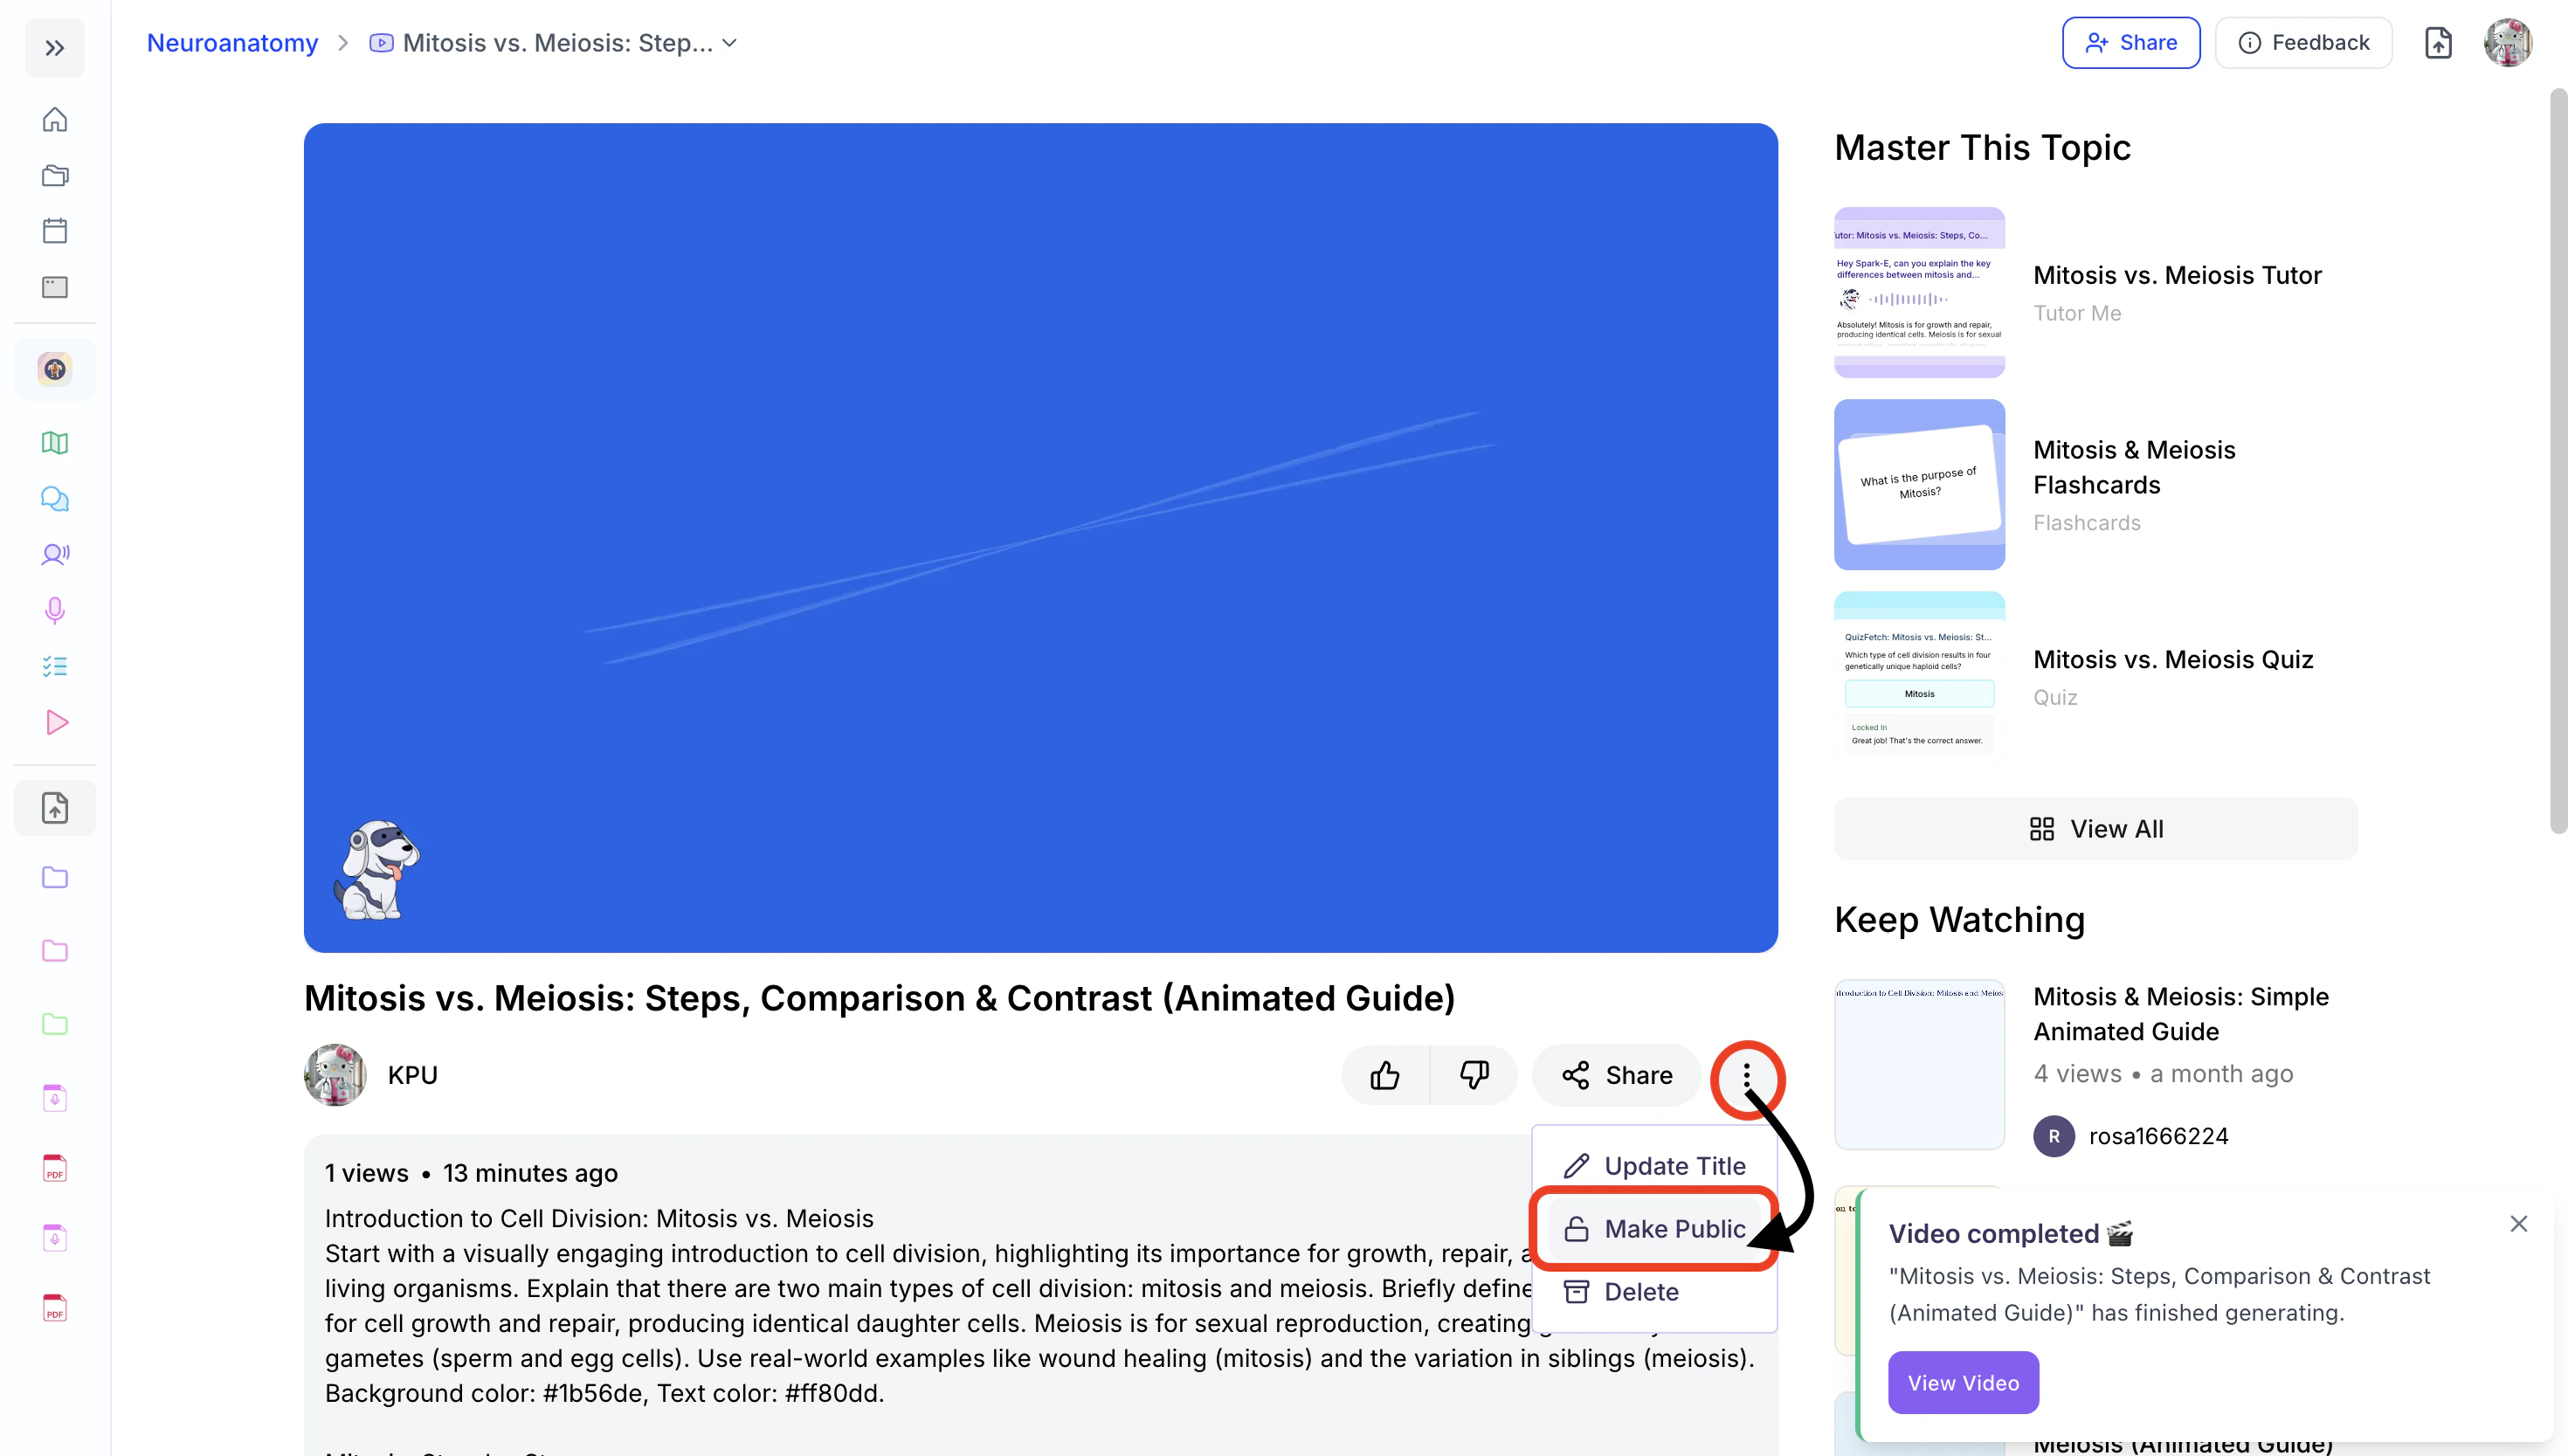
Delete Your Video Explainer Video
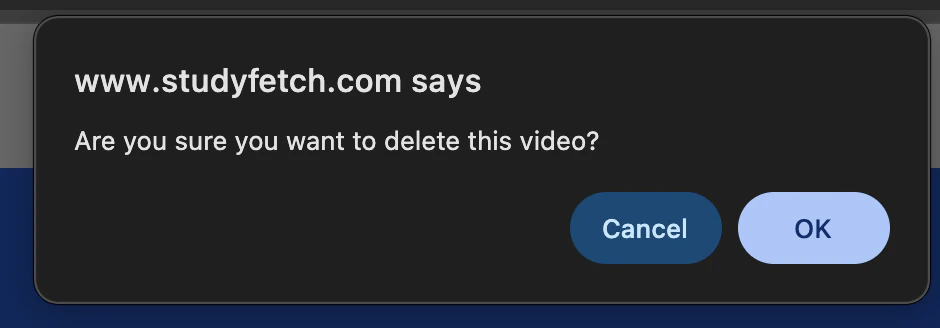
- After opening the desired video explainer, click the ⋮ icon on the bottom right and then click Delete.

- If you are sure you want to delete this video explainer, select OK.
Benefits of Explainers
Explainer Videos offer several advantages for your learning journey:- Visual Learning: Break down complex concepts with engaging visuals and animations
- Structured Content: Organized, step-by-step explanations make information easier to follow
- Customization: Choose your preferred style, length, language, and visual theme
- Enhanced Retention: Combining visuals and narration helps reinforce key concepts
- Flexible Playback: Adjust speed, pause, and revisit sections anytime to match your learning pace
- Video Outline Included: Quickly review key points with a structured outline of the content
Related Features
After creating an Video Explainer, you might want to:- Check out Notes for a text-based version of your materials
- Use Flashcards to test your recall of key concepts
- Try QuizFetch to test your understanding of the material